Close Give Feedback
Resene Paints - home page
Follow us on Facebook Follow us on Pinterest Follow us on Instagram Follow us on YouTube

Garden bench

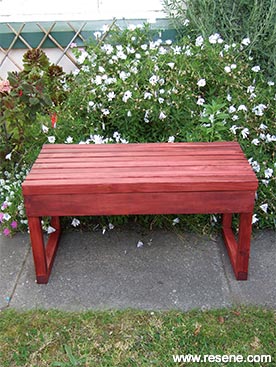
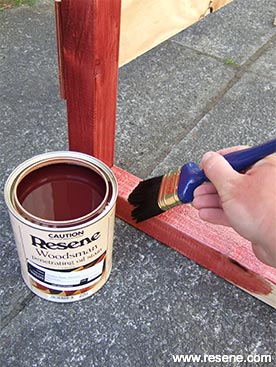
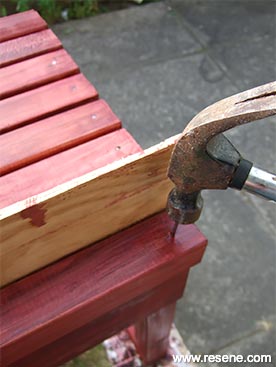
Enjoy the outdoors, and create a simple garden bench with treated timber and Resene Woodsman penetrating oil stain.

Ways with wood with Mark Rayner - Project 08

Difficulty level: Moderate

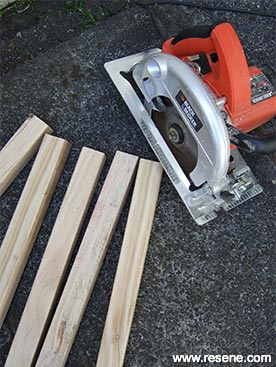
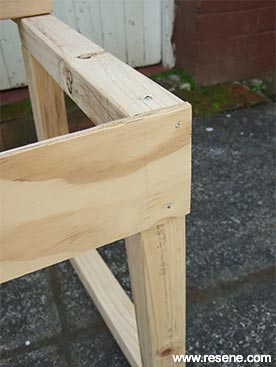
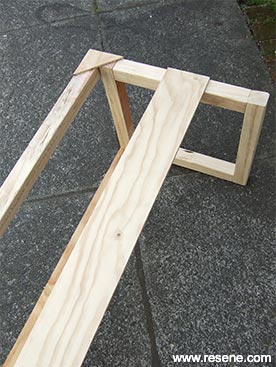
You will need: 50mm x 50mm treated timber cut to the following lengths:
Four 360mm, four 400mm and eight 900mm,
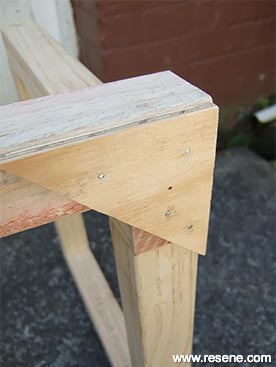
Two pieces of 9mm treated plywood measuring 100mm x 900mm,
Two 
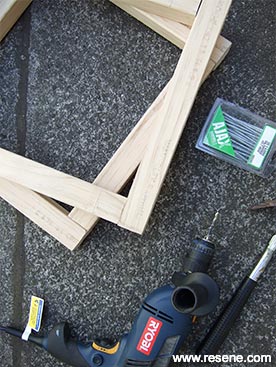
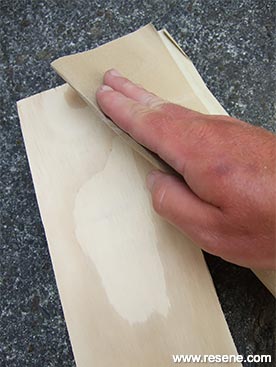
small right angle triangles cut from 9mm plywood, 40mm galvanised nails, 75mm and 100mm galvanised nails, circular saw, drill with 4mm drill bit, hammer, paintbrush, pencil, sandpaper, set square, tape measure, turps for washing brush and PVA exterior glue. Resene Woodsman Penetrating Oil Stain tinted to Resene Japanese Maple.

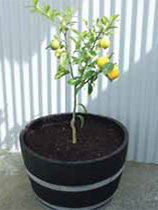
To get the look: Mark planted the surrounding area of garden with a selection of easy-care daisies, lavender and small succulents.

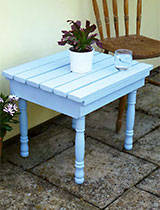
Other ideas: For a vibrant green effect try using Resene Woodsman Penetrating Oil Stain tinted to Resene Zydeco.

Step 1
Step one
Using the circular saw, cut timber to the lengths listed above – use the set square and pencil to ensure cuts are made at right angles.
Step 2
Step two
Form two identical wooden squares from the 400mm and 360mm lengths of timber, as shown. Fix together with PVA glue and a 100mm nail at each corner (drill a pilot hole first to prevent the wood from splitting).
Step 3
Step three
Stand the two squares upright and fix a 900mm length of timber between, forming the back edge of the seat. Use PVA and 40mm nails through the plywood triangles to fix in position – use the set square to ensure the legs are at ninety degrees.
Step 4
Step four
Step one Step two Step three Step four Cut the remainder of the plywood to the dimensions listed above and smooth any rough edges with sandpaper.
Step 5
Step five
Fix one of the plywood strips to front of the bench, as shown, using PVA and 40mm nails.
Step 6
Step six
Fix the second plywood strip, in the same way, about halfway down the back of the bench, as shown.
Step 7
Step seven
Carefully apply one coat of Resene Japanese Maple to the entire bench frame and remaining 900mm timber lengths. Leave to dry for 24 hours and apply a second coat to all – leave for a further 24 hours to dry.
Step 8
Step eight
Working from the back, fix the remaining timber lengths into position to form the seat using 75mm nails and PVA glue – use an off-cut of plywood to ensure the lengths are evenly spaced. Leave overnight for the glue to fully dry before using.

Other projects you might like to try

Make a mini mug shelf
Mug shelf

Weekend DIY
Wooden picture frame
Picture frame

Ways with wood
Barrel planter
Barrel planter

Ways with wood
Recycled drinks table
Drinks table

Weekend Gardener
Wall plant display
Wall plant display

Weekend Gardener

View more projects


Order online now:
Testpots | Paints | Primers and Sealers | Stains | Clears | Accessories

Get inspired Get inspired ! Subscribe      Get saving Get saving ! Apply for a DIY card

Resene Paints Ltd

Can't find what you're looking for? Ask us!

Resene Paints (Australia) Limited   – www.resene.com

Follow us on Facebook Follow us on Pinterest Follow us on Instagram Follow us on YouTube
Videos on how to paint and stain your house
 

Colours shown on this website are a representation only. Please refer to the actual paint or product sample. Resene colour charts, testpots and samples are available for ordering online.   See measurements/conversions for more details on how electronic colour values are achieved.

What's new | Specifiers | Painters | DIYers | Artists | Kids | Sitemap | Home | TOP ⇧