Mark Rayner shows you how build this simple, stylish patio drinks table from recycled materials.
You will need: 40mm galvanised nails, clamp, hammer, old wooden stool, pieces of recycled timber, paintbrush, pencil, PVA exterior glue, ruler, sandpaper, saw, screwdriver and set square. Resene Quick Dry and Resene Lumbersider tinted to Resene Sail.
For a different finish: We used Resene Lumbersider, which has a low-sheen finish, but if you prefer a gloss finish try Resene Enamacryl and for a semi- gloss finish, use Resene Lustacryl.
Here's another option: Create a similar table from treated timber and stain it with any colour from the Resene Woodsman Penetrating Oil Stain range.
![]()
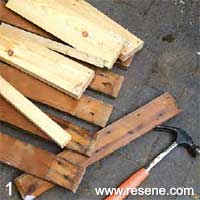
Step 1
Remove any old screws or nails from the recycled timber. Our selection of wood is reclaimed from old drawers, shelves and an old crate.
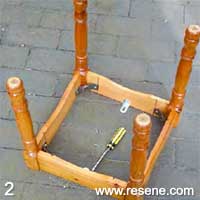
Step 2
Dismantle the wooden stool, remove the legs and lightly sand each one to prime the surface.
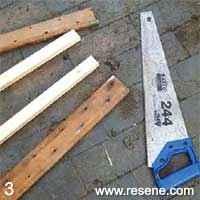
Step 3
Measure, mark and cut pieces of wood to form a rectangular frame for the table top. We use six lengths of wood for our construction, but four might be sufficient. Smooth any rough edges with sandpaper.
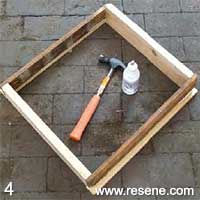
Step 4
Assemble the pieces of wood to form the rectangular base, fixing with PVA glue and nails at each corner. Use a set square to ensure corners are at right angles. Our base measures approximately 430mm x 490mm.
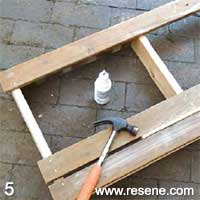
Step 5
Position pieces of timber across the wooden frame, as shown, to form the table top. Overlap at one edge by 25mm and fix with PVA glue and nails. use a small offcut of wood to ensure pieces of wood are evenly spaced.
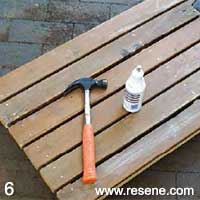
Step 6
Fix the remaining pieces of timber into position, as shown, to complete the table top. Again, ensure the lengths of wood are evenly spaced, and overlap one edge by 25mm.
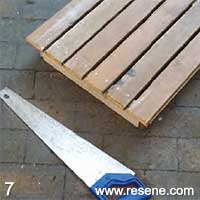
Step 7
Measure, mark and cut the overhanging pieces of timber, ensuring there’s still a 25mm overlap along both ends.
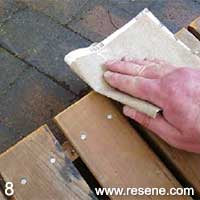
Step 8
Smooth any rough edges with sandpaper.
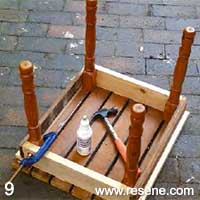
Step 9
Fix a leg to each corner using PVA glue and nails. Secure the leg with a clamp while nailing. Allow glue to dry.
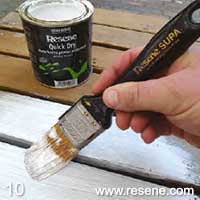
Step 10
Apply one coat of Resene Quick dry to the table, allowing two hours to dry.
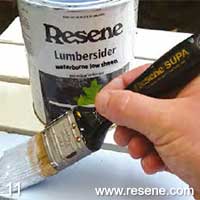
Step 11
Apply two coats of Resene Sail to the table, allowing two hours for each coat to dry.
![]() Get inspired ! Subscribe
Get inspired ! Subscribe ![]() Get saving ! Apply for a DIY card
Get saving ! Apply for a DIY card
![]()
Can't find what you're looking for? Ask us!
Company profile | Terms | Privacy policy | Quality and environmental policy | Health and safety policy
Colours shown on this website are a representation only. Please refer to the actual paint or product sample. Resene colour charts, testpots and samples are available for ordering online. See measurements/conversions for more details on how electronic colour values are achieved.
What's new | Specifiers | Painters | DIYers | Artists | Kids | Sitemap | Home | TOP ⇧


