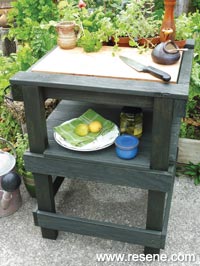
Create a clever outdoor unit to complement your outdoor food-preparation area.
You will need:
Also required: 75mm galvanised nails, 40mm galvanised nails, 5 x small terracotta pots with saucers, hammer, mineral turpentine, paintbrushes, potted herbs, potting mix, PVA glue (exterior), Resene Terracotta Sealer, Resene Woodsman wood stain tinted to Resene Canopy, Saw, Set square, Wooden chopping board.
Top tip: For greatest accuracy, measure, mark and cut the wood as you complete each step as there may be slight variations along the way. If the dimensions of the chopping board vary, you’ll need to adjust the dimensions of the unit accordingly. To prevent weather damage, remove the chopping board and store under cover when not in use.
Here's another idea: To complete the look, revamp any surrounding wooden outdoor furniture using Resene Woodsman, also tinted to Resene Canopy.
![]()
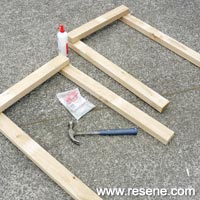 Step one
 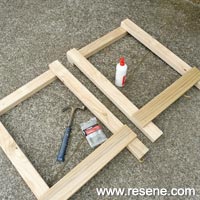 Step two
 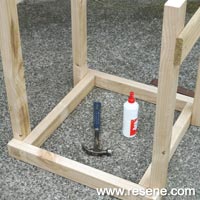 Step three
 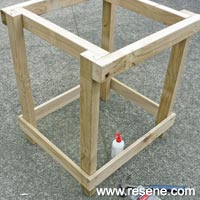 Step four
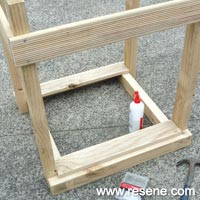 Step five
 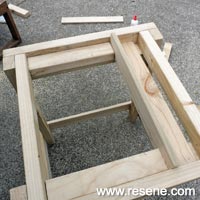 Step six
 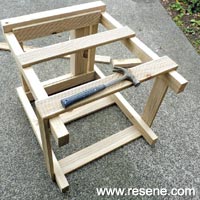 Step seven
 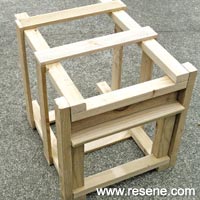 Step eight
 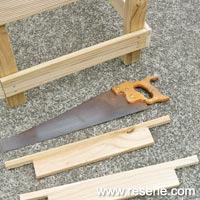 Step nine
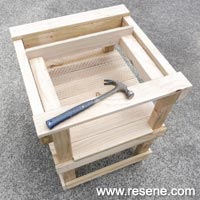 Step ten
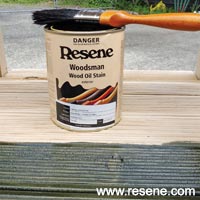 Step eleven
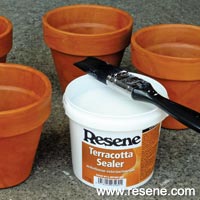 Step twelve
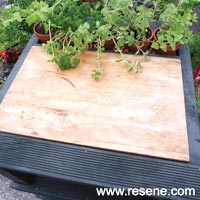 Step thirteen
![]() Get inspired ! Subscribe
Get inspired ! Subscribe ![]() Get saving ! Apply for a DIY card
Get saving ! Apply for a DIY card
![]()
Can't find what you're looking for? Ask us!
Company profile | Terms | Privacy policy | Quality and environmental policy | Health and safety policy
Colours shown on this website are a representation only. Please refer to the actual paint or product sample. Resene colour charts, testpots and samples are available for ordering online. See measurements/conversions for more details on how electronic colour values are achieved.
What's new | Specifiers | Painters | DIYers | Artists | Kids | Sitemap | Home | TOP ⇧