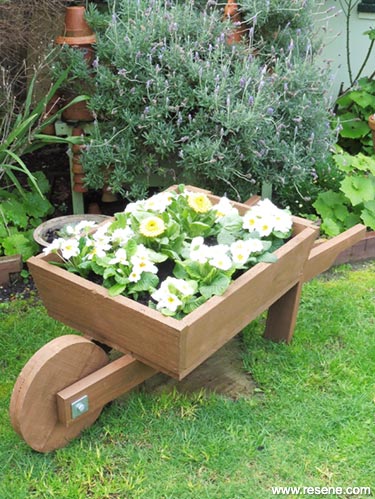
It’s easy to create this fun wheelbarrow planter – perfect for showing off a display of seasonal colour.
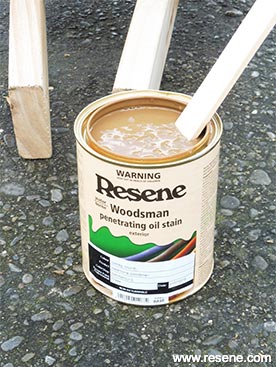
You will need: 10mm x 150mm galvanised bolt with washer, 30mm x 90mm decking (approx 3.5m), 50mm exterior screws, 100mm exterior screws, 300mm plate for tracing circle, drill with 10mm drill bit, exterior PVA glue, galvanised washers, jigsaw, paint stirrer, paintbrush, pencil, Resene Waterborne Woodsman tinted to Resene Nutmeg, sandpaper, saw, screwdriver, spanner, tape measure, treated fence palings (approx 6m).
Top tip: Timber dimensions may vary slightly so some of these measurements may need adjusting.
To get the look: Mark filled the barrow with good-quality potting mix and planted with polyanthus and calendula.
![]()
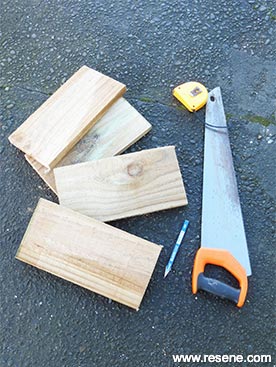 Step one
 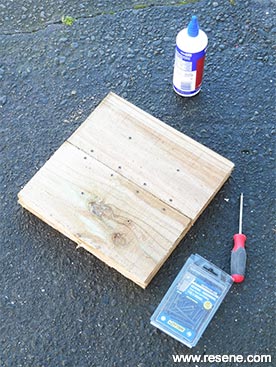 Step two
  Step three
 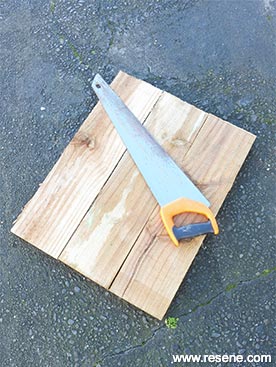 Step four
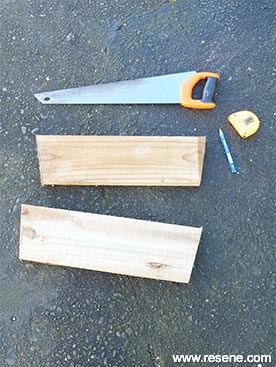 Step five
 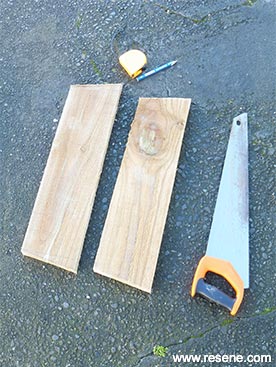 Step six
 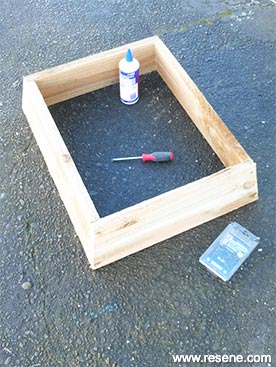 Step seven
 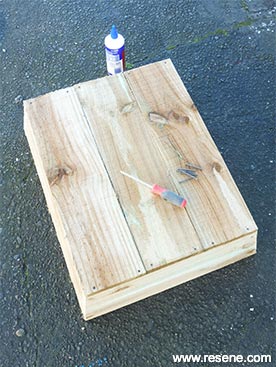 Step eight
 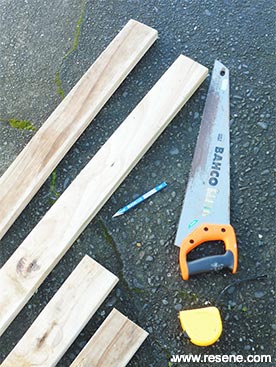 Step nine
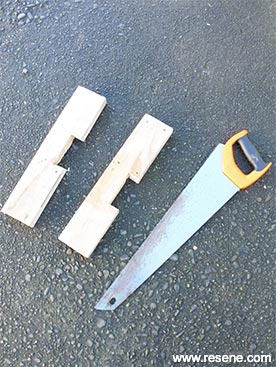 Step ten
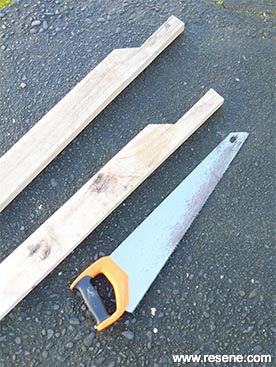 Step eleven
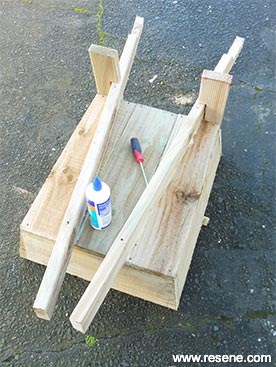 Step twelve
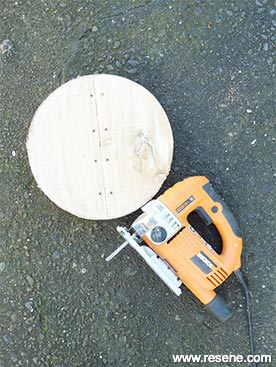 Step thirteen
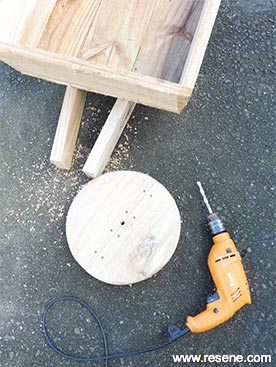 Step fourteen
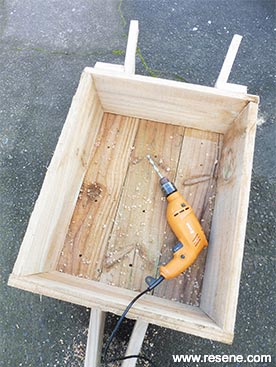 Step fifteen
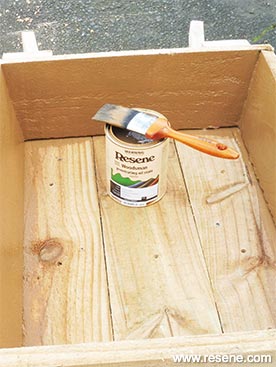 Step seventeen
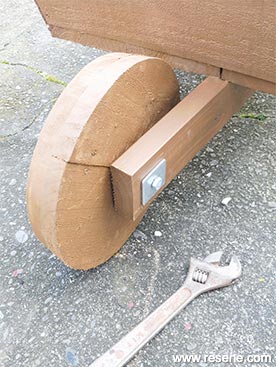 Step eighteen
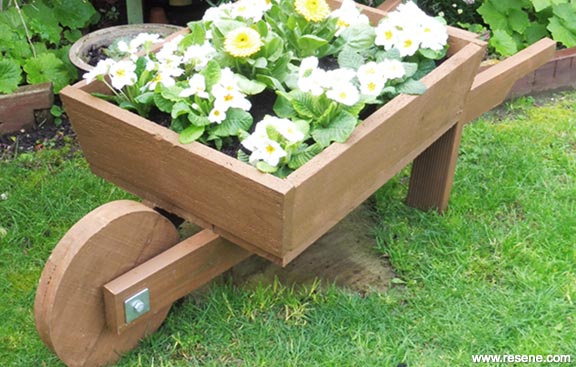 Finished project
![]() Get inspired ! Subscribe
Get inspired ! Subscribe ![]() Get saving ! Apply for a DIY card
Get saving ! Apply for a DIY card
![]()
Can't find what you're looking for? Ask us!
Company profile | Terms | Privacy policy | Quality and environmental policy | Health and safety policy
Colours shown on this website are a representation only. Please refer to the actual paint or product sample. Resene colour charts, testpots and samples are available for ordering online. See measurements/conversions for more details on how electronic colour values are achieved.
What's new | Specifiers | Painters | DIYers | Artists | Kids | Sitemap | Home | TOP ⇧
 Step sixteen
