Close Give Feedback
Resene Paints - home page
Follow us on Facebook Follow us on Pinterest Follow us on Instagram Follow us on YouTube

Paua necklace stand

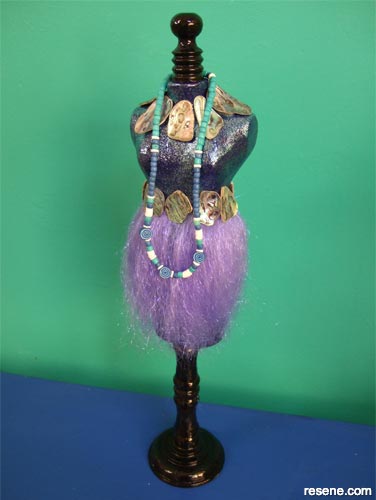
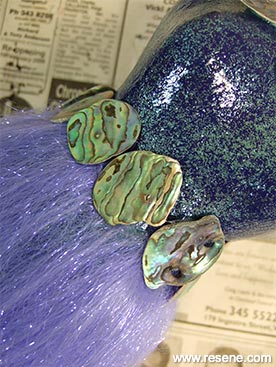
Transform a small papier mache mannequin into a fun necklace stand with the help of Resene.

Resene art with Mark Rayner - Project 23

Difficulty level: Moderate

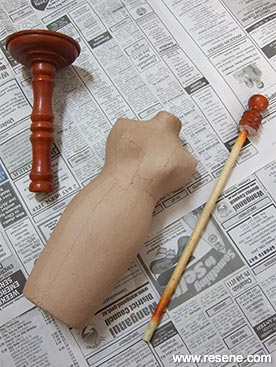
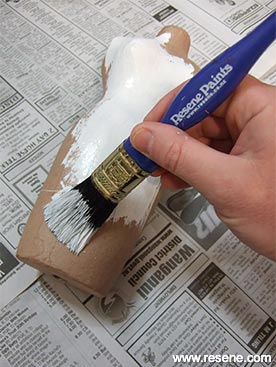
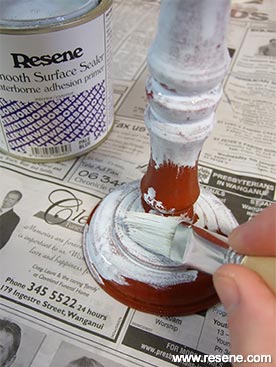
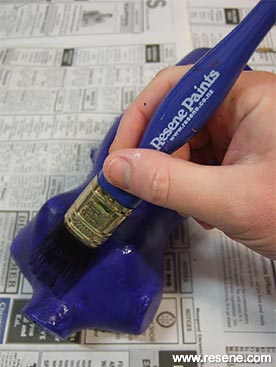
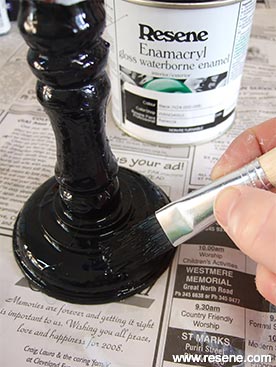
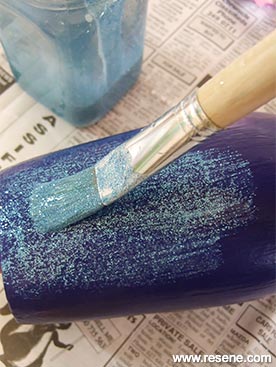
You will need: Paintbrushes, pale blue glitter, pot for mixing, purple craft fibre, Resene Enamacryl gloss tinted to Resene Nero, Resene Multishield+ (now Resene Concrete Clear) gloss, Resene Quick Dry waterborne primer undercoat, Resene testpot in Resene Paua, Resene Waterborne Smooth Surface Sealer, sandpaper, small papier mache mannequin on wooden stand, small pieces of paua shell, tube of clear silicone.

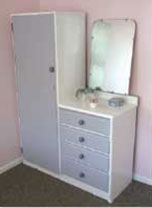
To get the look: Mark painted the background wall with Resene Zylone Sheen tinted to Resene Jeepers Creepers and the bureau with Resene Lustacryl semi-gloss waterborne enamel tinted to Resene Resolution Blue.

Other ideas: Create a sumptuous look using a testpot of Resene Dancing Queen with a topcoat of Resene Multishield+ (now Resene Concrete Clear) gloss mixed with purple glitter.

Step 1
Step one
Carefully disassemble the mannequin from the stand.
Step 2
Step two
Apply one coat of Resene Quick Dry primer undercoat to the papier mache body and allow to dry for at least an hour.
Step 3
Step three
Lightly sand both parts of the wooden stand and apply one coat of Resene Waterborne Smooth Surface Sealer. Allow to dry for two hours.
Step 4
Step four
Apply two coats of Resene Paua to the papier mache body, allowing two hours for each coat to dry.
Step 5
Step five
Apply two coats of Resene Nero to both parts of the wooden stand, allowing two hours for each coat to dry.
Step 6
Step six
Mix a little Resene Multishield+ (now Resene Concrete Clear) gloss with some pale blue glitter and apply one coat to the papier mache body. Once dry, fix the mannequin back onto the wooden stand.
Step 7
Step seven
Using the clear silicone, fix a row of paua shell pieces around the neck of the mannequin and stick the craft fibre around the waist to form a skirt.
Step 8
Step eight
Use the clear silicone to fix a row of paua shell pieces around the waist, as shown. Allow the silicone to cure overnight before using your necklace stand.

Other projects you might like to try

How to make a dressing table
Dressing table

Resene art
How to make a kiwiana planter
Kiwiana planter

Resene art
How to make raised flower beds
Raised beds

Weekend DIY
How to make ladder shelving
Ladder shelving

Ways with wood
How to make a DIY glasshouse
Going under cover

Weekend gardener

View more projects


Order online now:
Testpots | Paints | Primers and Sealers | Stains | Clears | Accessories

Get inspired Get inspired ! Subscribe      Get saving Get saving ! Apply for a DIY card

Resene Paints Ltd

Can't find what you're looking for? Ask us!

Resene Paints (Australia) Limited   – www.resene.com

Follow us on Facebook Follow us on Pinterest Follow us on Instagram Follow us on YouTube
Videos on how to paint and stain your house
 

Colours shown on this website are a representation only. Please refer to the actual paint or product sample. Resene colour charts, testpots and samples are available for ordering online.   See measurements/conversions for more details on how electronic colour values are achieved.

What's new | Specifiers | Painters | DIYers | Artists | Kids | Sitemap | Home | TOP ⇧