From Habitat magazine - issue 23
Learn how to build a pergola with these step-by-step instructions.
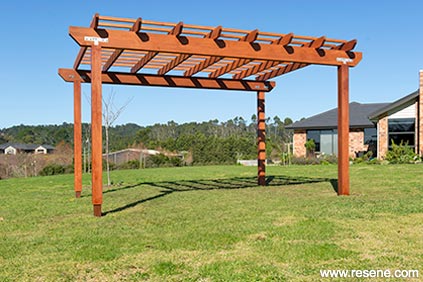
Finished pergola
Tools and equipment: Electric drill, extension lead with RCD protection, post hole borer and auger bit, builder's level, 2 1.8m step ladders, belt sander, skill saw, compound sliding mitre saw, electric router, cordless drill, safety goggles and ear muffs.
Materials: Four 100mm x 100mm dressed pine H4 treated posts 3m long, two 250mm x 100mm dressed cedar beams 4.6m long, eight 150mm x 50mm dressed cedar rafters each 3.6m long, eleven 50mm x 50mm dressed cedar battens 4m long, eight 90mm x 18mm dressed cedar facing boards 2.1m long, eight 124mm x 18mm dressed cedar facing boards 2.1m long, four stainless steel T brackets, stainless steel bolts and washers, stainless steel 75mm screws, rapid set concrete, sandpaper, 4 litres of Resene Woodsman Cedar stain, paint brush.

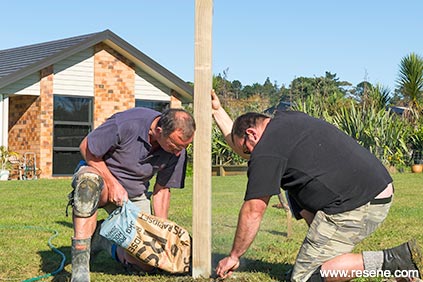
Step 1: Decide on the size and siting of the pergola. Ours is 3m x 4m. Dig holes with the posthole borer, and set the pine posts 900mm into the ground. Check the levels, and pour the concrete into the holes around the posts. Leave to set.
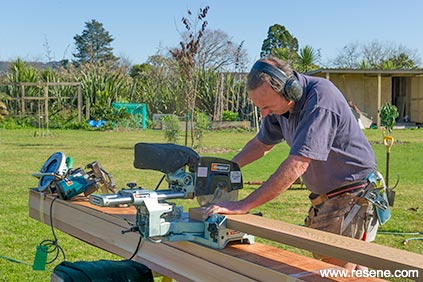
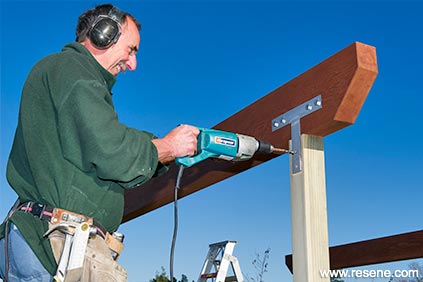
Step 2: Cut the top of the poles off level. Cut angles if desired onto the ends of the two beams with the skill saw, and finish off with the belt sander. Using the router, house the T brackets into the beams until flush. Cut angles if desired, onto the ends of the rafters with the compound sliding saw, and finish off with the belt sander.
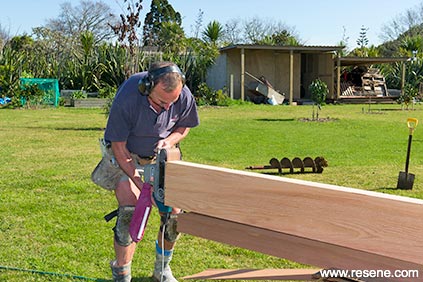
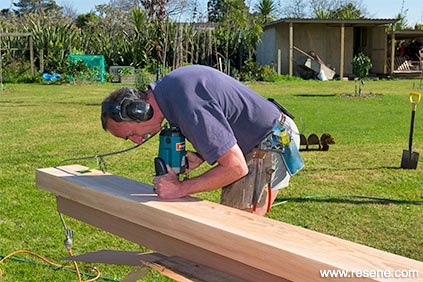
Step 3: Cut notches out of the rafters with the router, to slot over the beams. Pre-stain the cedar with one coat ' this will make it easier later on.
Step 4: Lift the beams into place, drill and bolt them to the top of the posts.
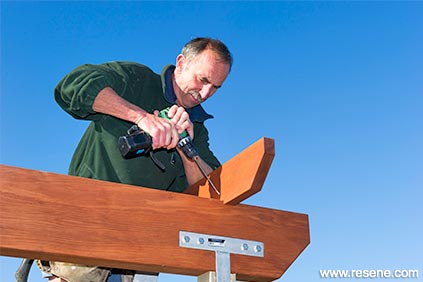

Step 5: Space the rafters evenly along the beam, slot and screw each one into place. Space the battens evenly on top of the rafters. Screw in place.
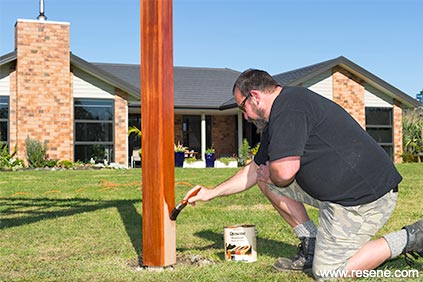
Step 6: You can simply stain the pine posts but we've chosen to cover them with cedar. Measure and cut the cedar facing boards to fit. Nail in place and stain.
Step 7: Apply a second coat of Resene Woodsman Cedar stain to the entire structure.
All equipment and expertise from Hirepool. Visit www.hirepool.co.nz or call 0800 15 15 15
builders: Nick and John from Nick Devcich Construction Ltd
pictures: Mark Heaslip
Search habitat magazine stories
Printed copies of habitat highlights are available from late March 2024 at Resene ColorShops and resellers, while stocks last. You can view back issues of habitat magazine online.
Specifiers:
If you have an idea, project or story that you think would suit habitat, we’d love to hear from you. Please drop us an email with your details and include photos if submitting a project.
Sign up for a DIY card and Save! Australia | New Zealand
![]() Get inspired ! Subscribe
Get inspired ! Subscribe ![]() Get saving ! Apply for a DIY card
Get saving ! Apply for a DIY card
![]()
Can't find what you're looking for? Ask us!
Company profile | Terms | Privacy policy | Quality and environmental policy | Health and safety policy
Colours shown on this website are a representation only. Please refer to the actual paint or product sample. Resene colour charts, testpots and samples are available for ordering online. See measurements/conversions for more details on how electronic colour values are achieved.
What's new | Specifiers | Painters | DIYers | Artists | Kids | Sitemap | Home | TOP ⇧