From Habitat magazine - issue 29
A handy and easy to make storage box for all those bits and pieces.
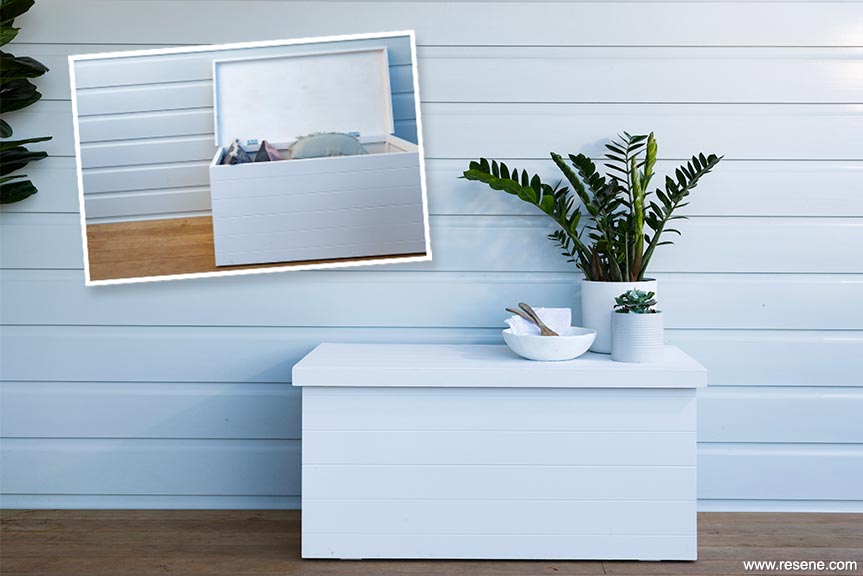
This handy storage box and the bowl are painted in Resene Poured Milk, the weatherboards are Resene Half Periglacial Blue and the deck is stained in Resene Woodsman Driftwood. The pots are in Resene Slipstream (large) and Resene Grey Seal.
One sheet of IBS V-Groove 9mm-thick plywood cut into: 2 pieces at 1150mm x 550mm for the front and back; 1 piece at 1200mm x 600mm for the lid; 2 x 550mm (h) x 535mm (w) making sure the lines go across the width for the ends.
Either a second sheet of grooved ply or use plain plywood: 1 piece at 1125mm x 535mm for the base. (Note that using 9mm grooved plywood rather than planks makes the storage box lighter and easier to move.)
Five 2.4m lengths of 45mm x 19mm timber for the frame cut into: 4 x 1150mm for the top and bottom, front and back; 4 x 497mm for verticals at the ends and 4 x 445mm for horizontals at the ends. Cut 2 x 575mm for the side of the lid, and one at 1200mm long for the front of the lid.
1m length of H3 treated 19mm x 90mm: 2 x 500mm for the feet. These are the only pieces that will touch any damp ground.
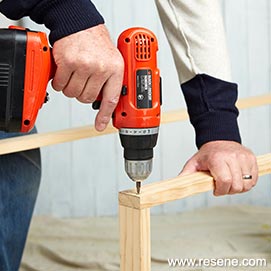 Step one
 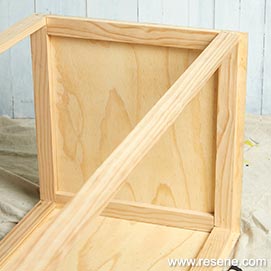 Step two
  Step three
 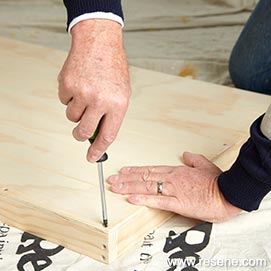 Step four
 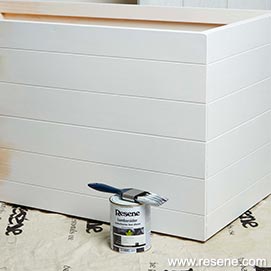 Step six


Building: Andy Fraser
Images: Bryce Carleton
Search habitat magazine stories
Printed copies of habitat highlights are available from late March 2024 at Resene ColorShops and resellers, while stocks last. You can view back issues of habitat magazine online.
Specifiers:
If you have an idea, project or story that you think would suit habitat, we’d love to hear from you. Please drop us an email with your details and include photos if submitting a project.
Sign up for a DIY card and Save! Australia | New Zealand
![]() Get inspired ! Subscribe
Get inspired ! Subscribe ![]() Get saving ! Apply for a DIY card
Get saving ! Apply for a DIY card
![]()
Can't find what you're looking for? Ask us!
Company profile | Terms | Privacy policy | Quality and environmental policy | Health and safety policy
Colours shown on this website are a representation only. Please refer to the actual paint or product sample. Resene colour charts, testpots and samples are available for ordering online. See measurements/conversions for more details on how electronic colour values are achieved.
What's new | Specifiers | Painters | DIYers | Artists | Kids | Sitemap | Home | TOP ⇧
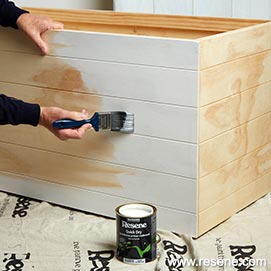 Step five