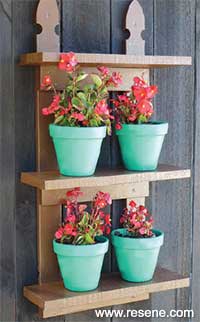
Mark Rayner shows you how to create these simple outdoor shelves - perfect for displaying your favourite potted colour.
You will need: A drill with drill bits, 1.8m fence paling, 70mm x 19mm x 900mm radiata,two gothic picket fence palings, 70mm x 19mm x 1.2m radiata, gothic picket fence paling, 50mm treated pine screws, 40mm treated pine screws, paintbrush, pencil exterior PVA glue, sandpaper, saw, set square, screwdriver and tape measure, Resene Lustacryl tinted to Resene Cioccolato, Resene Quick Dry.
To get the look: Mark stained the background fence with Resene Woodsman Penetrating Oil Stain tinted to Resene English Walnut and painted the pots with Resene Lumbersider tinted to Resene Moxie.
Here's another option: You could also stain this timber shelving unit with a colour from the Resene Timber Stains range using Resene Woodsman.
![]()
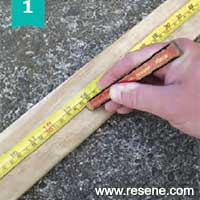
Step 1
Measure and mark three 350mm lengths from the 1.2m picket fence paling. Use the back of the saw or set square to ensure cutting lines are at 90°.
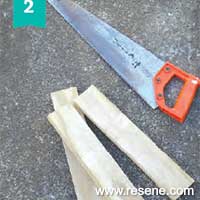
Step 2
Use pencil marks as a guide to cut the fence palings, as shown.
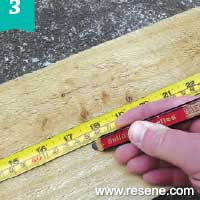
Step 3
Measure and mark the 1.8m fence paling into three 450mm lengths.
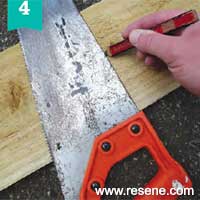
Step 4
Use the back of the saw or set square to ensure cutting lines are at 90°
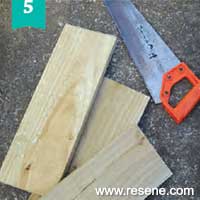
Step 5
Use pencil lines as a guide to cut the fence paling into sections, as shown.
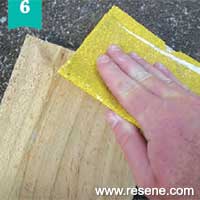
Step 6
Smooth any rough edges with sandpaper.
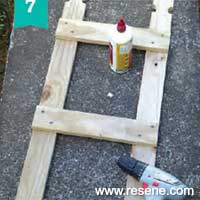
Step 7
Use 40mm screws and PVA to attach the three 350mm lengths to the two 900mm picket fence palings, as shown. Use a set square to ensure that they are fixed at right angles and drill pilot holes first to prevent the wood from splitting.
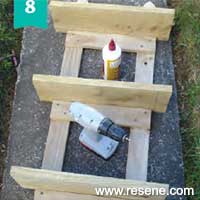
Step 8
Attach the three 450mm pieces of fence paling to the back frame, as shown, to form the shelves. Fix along the back edge of each shelf with PVA glue and 40mm screws.
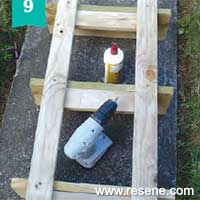
Step 9
Turn the unit over and fix through the upright supports into the back of each shelf with 50mm screws, as shown.
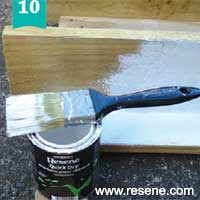
Step 10
Apply one coat of Resene Quick Dry to the shelving unit and allow two hours to dry.
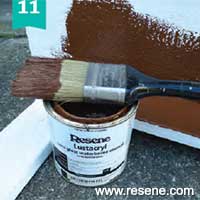
Step 11
Apply one coat of Resene Cioccolato to the shelving unit and allow two hours to dry.
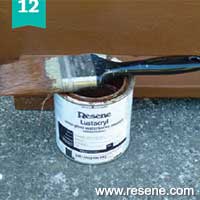
Step 12
Apply a second coat of Resene Cioccolato to the unit, again allowing two hours to dry. Fix to the fence with 40mm screws.
![]() Get inspired ! Subscribe
Get inspired ! Subscribe ![]() Get saving ! Apply for a DIY card
Get saving ! Apply for a DIY card
![]()
Can't find what you're looking for? Ask us!
Company profile | Terms | Privacy policy | Quality and environmental policy | Health and safety policy
Colours shown on this website are a representation only. Please refer to the actual paint or product sample. Resene colour charts, testpots and samples are available for ordering online. See measurements/conversions for more details on how electronic colour values are achieved.
What's new | Specifiers | Painters | DIYers | Artists | Kids | Sitemap | Home | TOP ⇧