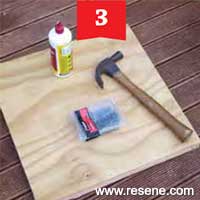
Mark Rayner creates an art panel.
You will need: 19mm and 75mm galvanised nails, a piece of 6mm treated plywood, treated timber to make a backing frame (ours measured approximately 25mm x 50mm), clean cloth, drill with 3mm drill bit, hammer, low-tack masking tape, paintbrush, pencil, PVA glue, sandpaper, saw and set square, Resene Quick Dry, Resene testpots of Resene Alabaster, Resene All Black, Resene Chaos, Resene Fizz, and Resene Resolution Blue.
To get the look: Mark painted the background shed wall with Resene Lumbersider tinted to Resene Soft Apple.
Approximate height and width dimensions of the coloured rectangles, moving clockwise around the panel: yellow – 230mm high and 150mm wide, red – 380mm high and 330mm wide, white – 100mm high and 330mm wide, blue – 100mm high and 150mm wide and white – 150mm high and 150mm wide.
Top tip: To prevent paint damage, carefully remove the masking tape before the second coat of paint dries.
![]()
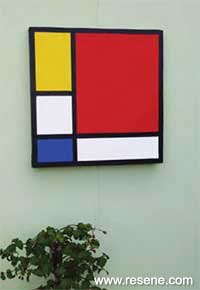
Step 1
Measure, mark and cut the plywood to form a square 480mm x 480mm. Cut the treated timber to make a backing frame measuring 480mm x 480mm. Smooth any rough edges with sandpaper.
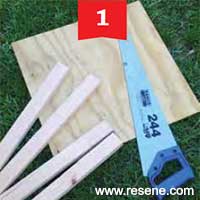
Step 2
On a flat surface, assemble the pieces of timber to form a square frame. Fix the timber at each corner with PVA glue and 75mm galvanised nails (drilling pilot holes first). Allow glue to dry.
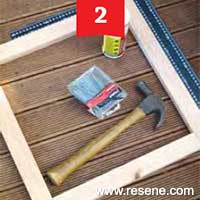
Step 3
Fix the plywood to the backing frame with PVA glue and 19mm galvanised nails. Allow glue to dry.
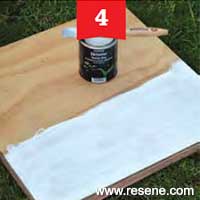
Step 4
Apply one coat of Resene Quick Dry to the entire panel and allow two hours to dry. Use the set square and a pencil to measure out and mark the coloured rectangles to dimensions provided.
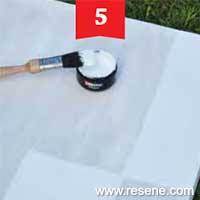
Step 5a
Paint the rectangles. Each rectangle requires two coats of paint with a drying time of two hours between coats. Paint the two white rectangles with Resene Alabaster.
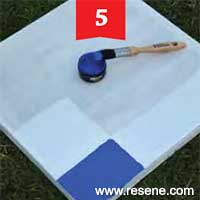
Step 5b
Paint the blue rectangle with Resene Resolution Blue.
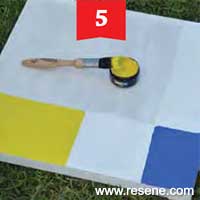
Step 5c
Paint the yellow rectangle with Resene Fizz.
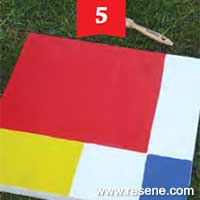
Step 5d
Paint the red rectangle with Resene Chaos.
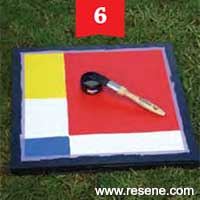
Step 6
Paint the back and side edges of the panel with two coats of Resene All Black, allowing two hours for each coat to dry. Mask off a 20mm ‘frame’ around the edge of the panel and apply two coats of Resene All Black. Remove the masking tape.

Step 7
Mask off 20mm lines between the coloured squares, as shown.
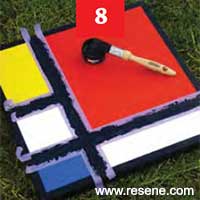
Step 8
Apply two coats of Resene All Black to the masked-off lines. Remove the masking tape.
![]() Get inspired ! Subscribe
Get inspired ! Subscribe ![]() Get saving ! Apply for a DIY card
Get saving ! Apply for a DIY card
![]()
Can't find what you're looking for? Ask us!
Company profile | Terms | Privacy policy | Quality and environmental policy | Health and safety policy
Colours shown on this website are a representation only. Please refer to the actual paint or product sample. Resene colour charts, testpots and samples are available for ordering online. See measurements/conversions for more details on how electronic colour values are achieved.
What's new | Specifiers | Painters | DIYers | Artists | Kids | Sitemap | Home | TOP ⇧