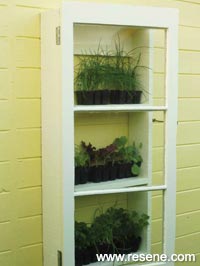
Make a space-efficient winter garden essential from a reclaimed window and fence palings
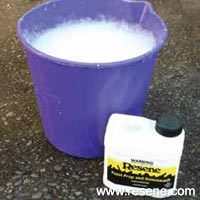
You will need: Old wooden window (ours measured approx 50cm x 120cm), 2 x 1.2m fence palings, 2 x 1.8m fence palings, 60mm galvanised flat head nails, bucket, clean cloth, clean running water, Hammer, 2 x exterior hinges with appropriate screws, window stay with appropriate screws, pencil, screwdriver, sandpaper, saw, set square, stiff-bristled brush, tape measure, paintbrush, Resene Lumbersider tinted to Resene Quarter Moonbeam, Resene Paint Prep and Housewash, Resene Quick Dry.
Top tip: For safety’s sake and to avoid potential damage to plants, ensure the window opens away from the prevailing wind.
Handy hint: Use galvanised or stainless steel hinges and exterior timber screws to avoid rusting.
To finish off: Attach the cold frame to a wooden shed wall or fence using 60mm timber screws or nails.
Here’s another idea: This cold frame could also be used horizontally on the ground – instead of using a window stay simply attach a small hinged piece of wood to keep the window open when needed.
![]()
 Step two
 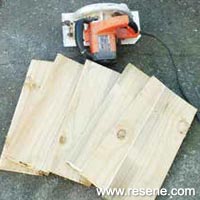 Step three
 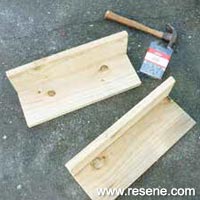 Step four
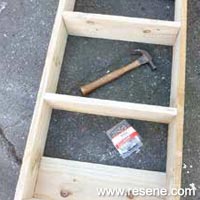 Step five
 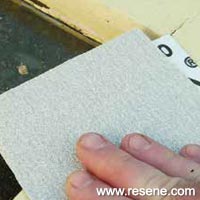 Step six
 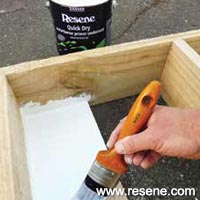 Step eight
  Step nine
 Step ten
![]() Get inspired ! Subscribe
Get inspired ! Subscribe ![]() Get saving ! Apply for a DIY card
Get saving ! Apply for a DIY card
![]()
Can't find what you're looking for? Ask us!
Company profile | Terms | Privacy policy | Quality and environmental policy | Health and safety policy
Colours shown on this website are a representation only. Please refer to the actual paint or product sample. Resene colour charts, testpots and samples are available for ordering online. See measurements/conversions for more details on how electronic colour values are achieved.
What's new | Specifiers | Painters | DIYers | Artists | Kids | Sitemap | Home | TOP ⇧
 Step one
  Step seven
