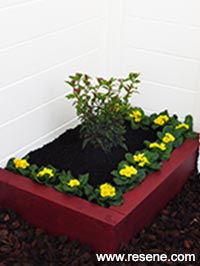
An old wooden fence and drab corner of the garden is transformed through the addition of a mini raised bed made from a macrocarpa sleeper.
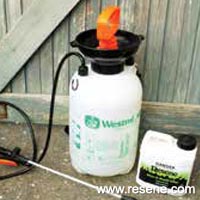
You will need: 100mm x 200mm macrocarpa sleeper, 150mm x 6mm galvanised flat head nails, Bucket, Circular saw, Clamps, Drill with 4mm drill bit, Flowering shrub and potted colour, Garden hose with clean running water, Garden sprayer, Good-quality top soil or potting mix, Hammer, Offcuts of timber, Paint stirrer, Pencil, Set square, Spirit level, Stiff-bristled brush, Tape measure, Paintbrushes, Resene Lumbersider tinted to Resene Pipi, Resene Moss & Mould Killer, Resene Quick Dry, Resene Timber and Deck Wash, Resene Waterborne Woodsman penetrating oil stain tinted to Resene Japanese Maple.
Top tip: As this existing fence was built from landscaping timber (which is H4 treated) it’s suitable for prolonged contact with bare soil. If your fencing timber is only H3 treated, however, it may be necessary to build a back and additional side to the raised bed to prevent the fence coming in direct contact with soil.
To get the look: Mark planted the raised bed with a Viburnum tinus ‘Eve Price’ and some yellow polyanthus for some instant winter cheer.
![]()
 Step two
  Step four
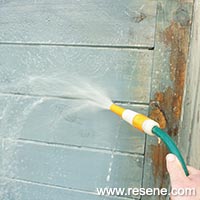 Step five
 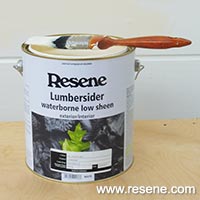 Step seven
 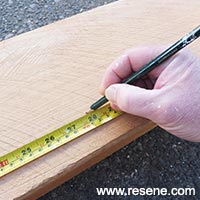 Step eight
 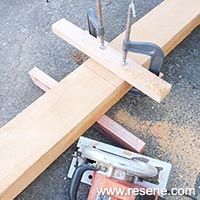 Step nine
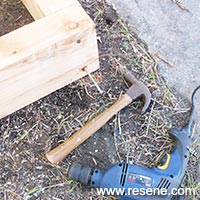 Step ten
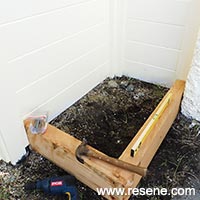 Step eleven
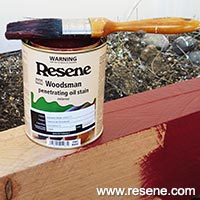 Step thirteen
 Step fourteen
![]() Get inspired ! Subscribe
Get inspired ! Subscribe ![]() Get saving ! Apply for a DIY card
Get saving ! Apply for a DIY card
![]()
Can't find what you're looking for? Ask us!
Company profile | Terms | Privacy policy | Quality and environmental policy | Health and safety policy
Colours shown on this website are a representation only. Please refer to the actual paint or product sample. Resene colour charts, testpots and samples are available for ordering online. See measurements/conversions for more details on how electronic colour values are achieved.
What's new | Specifiers | Painters | DIYers | Artists | Kids | Sitemap | Home | TOP ⇧
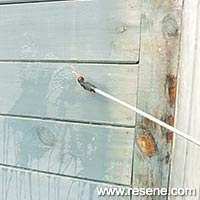
 Step one
 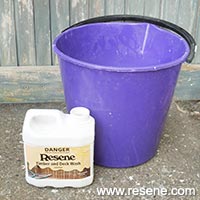 Step three
 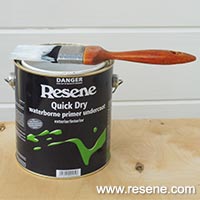 Step six
 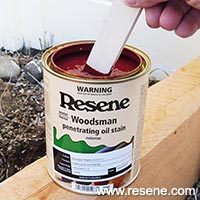 Step twelve
