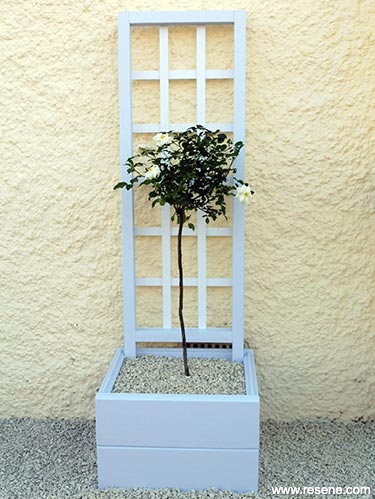
Diy rose planter
Create this classic rose planter from landscaping timber and trellis battening – perfect as a focal point feature in a traditional or formal garden.
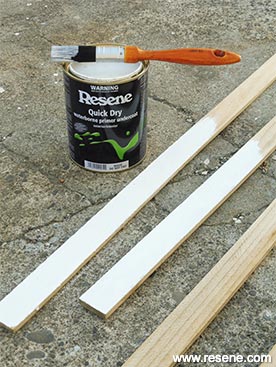
You will need:
- 50mm x 50mm treated timber cut to the following lengths: 2 x 1800mm, 2 x 400mm.
- Tongue and groove landscaping timber cut to the following lengths: 4 x 500mm, 4 x 600mm, 65mm exterior screws, 100mm exterior screws, drill with 4mm drill bit, exterior filler, exterior PVA glue, circular saw, hammer, knife or scraper for filling, paintbrushes, pencil, Resene Lumbersider tinted to Resene Link Water, Resene Lumbersider tinted to Resene Zircon, Resene Quick Dry, sandpaper, saw, screwdriver set square, small block of wood, staple gun with 14mm galvanised staples, tape measure.
Handy hint: Timber dimensions may vary slightly so always double check measurements before cutting.
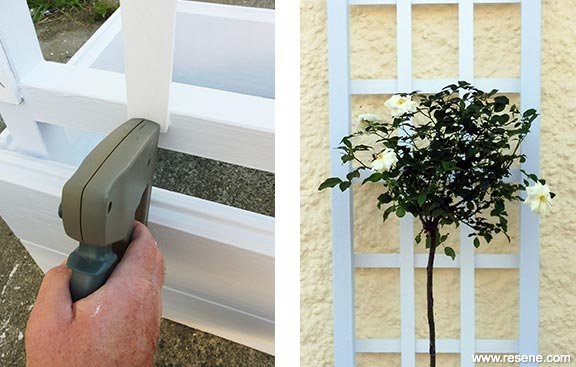
Planting ideas: We chose a classic white standard rose, but this planter could also be used for just about any kind of rose from climbers to shrub roses.
Top tip: This planter box acts as a mini raised bed in that it’s designed to be placed directly on the soil, but if you wanted to position it on a deck or patio simply construct a base from landscaping timber – ensuring the base has adequate drainage holes and is slightly raised to avoid direct contact with the deck or patio.
To get the look: Mark painted the background wall with Resene AquaShield tinted to Resene Pipi and used a small lime chip mulch around the base of the plant and over the surrounding ground.

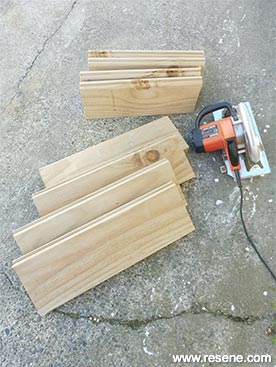 Step one
Measure, mark and cut all the timber to the dimensions listed above.
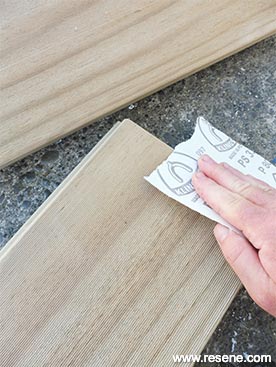 Step two
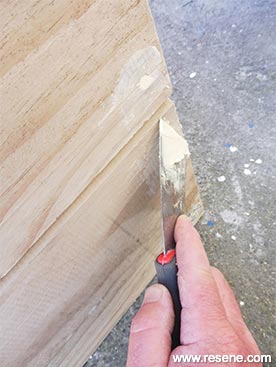
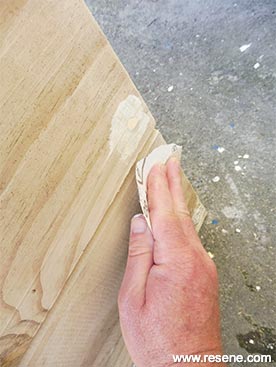
Smooth any rough sawn edges with sandpaper.
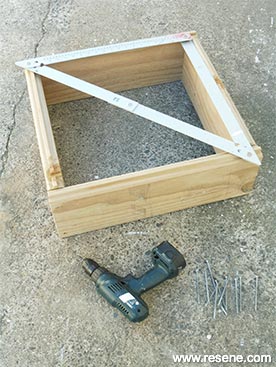 Step three
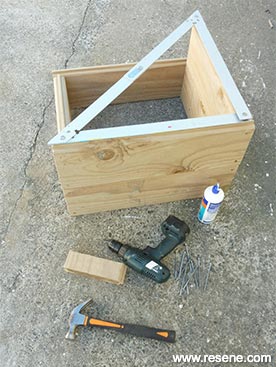
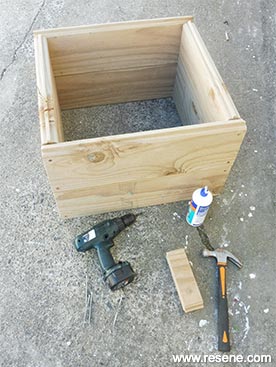
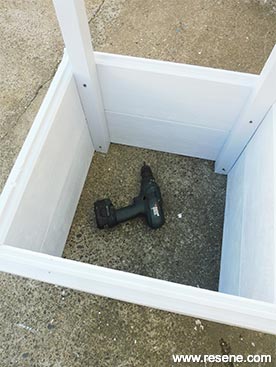
Assemble two 600mm lengths and two 500mm lengths of landscaping timber to form a square box frame, as shown. Fix at each corner with two 100mm screws, drilling pilot holes first and counter-sinking the screw heads. Use the set square to ensure corners are at 90 degrees.
 Step four
Assemble two other pieces of landscaping timber to form the second layer, again fixing at each corner with two 100mm screws. Attach the second layer to the base with PVA glue, tapping with a hammer and wood block to ensure the tongue and groove fits snugly.
 Step five
Continue in the same way with the two remaining pieces of landscaping timber, as shown. Allow glue to dry.
 Step six
Fill the counter-sunk screw heads with filler and allow to dry..
 Step seven
Sand the filler smooth and brush off any sanding residue with a dry paintbrush.
 Step eight
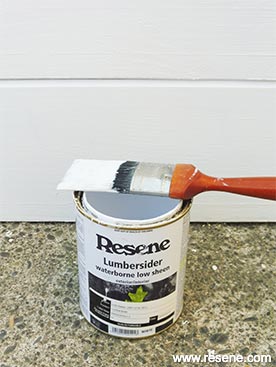
Apply one coat of
Resene Quick Dry to the trellis batten lengths and allow to dry.
 Step nine
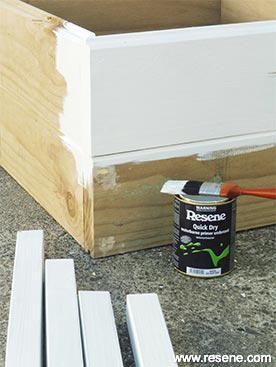
Apply one coat of Resene Quick Dry to all surfaces of the planter box and the lengths of 50mm x 50mm timber. Allow to dry.
 Step ten
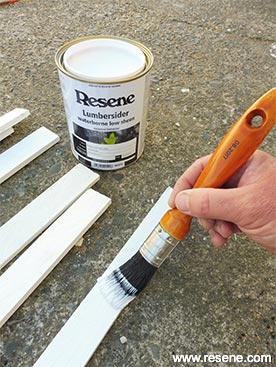
Apply two coats of
Resene Zircon to the trellis batten lengths and allow two hours for each coat to dry.
 Step eleven
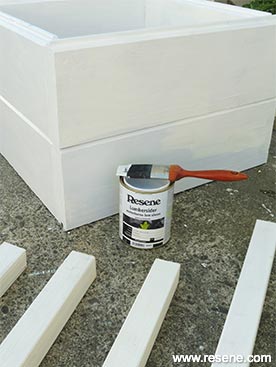
Apply one coat of
Resene Link Water to all surfaces of the planter box and the lengths of 50mm x 50mm timber. Allow to dry.
 Step twelve
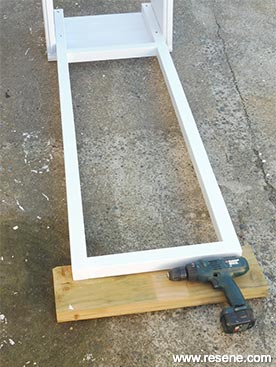
Using counter-sunk 65mm screws, fix the two 1800mm lengths of 50mm x 50mm timber into position, as shown, to form the vertical trellis supports, ensuring they are spaced 400mm apart.
 Step thirteen
Place the two 400mm lengths of 50mm x 50mm timber into position, as shown, to form the horizontal trellis supports. Fix at each corner with PVA glue and 100mm screws, drilling pilot holes first.
 Step fourteen
Apply a second coat of
Resene Link Water to the planter box and trellis frame. Allow to dry.
 Step fifteen
Fix the five vertical lengths of trellis batten into position using staples and PVA glue. Two lengths should be flush with the upright side supports and three lengths should span the gap in the frame. Allow glue to dry and then repeat this process with the seven horizontal lengths of trellis batten. Allow glue to dry.