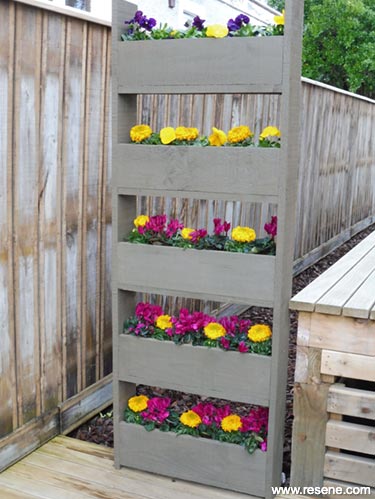
This upright planter is ideal for where space is limited, or as a wall of planting on a deck or patio.
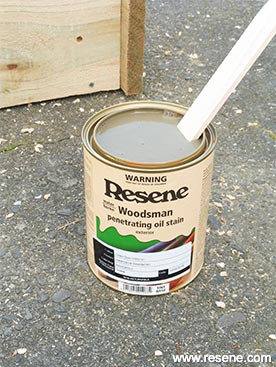
You will need: 1.8m treated fence palings (x 7), 8g x 65mm exterior screws, coarse sandpaper, drill with 10mm drill bit, offcut of fence paling, paint stirrer, paintbrush, pencil, Resene Waterborne Woodsman tinted to Resene Limed Gum, saw, screwdriver, tape measure.
Top tip: For safety reasons, ensure the unit is securely fixed into its final position at the base and sides to prevent it from blowing over in strong wind.
To get the look: Mark filled the planter boxes with good quality potting mix and planted them with a selection of spring colour including cyclamens, pansies and marigolds.
![]()
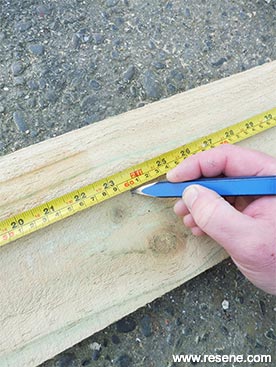 Step one
 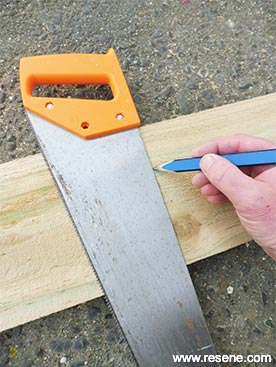 Step two
 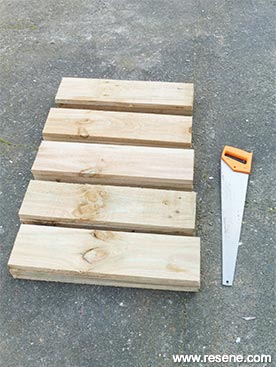 Step three
 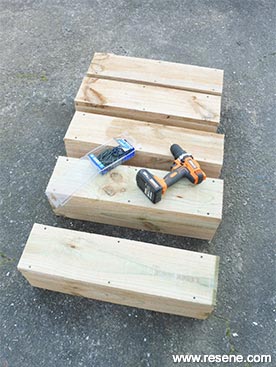 Step four
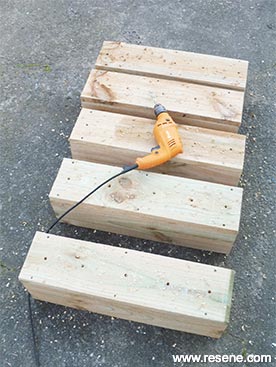 Step five
 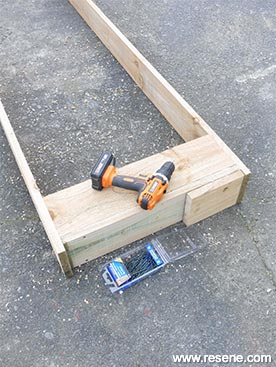 Step six
 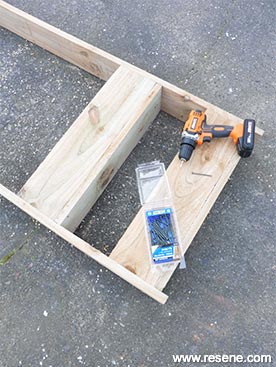 Step seven
 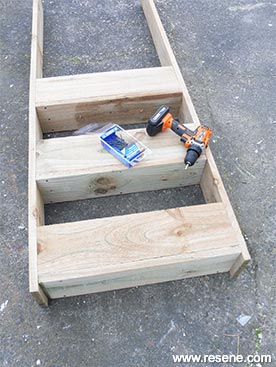 Step eight
 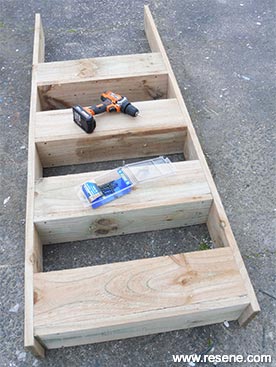 Step nine
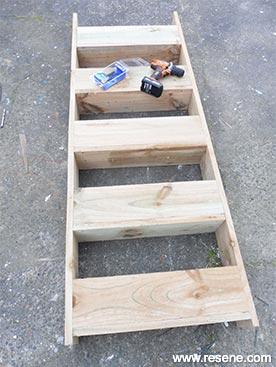 Step ten
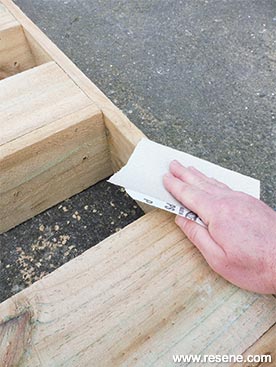 Step eleven
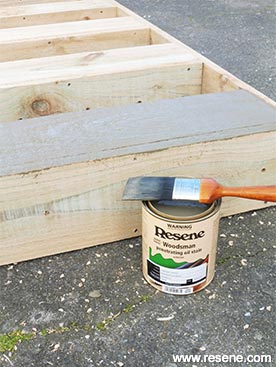 Step Thirteen
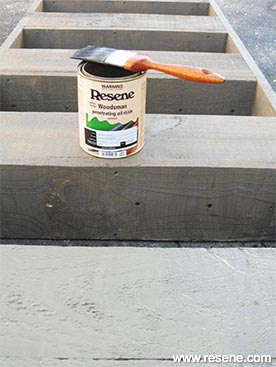 Step Fourteen
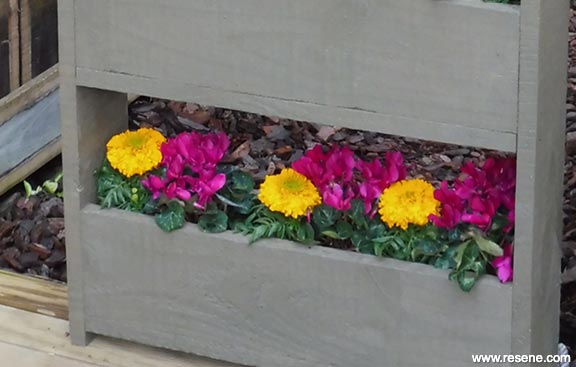 Detail of finished planter box.
Words & photos Mark Rayner
![]() Get inspired ! Subscribe
Get inspired ! Subscribe ![]() Get saving ! Apply for a DIY card
Get saving ! Apply for a DIY card
![]()
Can't find what you're looking for? Ask us!
Company profile | Terms | Privacy policy | Quality and environmental policy | Health and safety policy
Colours shown on this website are a representation only. Please refer to the actual paint or product sample. Resene colour charts, testpots and samples are available for ordering online. See measurements/conversions for more details on how electronic colour values are achieved.
What's new | Specifiers | Painters | DIYers | Artists | Kids | Sitemap | Home | TOP ⇧
 Step twelve
