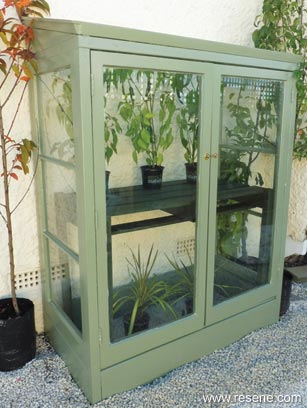
Lean-to glasshouse
Go green and construct this handy lean-to glasshouse from recycled window frames with a made-to-measure bench constructed from an old wooden pallet – perfect for overwintering frost tender plants.
You will need:
- 30mm exterior screws, 65mm exterior screws, 100mm exterior screws
- 2 x wooden windows measuring 610mm x 1355mm (front doors)
- 2 x wooden windows measuring 610mm x 1385mm (side walls)
- 1x wooden window measuring 720mmx 1360mm (roof)
- 50mm x 50mm treated timber cut to the following lengths:
- 4 x 900mm (bench legs)
- 4 x 1570mm (corner supports)
- 1 x 1220mm (top back support)
- 1 x 1310mm (top front support)
- 2 x 650mm (top side supports)
- Tongue and groove landscaping timber cut to the following lengths:
- 2 x 1220mm (front and back of base)
- 2 x 610mm (base sides)
- 150mm x 50mm treated timber (approximately 800mm)
- Brass latch with screws, clean cloth, drill with 3mm drill bit, wooden pallet (approximately 1120mm wide), paintbrush, pencil
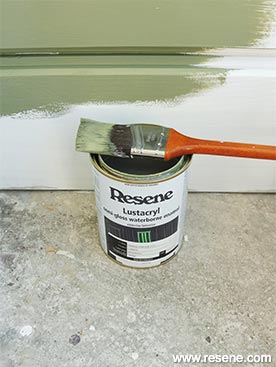
- Resene Lustacryl tinted to Resene Paddock, Resene Quick Dry, Resene Waterborne Woodsman tinted to Resene Grey Green
- Sandpaper, saw, screwdrivers, straight edge, tape measure.
To get the look: Mark painted the background stucco wall with Resene AquaShield tinted to Resene Pipi

 Step one
Remove the old hinges from the side windows and roof window.
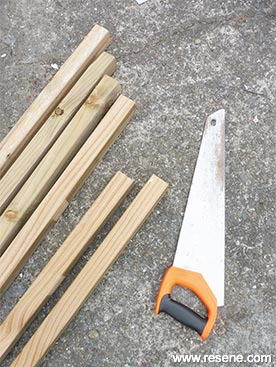 Step two
Measure, mark and cut the 50mm x 50mm timber to the lengths listed. Smooth rough edges with sandpaper.
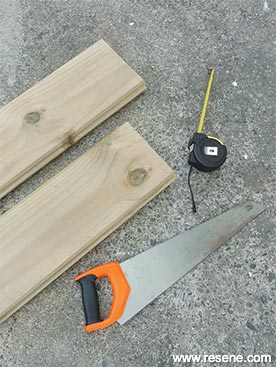 Step three
Measure, mark and cut the tongue and groove landscaping timber to
the lengths listed. Smooth rough edges with sandpaper.
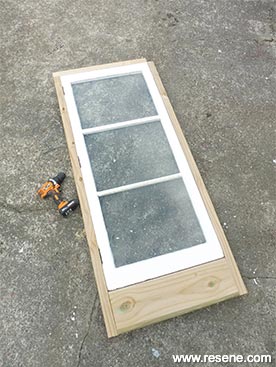 Step four
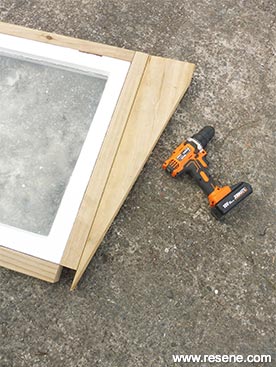
Attach two 1570mm corner supports, a 610mm side base and 650mm top side support to one of the 610mm x 1385mm windows, as shown.
Step four continued: Fix with 65mm screws, drilling pilot holes first. Repeat with the second 610mm x 1385mm window to form the side walls of the glasshouse.
 Step five
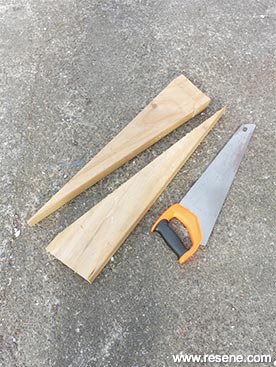
From the 150mm x 50mm timber, measure, mark and cut two sloping pieces, as shown, with the base of each measuring 700mm. Smooth any rough edges with sandpaper.
 Step six
Fix these pieces to the tops of each of the side walls, as shown, using 100mm, 65mm and 30mm screws, drilling pilot holes first.
 Step seven
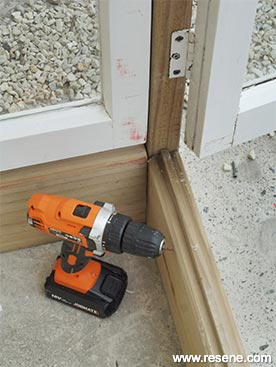
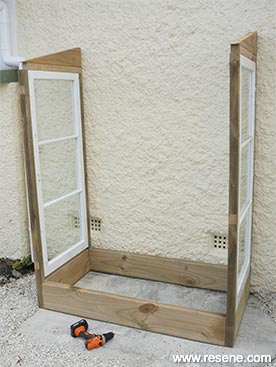
Fit the two 1220mm front and back base sections into position, as shown, using 100mm screws. Again, drill pilot holes first.
 Step eight
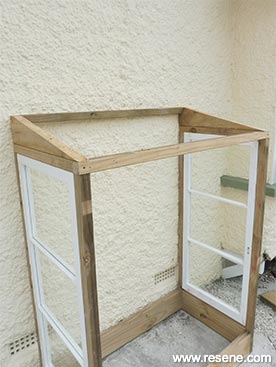
Fix the 1310mm top front support and the 1220mm top back support into position using 100mm screws, drilling pilot holes first.
 Step nine
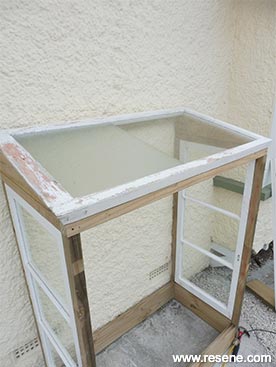
Fix the 720mmx 1360mm window to the top of the structure using 65mm screws, drilling pilot holes first.
 Step ten
Hang the doors in position using the existing hinges and fix with 30mm screws. Lightly sand any previously painted areas to ‘key’ the surface and then wipe off any sanding residue with a clean cloth.
 Step eleven
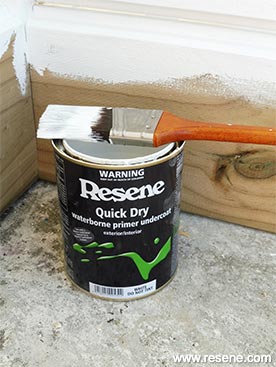
Apply one coat of Resene Quick Dry to any areas of bare wood and allow to dry.
 Step twelve
Apply one coat of Resene Quick Dry to any areas of bare wood and allow to dry.
 Step thirteen
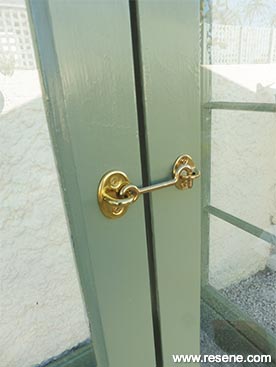
Fix the brass latch to the doors, as shown.
 Step fourteen
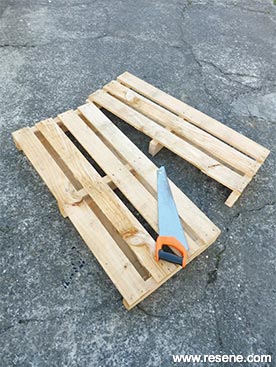
Measure, mark and cut the pallet into a section measuring 510mm x 1120mm. Smooth any rough edges with sandpaper.
 Step fifteen
Using 100mm screws, fix the four remaining 900mm lengths of timber to the front and back of the section of pallet to form the legs of the bench. Drill pilot holes first.
 Step sixteen
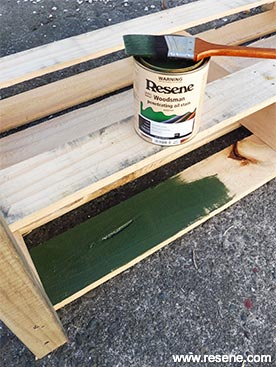
Apply two coats of Resene Waterborne Woodsman tinted to Resene Grey Green to the bench, allowing two hours for each coat to dry. Place the bench inside the glasshouse.