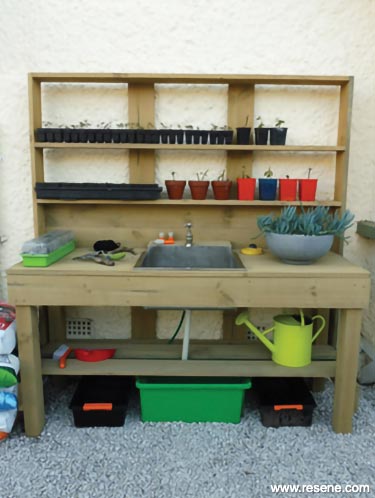
Treat yourself in time for spring and construct this useful potting bench with built-in sink and tap – perfect for sowing seeds and taking cuttings for the new growing season ahead.
You will need: 1800mm fence palings (x20), 75mm x 100mm x 1800mm fence posts (x2), 20mm hose connector, 75mm exterior screws, circular saw (for cutting sink hole in bench top), drill with 10mm drill bit (for starting holes cut by the jigsaw), garden hose with clip on connector, hand saw, jigsaw (for cutting holes to fit tap), large bath tap with 20mm threaded connector, laundry tub with waste pipe, large plastic bin for collecting waste water, paintbrush, pencil , Resene Woodsman tinted to Resene Uluru, sandpaper, saw, screwdriver, set square, spanner, tape measure, turps for washing brush.
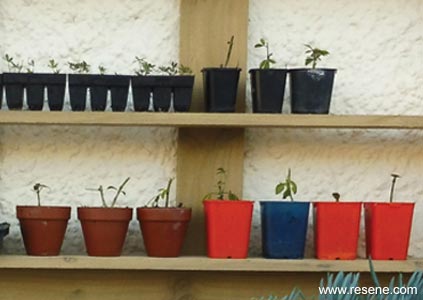
Top tip: The lower shelf is intended for storing lighter objects only, such as empty plant pots. Avoid storing heavier objects here (such as bags of potting mix).
Handy hint: When cutting a hole in a piece of wood with a jigsaw always mark the pattern first with a pencil outline and drill a 10mm hole within this. You can then position the jigsaw blade through this hole to begin the cut.
To get the look: Mark painted the watering can with Resene Lumbersider tinted to Resene Spritzer.
Here's another idea: If you’re intending to build a DIY greenhouse, consider saving a bit of time and expense by incorporating this bench into one wall of the structure – simply fill in the back with fence palings or glaze the back openings with the same material as the greenhouse.
![]()
 Step one
  Step two
  Step three
 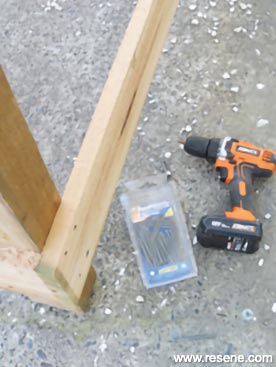 Step four
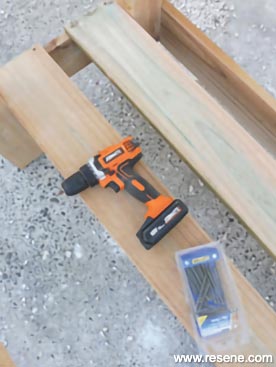 Step five
 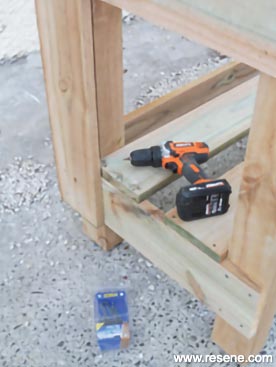 Step six
 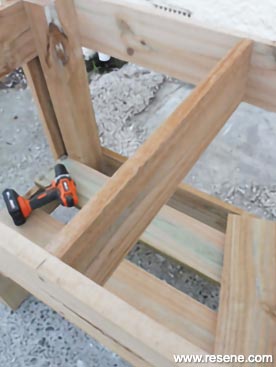 Step seven
  Step eight
 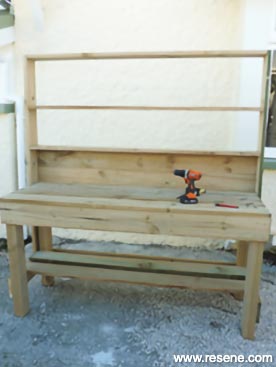 Step nine
 Step ten
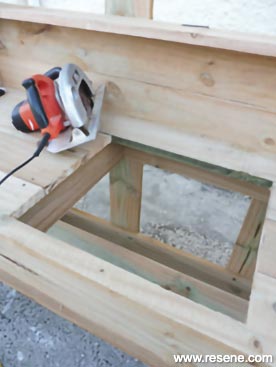 Step eleven
 Step twelve
 Step thirteen
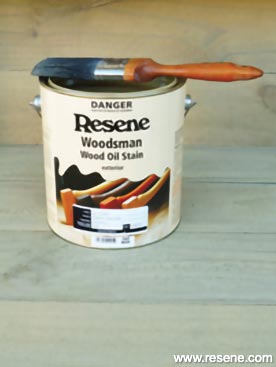 Step fourteen
 Step fifteen
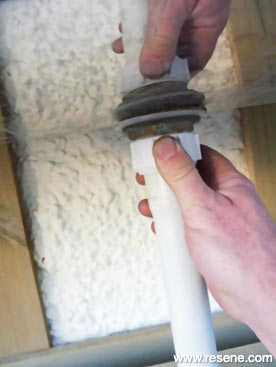 Step sixteen
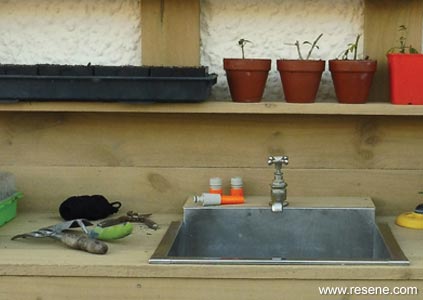
![]() Get inspired ! Subscribe
Get inspired ! Subscribe ![]() Get saving ! Apply for a DIY card
Get saving ! Apply for a DIY card
![]()
Can't find what you're looking for? Ask us!
Company profile | Terms | Privacy policy | Quality and environmental policy | Health and safety policy
Colours shown on this website are a representation only. Please refer to the actual paint or product sample. Resene colour charts, testpots and samples are available for ordering online. See measurements/conversions for more details on how electronic colour values are achieved.
What's new | Specifiers | Painters | DIYers | Artists | Kids | Sitemap | Home | TOP ⇧

