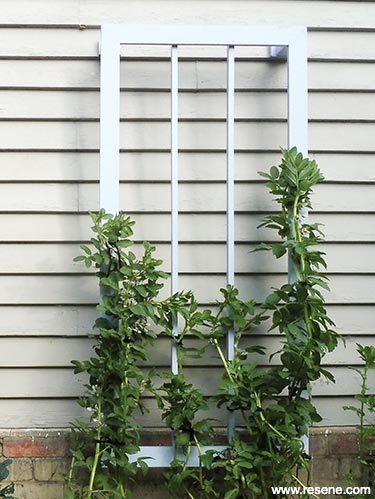
It’s easy to create this simple plant frame from treated timber – perfect for supporting your favourite climbing vege, upright shrub or small espalier.
![]()
You will need:
To get it right: Use a spirit level when fixing your support frame to ensure it’s perfectly level and upright.
Here's another idea: If you’re unable to locate the exact timber profiles listed in this project, simply substitute 90mm x 21mm decking and 24mm x 24mm garden stakes (available from Mitre 10 Mega).
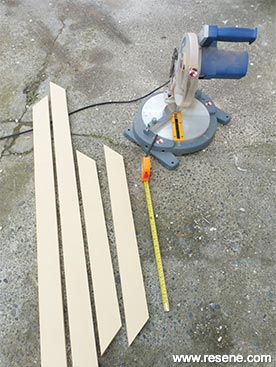 Step one
 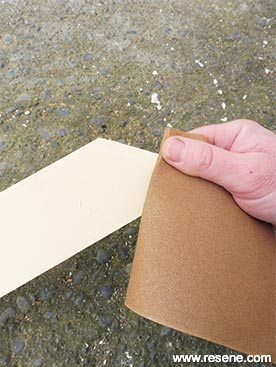 Step two
 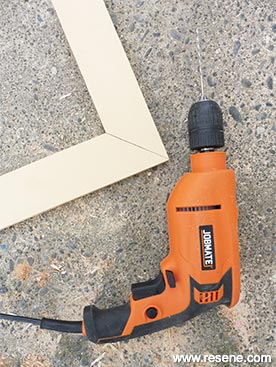 Step three
 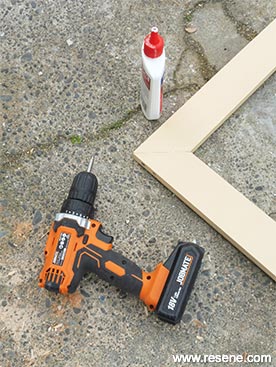 Step four
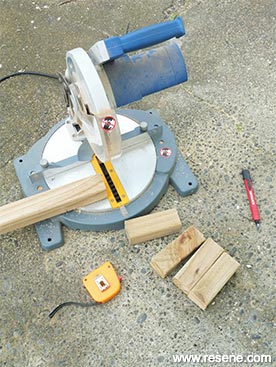 Step five
 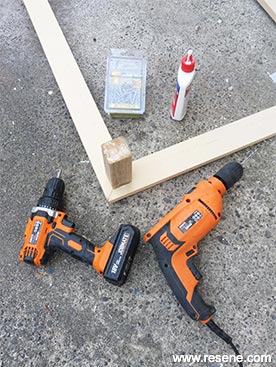 Step six
 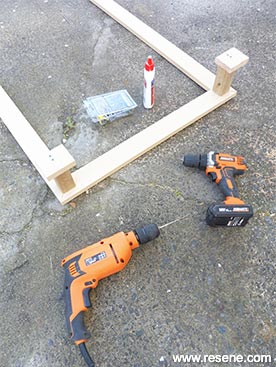 Step seven
 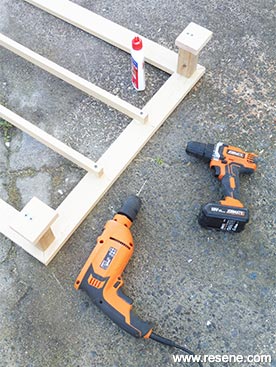 Step eight
  Step nine
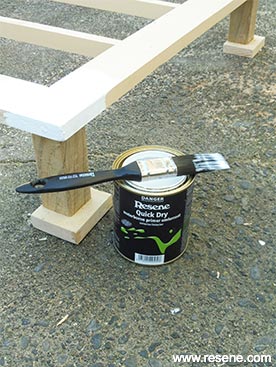 Step ten
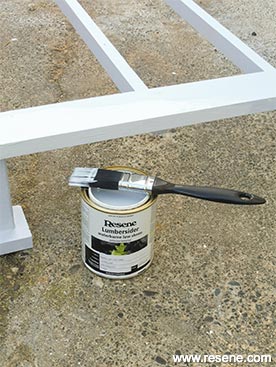 Step eleven
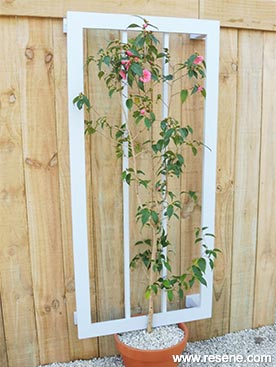 Plant support frame
Top tip: For a neat finish, tie plants to the frame using stainless steel eye hooks and garden ties.
Handy hint: Attach the support frame to a wooden fence or shed wall using 50mm screws (fixed through the ends of the brackets).
![]() Get inspired ! Subscribe
Get inspired ! Subscribe ![]() Get saving ! Apply for a DIY card
Get saving ! Apply for a DIY card
![]()
Can't find what you're looking for? Ask us!
Company profile | Terms | Privacy policy | Quality and environmental policy | Health and safety policy
Colours shown on this website are a representation only. Please refer to the actual paint or product sample. Resene colour charts, testpots and samples are available for ordering online. See measurements/conversions for more details on how electronic colour values are achieved.
What's new | Specifiers | Painters | DIYers | Artists | Kids | Sitemap | Home | TOP ⇧

