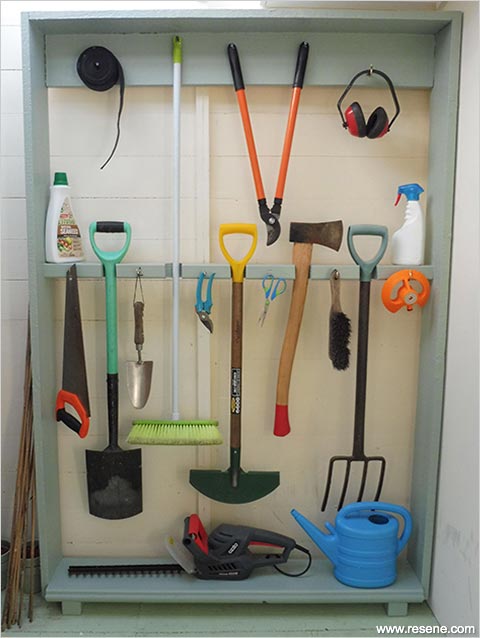
Get organised over winter with our space-saving tool holder – a project that can be easily completed in a day.
![]()
Safety tip: Firmly fix the unit to a shed or garage wall with appropriate screws or bolts to keep it secure and in position.
To get the look: Mark painted the background shed wall with Resene Lumbersider tinted to Resene Pipi.
Here's another idea: Add a few more shelves to this project and it would make an ideal storage unit for tins of paint, brushes and any other home decorating equipment.
Handy Hint: Have a look at the tools you want to store before starting this project and make adjustments as necessary – you may require fewer (or smaller) holes or more cup hooks and screws.
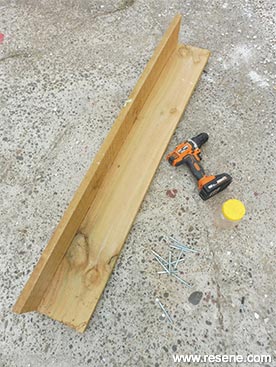 Step one
 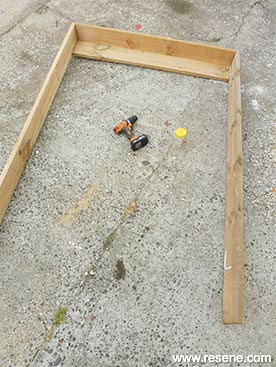 Step two
 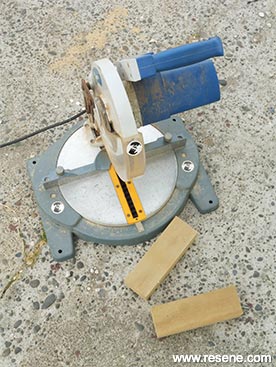 Step three
 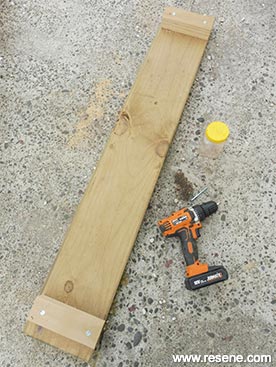 Step four
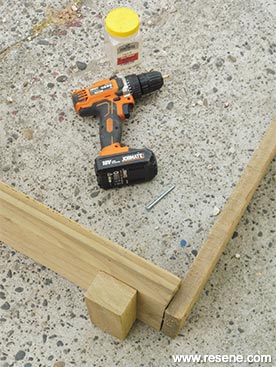 Step five
 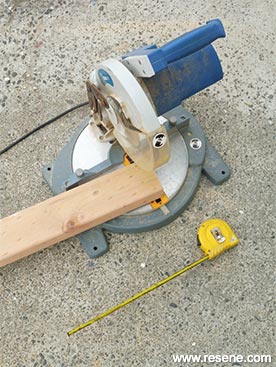 Step six
 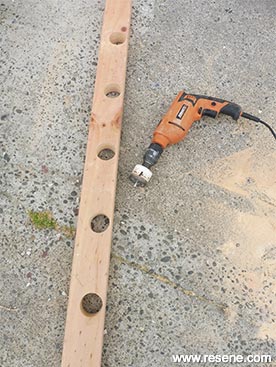 Step seven
 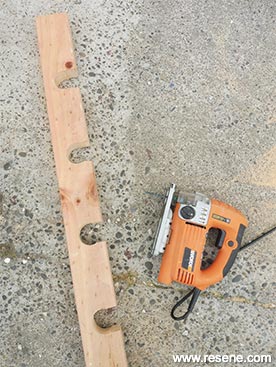 Step eight
 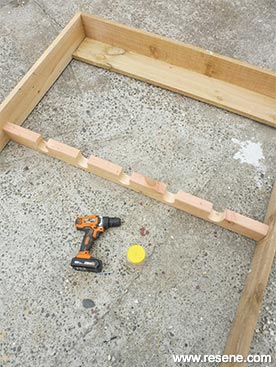 Step nine
 Step ten
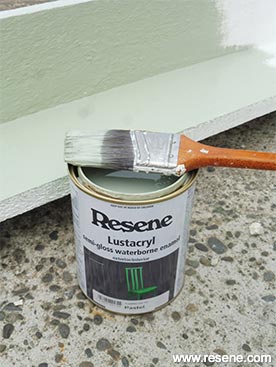 Step eleven
 Step twelve
![]() Get inspired ! Subscribe
Get inspired ! Subscribe ![]() Get saving ! Apply for a DIY card
Get saving ! Apply for a DIY card
![]()
Can't find what you're looking for? Ask us!
Company profile | Terms | Privacy policy | Quality and environmental policy | Health and safety policy
Colours shown on this website are a representation only. Please refer to the actual paint or product sample. Resene colour charts, testpots and samples are available for ordering online. See measurements/conversions for more details on how electronic colour values are achieved.
What's new | Specifiers | Painters | DIYers | Artists | Kids | Sitemap | Home | TOP ⇧

