Get a bit of overhead protection from the sun and rain with this nifty covered potting bench made from upcycled doors and reclaimed timber.
Timber
Resene products
Tools and Equipment
Handy hint: To prevent the bottom of the doors from rotting, avoid placing your potting shed directly onto bare soil. Place it on a concrete pad or build a slightly raised base or floor for it to stand on.
Site is important: Place your potting shed accordingly to get maximum overhead protection from the sun and prevailing rain. Attach securely to a fence (or at the base) to prevent any potential damage from strong winds.
Prepwork: Doors should be thoroughly clean and free of any handles and hinges and should be lightly sanded to ‘key’ the surface before painting.
Note: If using rough-sawn fence palings, the width will equal 155mm (rather than 150mm) and the roof measurement in step two will be 980mm (not 950mm).
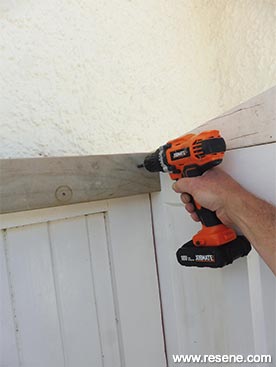
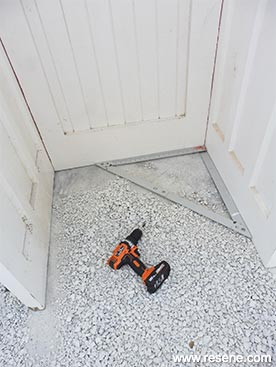 Step one
Attach the three doors together, as shown, to form the back and side walls of the potting bench. Fix at the corners with 90mm screws (drilling pilot holes first) and use the set square to ensure they are at right angles.
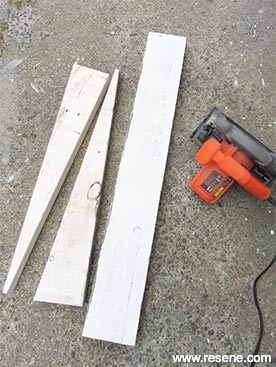 Step two
Measure, mark and cut the 150mm x 50mm timber into one length measuring 950mm and two angled lengths (as shown) measuring 760mm. Smooth any rough edges with sandpaper.
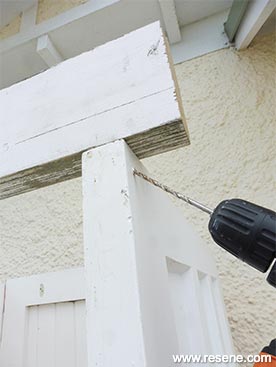 Step three
Place the 950mm length across the top front edge of the potting bench, evenly spanning the two side walls, and fix with 90mm screws (drilling pilot holes first).
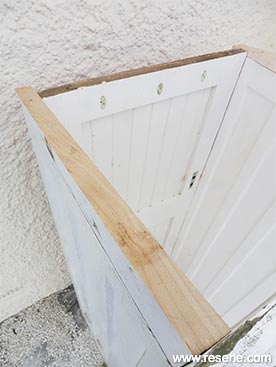 Step four
Attach the two 760mm angled lengths along the tops of the two side walls, as shown, fixing with 90mm and 65mm screws (drilling pilot holes first).
 Step five
Place the 810mm length of timber along the top of the back wall, ensuring the top edge runs flush with the angled sides, and fix with 90mm screws (drilling pilot holes first).
 Step six
Attach the wider 900mm lengths of timber to the top of the structure to form the roof, as shown, beginning and ending with the two 100mm widths. Fix with 90mm screws (drilling pilot holes first).
 Step seven
Attach the narrower 900mm lengths of timber across the joints, as shown, fixing with 40mm screws (drilling pilot holes first).
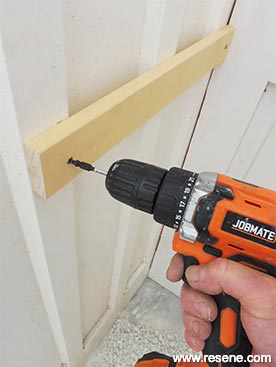 Step eight
Attach the two 460mm pieces of timber horizontally along each side wall to form the bench side supports – the top edge of these should be approximately 900mm from the ground. Fix these with 65mm screws (drilling pilot holes first).
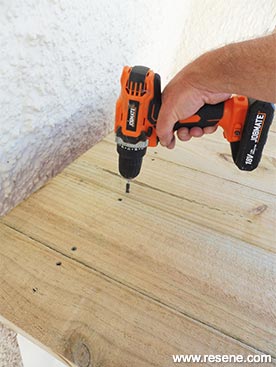
 Step nine
Attach the three 810mm lengths of timber across the bench supports, fixing at either side with 65mm screws (drilling pilot holes first).
 Step ten
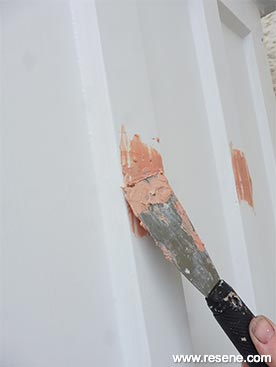
Following the manufacturer’s instructions, mix the builder’s bog and fill any holes and hinge indentations in the doors. Once set, sand this smooth. Fill any other gaps and joints with exterior gap filler.
 Step eleven
Apply one coat of Resene Quick Dry to any filled areas and any bare wood and allow two hours to dry.
 Step twelve
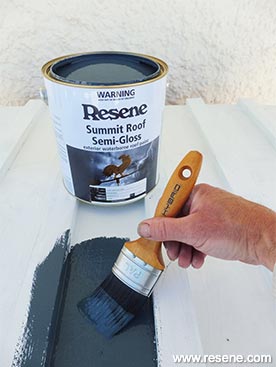
Apply two coats of Resene Summit Roof tinted to Resene Coast to the roof and eaves of the potting bench, allowing two hours for each coat to dry.
 Step thirteen
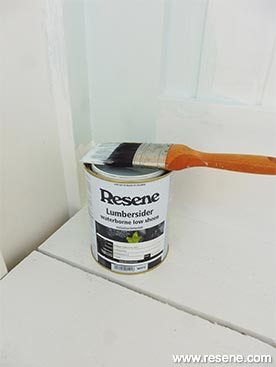
Apply two coats of Resene Lumbersider tinted to Resene Breeze to the inside walls of the potting bench, allowing two hours for each coat to dry.
 Step fourteen
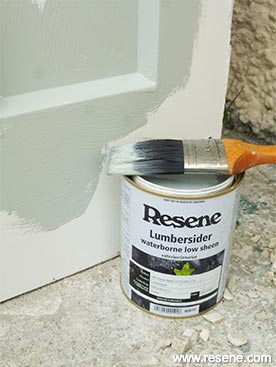
Apply two coats of Resene Lumbersider tinted to Resene Half Inside Back to the outside walls of the potting bench, allowing two hours for each coat to dry.
 Step fifteen
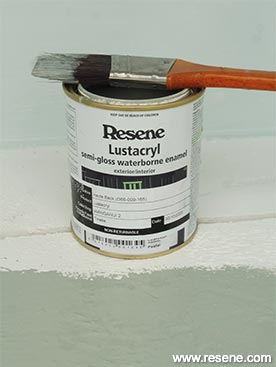
Apply two coats of Resene Lustacryl tinted to Resene Inside Back to the top and underside of the bench, allowing two hours for each coat to dry.
 Step sixteen
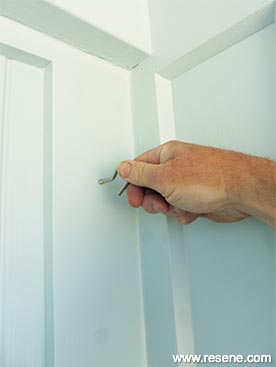
Fix the stainless-steel hooks to the back wall of the potting shed, drilling pilot holes first.
![]() Get inspired ! Subscribe
Get inspired ! Subscribe ![]() Get saving ! Apply for a DIY card
Get saving ! Apply for a DIY card
![]()
Can't find what you're looking for? Ask us!
Company profile | Terms | Privacy policy | Quality and environmental policy | Health and safety policy
Colours shown on this website are a representation only. Please refer to the actual paint or product sample. Resene colour charts, testpots and samples are available for ordering online. See measurements/conversions for more details on how electronic colour values are achieved.
What's new | Specifiers | Painters | DIYers | Artists | Kids | Sitemap | Home | TOP ⇧


