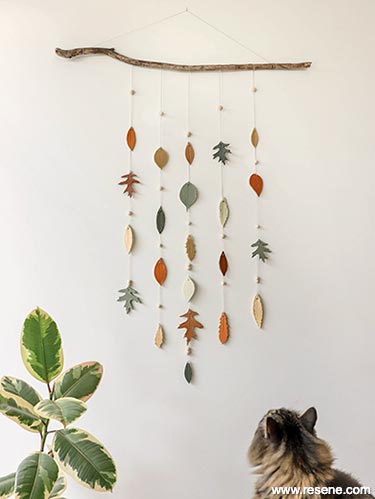
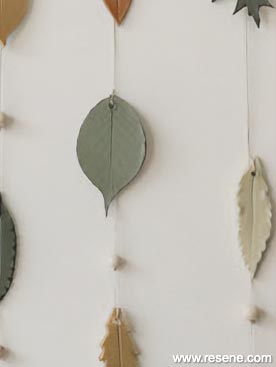
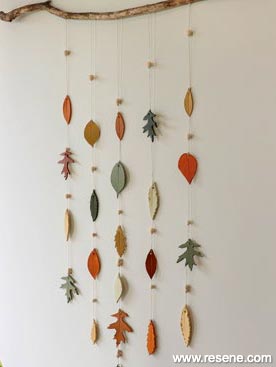
Bring nature’s beautiful autumn colours inside with this great little project that requires no clay baking and is super easy for little hands.
![]()
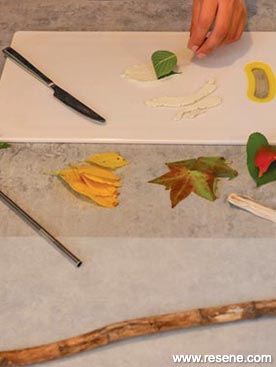
Before you start: Go on a nature walk and gather a selection of leaves. Look out for leaves that have well-defined veins as these will make the best impressions in the clay. You will also need to find a stick that’s approximately 50cm in length, from which you will hang your clay leaves.
Top tip: Use leaves that aren’t too fragile so they don’t break as you lift them from the clay.
Here's another idea: Paint both sides of the clay leaves to create a mobile to hang from the ceiling.
Painting tips:
Paint some (or all) of the leaves in Resene Lumbersider White. Once dry, paint over with Resene FX Nightlight, which glows in the dark. Leave in the sun and then watch it glow in the dark at night!
For a little shimmer, paint some of the leaves with metallic paint – try out different-coloured Resene FX Metallic testpots. The leaves will shimmer in the sunlight.
Leaves are often more than one colour. You can create a multitoned look by painting your first colour, then tipping a small amount of another paint colour into a Resene FX Paint Effects testpot and brushing it over your first colour.
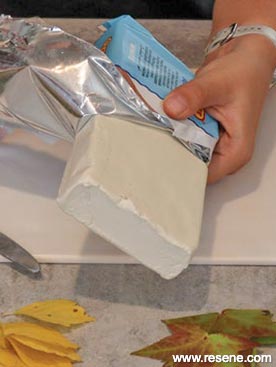
Step one
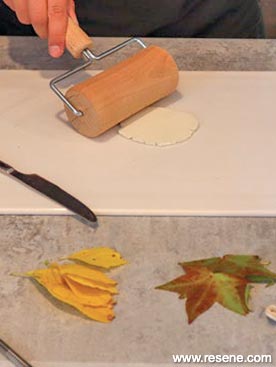
Step two
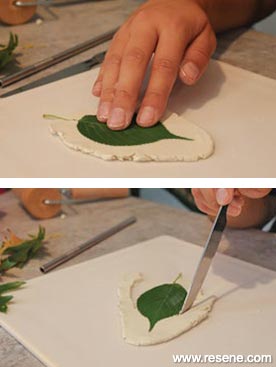
Step three & four
Leaf detail
Step one: If your air dry clay does not come in a resealable container, transfer it to a zip-lock bag so it won’t dry out. When not in use, make sure to squeeze the air out and seal the bag well.
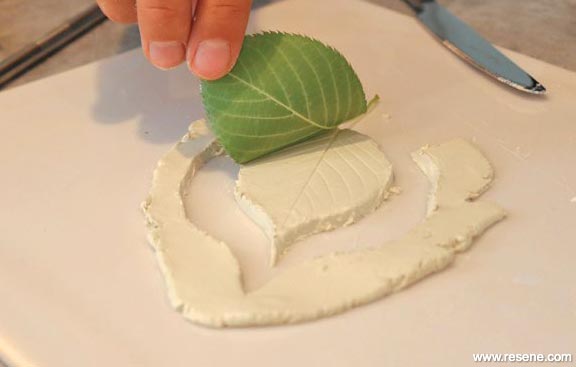
Step two: Take a small piece of clay, place on a chopping board and flatten it with a rolling pin.
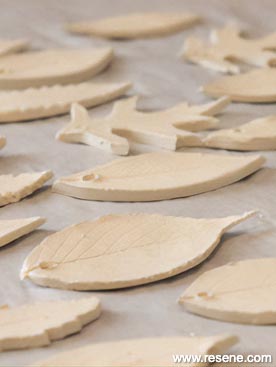
Step three: Place one of your leaves on top of the clay and gently press down on it to create an impression in the clay.
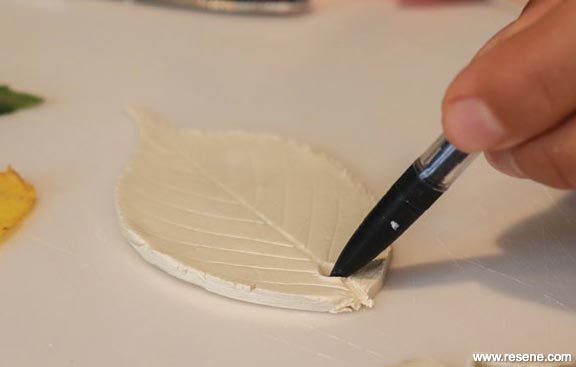
Step four: Use a butter knife to carefully cut along the outside of the leaf.
 Step five
 Step six
Step five: Remove any excess clay from the outside and peel off the leaf. Use your finger to smooth out any jagged edges, if required.
Step six: Use a pencil or straw to make a hole at the top of the leaf. Make sure it is large enough to later thread string through.
Step seven

Leaf detail
Step seven: Repeat steps two to six until you have enough clay leaves for your hanging.
Step eight: Let your clay leaves dry overnight. After roughly 12 hours, turn them over to allow the backs to dry.
Step nine
Step ten
Step eleven
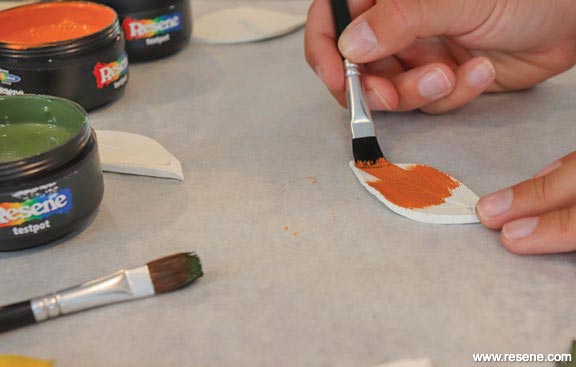
Step nine: Paint the leaves with Resene testpots, using as many or as few colours as desired.
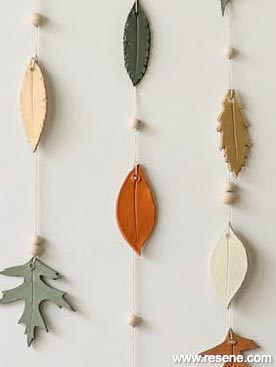
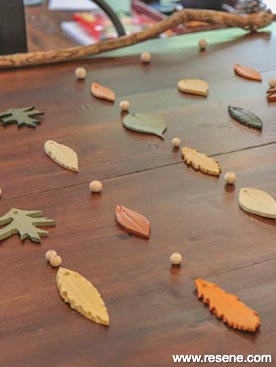
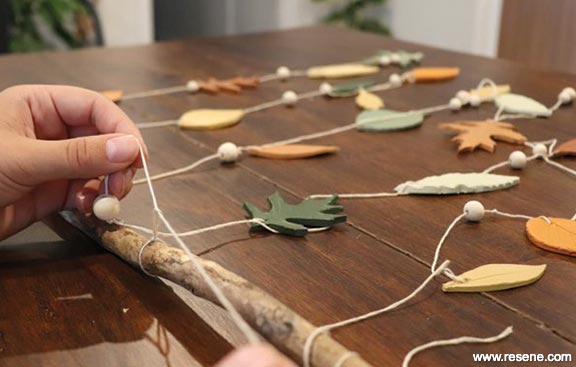
Step ten: Once the paint is dry, roughly lay out your leaves and beads (if using) in the order you would like them to hang.
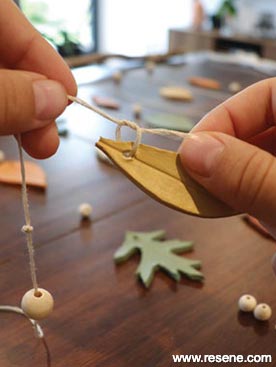
Step eleven: Cut lengths of string long enough to fit all your leaves (and beads), allowing a little extra for the knots that will attach each length to the stick. Thread a piece of string through your leaves’ holes, from the bottom up to the stick, tying knots as you go. (Beads will often sit on knotted string.) Repeat with each column until your design is complete.
Step twelve
Step thirteen
Leaf detail
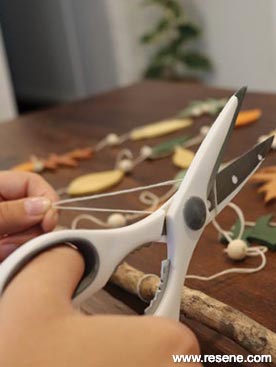
Step twelve: Tie each length of string, spaced equally apart, onto your stick. Trim off any excess string.
Step thirteen: Cut a piece of string to be slightly longer than the length of your stick. Securely tie the string to each end of the stick to create a hanger. Now your creation is ready to be hung on a wall or even given away as a gift.
![]() Get inspired ! Subscribe
Get inspired ! Subscribe ![]() Get saving ! Apply for a DIY card
Get saving ! Apply for a DIY card
![]()
Can't find what you're looking for? Ask us!
Company profile | Terms | Privacy policy | Quality and environmental policy | Health and safety policy
Colours shown on this website are a representation only. Please refer to the actual paint or product sample. Resene colour charts, testpots and samples are available for ordering online. See measurements/conversions for more details on how electronic colour values are achieved.
What's new | Specifiers | Painters | DIYers | Artists | Kids | Sitemap | Home | TOP ⇧

