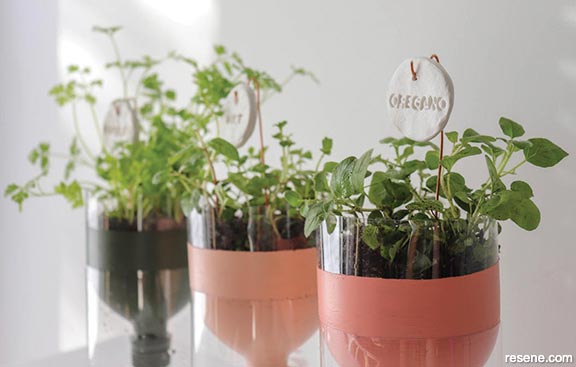
A simple way to begin a herb garden or brighten up a windowsill, this child-friendly project will see the whole family grow.

![]()
Planters
Labels
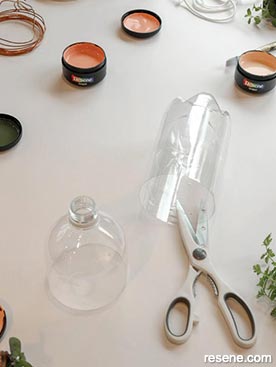
Before you start: Remove any labels from your bottles, wash and allow to dry.
Here's some other ideas:
Top tip: If you do forget to add water and your reservoir dries out, water from above to ensure that all of the potting mix is thoroughly moistened before filling the reservoir again. Dry soil will not wick water so even if you did refill the reservoir, the plants won’t draw up the moisture they need.
 Step one
Cut the tops off your bottles (roughly a third of the way down).
 Step two
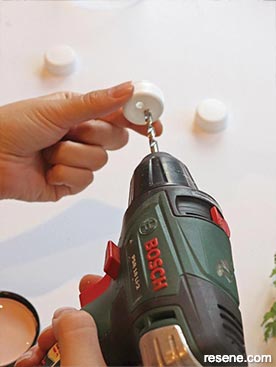
Drill, puncture or cut a couple of small holes in the bottle caps to allow for water and the string to pass through.
 Step three
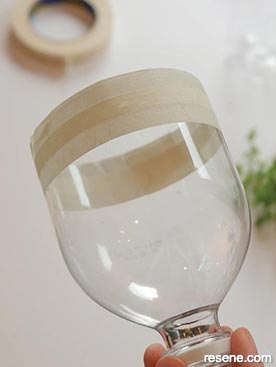
Wrap masking tape around the cut edge of the top section of the bottle, as shown.
 Step four
Using the Resene test pots, add a splash of colour to your planters! Once the paint has dried, slowly remove the masking tape.
Avoid painting the bottom section of the bottles so you can see the water levels once in use.
 Step five
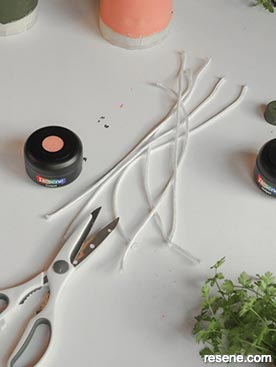
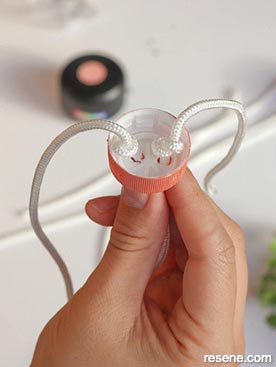
Cut two pieces of string per bottle, long enough to reach the entire height of your planter.
 Step six
Tie a knot halfway down each string and thread two lengths of string through each bottle cap. Screw back onto the bottle.
 Step seven
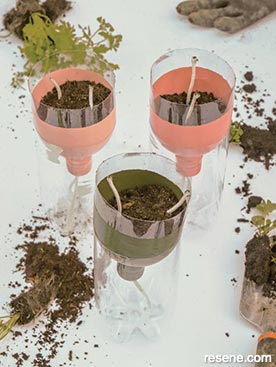
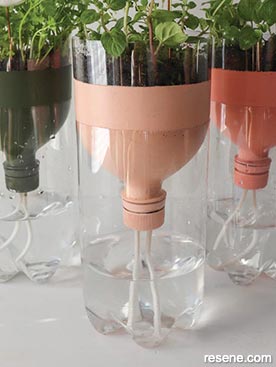
Place the top section of the bottle, turned upside down, into the bottom section and fill with soil. Make sure to distribute the two strings throughout the soil to promote even watering. Repeat with each planter.
 Step eight
Plant your herbs (or seeds) into each planter and water well, allowing the water to drain through and fill the planters about a third of the way up.
 Step nine
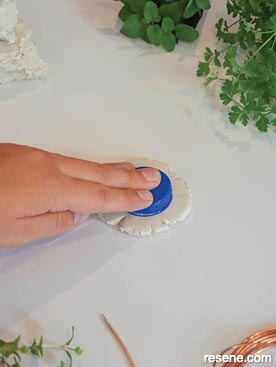
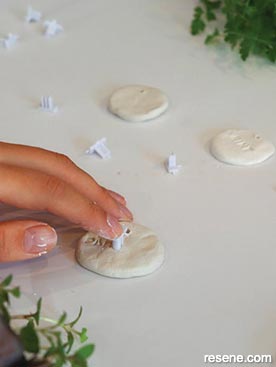
To create the plant labels, take a small piece of air dry clay, place it on a flat surface and flatten it with your palm. Using your clay cutter (for example, a bottle lid), cut out a circle for each planter.
 Step ten
Using your letter press set, press the names of the herbs into the clay circles. Make a hole in the top of the circle with a toothpick for hanging the labels once they are ready.
 Step eleven
Let your labels dry overnight. After roughly 12 hours, turn them over to allow the backs to dry.
 Step twelve (optional)
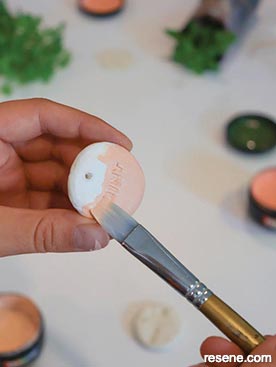
If you want to add more colour, paint the labels with Resene test pots and allow to dry.
 Step thirteen
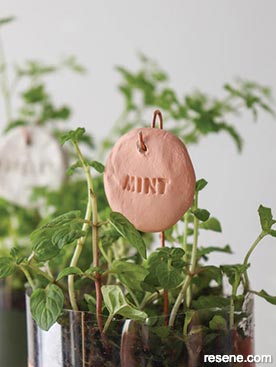
Cut the wire into roughly 15cm length stakes and carefully coil one end in such a way that you can hang your labels, as shown. Leave the other end straight.
 Step fourteen
Hang the clay labels onto each wire stake and push into your planters. Place them in a sunny spot and watch your herbs grow. Top up the water reservoir as needed, making sure the string is always partially submerged.
 Painting tips
For an ombre painting effect, choose your favourite Resene testpot colour and paint a stripe. Add a little white from a Resene white testpot and paint the next stripe. Add more white for each stripe. your main colour will get lighter and lighter as you go.
![]() Get inspired ! Subscribe
Get inspired ! Subscribe ![]() Get saving ! Apply for a DIY card
Get saving ! Apply for a DIY card
![]()
Can't find what you're looking for? Ask us!
Company profile | Terms | Privacy policy | Quality and environmental policy | Health and safety policy
Colours shown on this website are a representation only. Please refer to the actual paint or product sample. Resene colour charts, testpots and samples are available for ordering online. See measurements/conversions for more details on how electronic colour values are achieved.
What's new | Specifiers | Painters | DIYers | Artists | Kids | Sitemap | Home | TOP ⇧

