Mark Rayner builds a rock solid letter box.
You will need: The following 20 series Firth concrete blocks: Two H20.04 (Plain End Half High) 390mm x 190mm x 90mm, One 20.30 (Standard 200mm Column) 390mm x 190mm x 190mm 7 x Seven 20.34 (Pilaster 'C' Type) 390mm x 190mm x 190mm Four 05.17 (Capping) 390mm x 190mm x 40mm 1 x 450mm x 450mm One concrete paving slab, bag of builders' mortar mix, bag of concrete mix, bucket, spade, cement, trowel, 50mm x 50mm timber cut into four 450mm lengths, four 100mm nails, hammer, spirit level, wire brush, Resene 75mm paintbrush, two stainless steel hinges, four 26mm x 6m dynabolts, ratchet set, electric drill, 6mm masonry drill bit, pop riveter with 4 rivets and a piece of colorsteel cut to 365mm x 160mm.
Two one litre tins of Resene Concrete Stain Thinner, Resene Concrete Stain in Resene Red Terracotta.
Top tip: Wear latex gloves when handling Resene Concrete Stain, and wash brush in Resene Concrete Stain Thinner. For more information on using Resene Concrete Stain refer to Resene Data Sheet D58.
To get the look: Fill the top blocks with good quality potting mix and plant up with drought-tolerant plants – Mark used red mesembryanthemums.
![]()
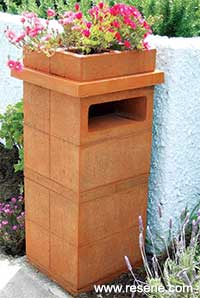
 Step one
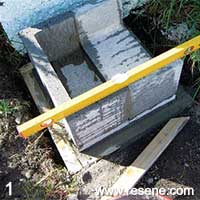
 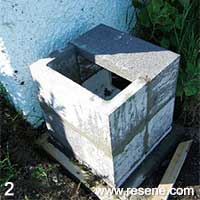 Step two
 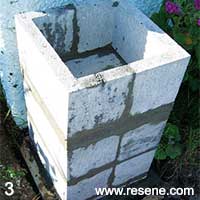 Step three
 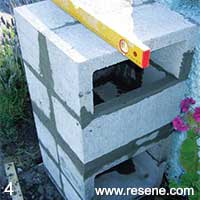 Step four
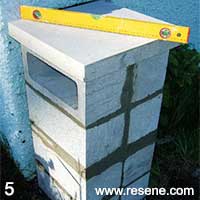 Step five
 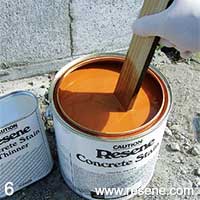 Step six
 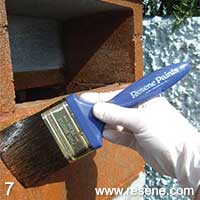 Step seven
 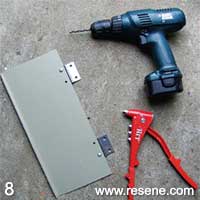 Step eight
 ![]() Get inspired ! Subscribe
Get inspired ! Subscribe ![]() Get saving ! Apply for a DIY card
Get saving ! Apply for a DIY card
![]()
Can't find what you're looking for? Ask us!
Company profile | Terms | Privacy policy | Quality and environmental policy | Health and safety policy
Colours shown on this website are a representation only. Please refer to the actual paint or product sample. Resene colour charts, testpots and samples are available for ordering online. See measurements/conversions for more details on how electronic colour values are achieved.
What's new | Specifiers | Painters | DIYers | Artists | Kids | Sitemap | Home | TOP ⇧