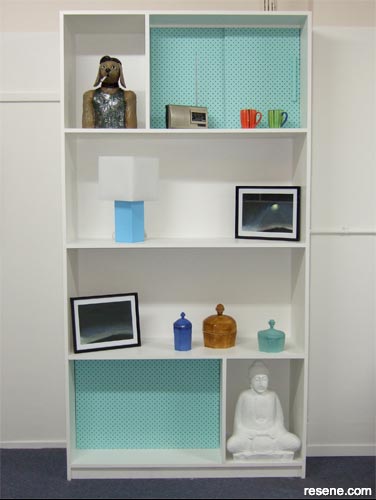
Classic pegboard and MDF combine to create this cool 1960s retro-look wall unit.
Resene art with Mark Rayner - Project 13
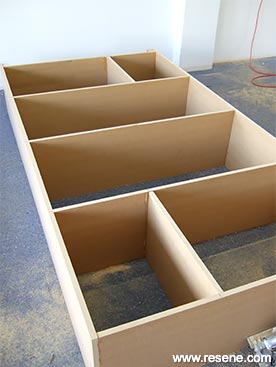
Difficulty level: Challenging
You will need:
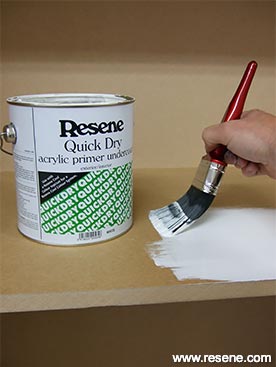
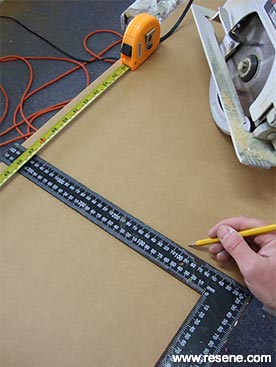
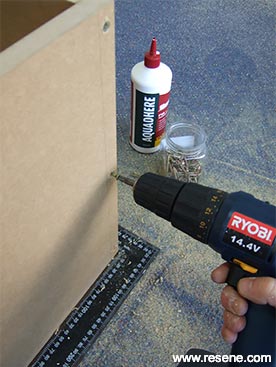
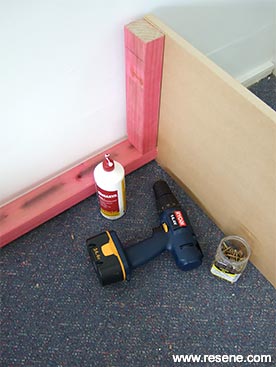
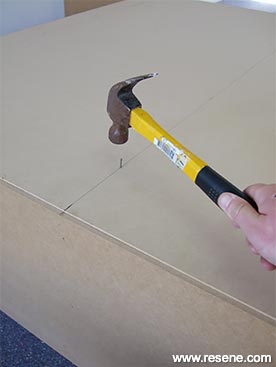
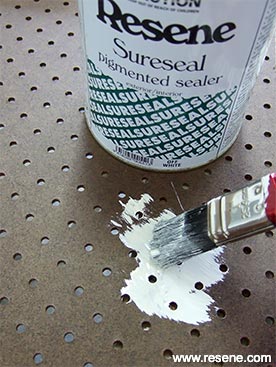
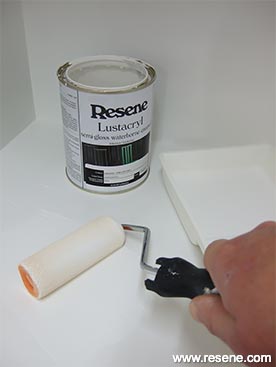
Also required: 20mm panel pins, 40mm brass screws, circular saw, drill, filler, hammer, paintbrushes, pencil, PVA glue, Resene Enamacryl tinted Resene Aqua, Resene Lustacryl tinted to Resene Alabaster, Resene Sureseal pigmented sealer, Resene Quick Dry waterborne primer undercoat, screwdriver, sliding door handles (optional), upper and lower PVC fittings for sliding doors, small paint roller and tray, set square, tape measure.
To get the look: Mark painted the background wall with Resene Zylone Sheen tinted to Resene Alabaster.
Other ideas: Experiment with other colours such as Resene Tangerine and Resene Cioccolato to create a retro 1970s look.

![]() Get inspired ! Subscribe
Get inspired ! Subscribe ![]() Get saving ! Apply for a DIY card
Get saving ! Apply for a DIY card
![]()
Can't find what you're looking for? Ask us!
Company profile | Terms | Privacy policy | Quality and environmental policy | Health and safety policy
Colours shown on this website are a representation only. Please refer to the actual paint or product sample. Resene colour charts, testpots and samples are available for ordering online. See measurements/conversions for more details on how electronic colour values are achieved.
What's new | Specifiers | Painters | DIYers | Artists | Kids | Sitemap | Home | TOP ⇧