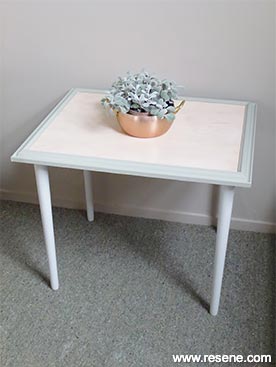
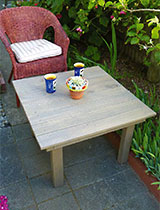
Use an old wooden picture frame to create this fabulous occasional table.
Fun with furniture with Mark Rayner - Project 27
Difficulty level: Challenging
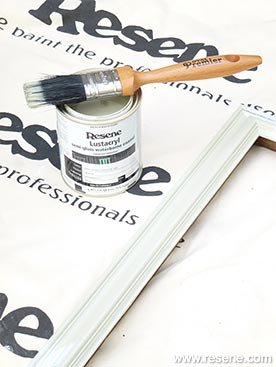
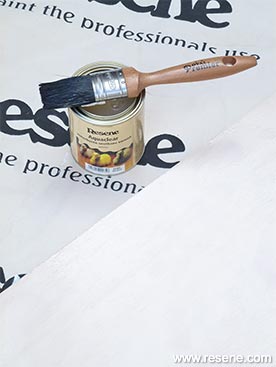
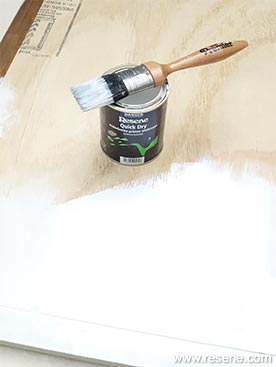
You will need: a wooden picture frame, a piece of 19mm plywood cut to fit the picture frame, sandpaper, screwdriver, wooden table legs and brackets, drill with drill bits, PVA glue, paintbrush, paint stirrer and a damp cloth. Resene Quick Dry, Resene Aquaclear semi-gloss, Resene Colorwood Whitewash, Resene Lustacryl tinted to Resene Eighth Lemon Grass and Resene Lemon Grass.
To get the look: Mark painted the background wall with Resene SpaceCote Flat tinted to Resene Half Tea.
Other ideas: To create a more theatrical look, paint the table legs with Resene Pohutukawa and the frame with a basecoat of Resene Porsche and two topcoats of Resene Bullion.
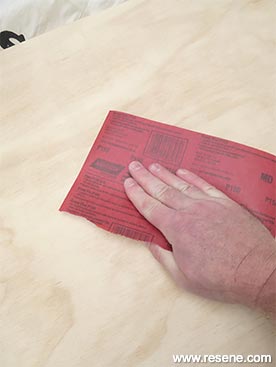
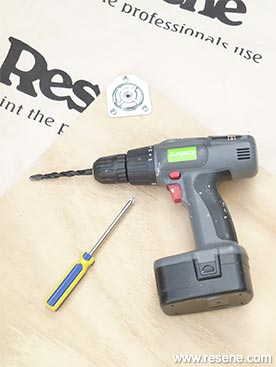
Fix the table leg brackets to each corner of the underside of the piece of plywood, first drilling a 10mm hole (approximately 15mm deep) aligned with the central hole on each bracket.
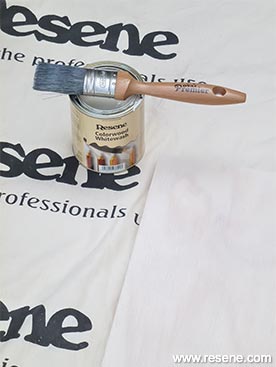
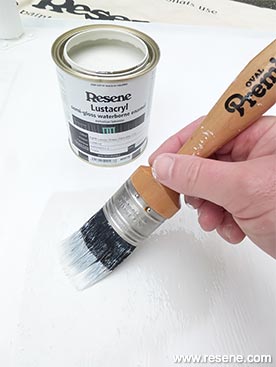
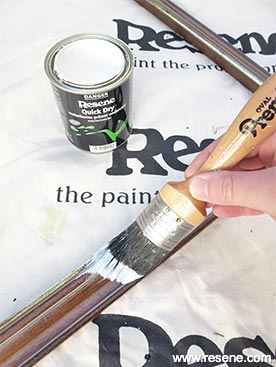
Apply two coats of Resene Eighth Lemon Grass to the table legs and underside of the table, allowing two hours for each coat to dry.
![]() Get inspired ! Subscribe
Get inspired ! Subscribe ![]() Get saving ! Apply for a DIY card
Get saving ! Apply for a DIY card
![]()
Can't find what you're looking for? Ask us!
Company profile | Terms | Privacy policy | Quality and environmental policy | Health and safety policy
Colours shown on this website are a representation only. Please refer to the actual paint or product sample. Resene colour charts, testpots and samples are available for ordering online. See measurements/conversions for more details on how electronic colour values are achieved.
What's new | Specifiers | Painters | DIYers | Artists | Kids | Sitemap | Home | TOP ⇧