Project ideas and inspiration from Good magazine
A bit of elbow grease turns four tatty old school chairs into a stylishly understated set with this simple upcycling project.
The secret to most successful furniture upcycling projects is in looking for items made with quality materials and of classic design. Try to see past an item’s current shabby state. Imagine combining it with other pieces to give it a new look. Just because something is being thrown away doesn’t necessarily mean it’s a piece of junk. What is the object’s best feature? Sometimes it is what you remove rather than what you add that makes the difference.
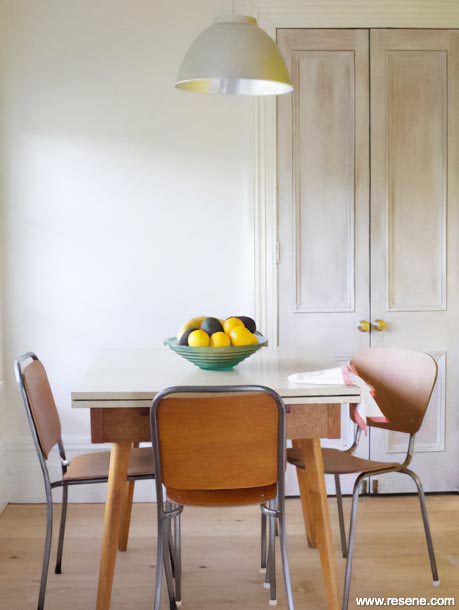

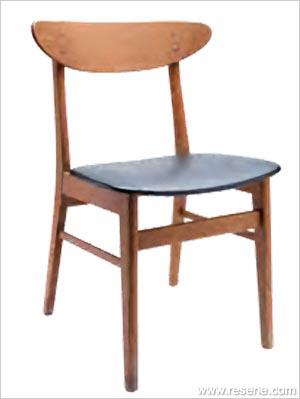
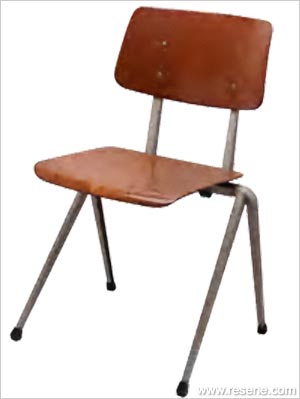
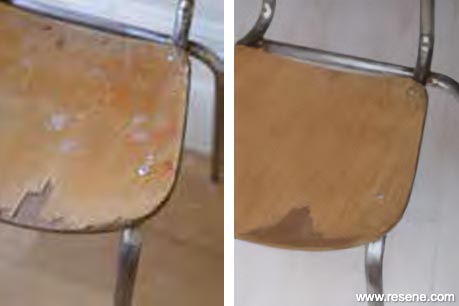
These basic steel and laminated wood school chairs came my way after friends cleaned out a church hall basement. Of classic design and solid construction, they were still sturdy despite many years of use. The chairs were similar but not all the same design – so my aim was to tidy them up as well as give them a treatment that would help them look more of a cohesive set. Rather than paint the chairs, I decided to strip the metal back and coat it with a clear sealer to prevent it from rusting back up again. Once sanded back the wood panels revealed their lovely grain and a coat of sealer further enhanced their pleasing warm tones.

In all this project took some hours (there was at least 1 hour spent sanding per chair), but I was very happy with the end result we achieved. Anyway, I figure there are far worse ways to while away the time than with a few hours spent sanding – if at the same time you happen to be sitting in the sun and listening to fascinating history podcasts. Appropriately, working on these old school chairs was a history lesson and reclaiming project in one!

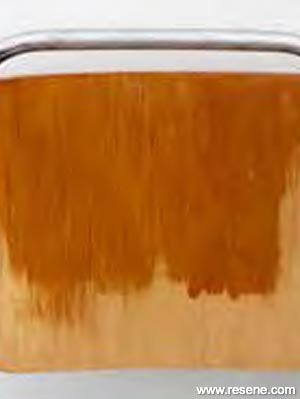
Step 1
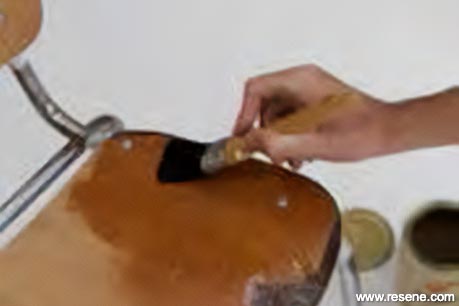
Step 2
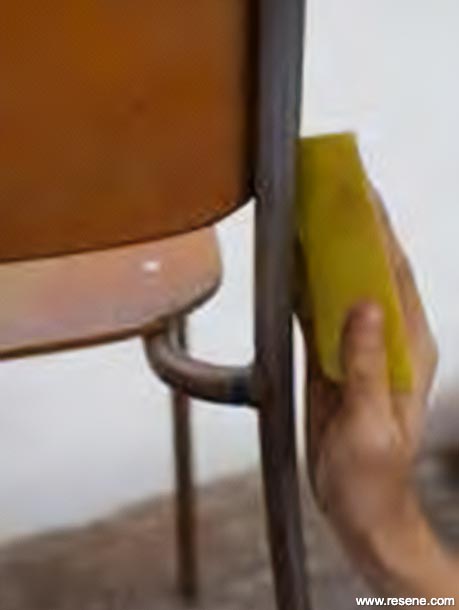
Step 3
Step 1 Sand the entire surface of the chairs and metalwork. Start with medium grade sandpaper and switch to light grade until you have achieved a smooth surface you are happy with. Take care to sand in the direction of the wood grain. Wipe off any dust using a lint-free, slighly damp cloth.
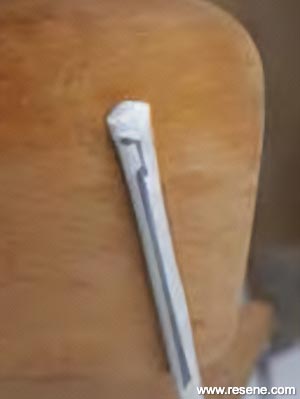
Step 2 Use masking tape to cover the metal parts where they come in contact with wood parts of the chair
Step 3 Cover all wooden surfaces with a light, even coat of Resene Aquaclear Waterborne Urethane Varnish. Allow to dry completely before applying a second and third coat to achieve the finish you are after. Once dry, remove masking tape.
Step 4 Mix together the two parts of the Resene Uracryl 403 urethane acrylic. In a well ventilated area, apply a coat to the metal work. Allow to completely dry. Clean your brush using mineral turpentine (or turps).
Tip: Don’t use a solvent-based clear sealer unless you really need to. Resene Aquaclear Waterborne Urethane Varnish satin is an Environmental Choice-approved waterborne alternative. It’s easy to apply and dries clear for a smooth, sealed surface.
Words and styling Sarah Heeringa.
Good magazine projects
Wanting to tackle a project at your place but only have a weekend to spare? Get inspired with these projects from Good magazine. Reclaim and upcycle with paint.
![]() Get inspired ! Subscribe
Get inspired ! Subscribe ![]() Get saving ! Apply for a DIY card
Get saving ! Apply for a DIY card
![]()
Can't find what you're looking for? Ask us!
Company profile | Terms | Privacy policy | Quality and environmental policy | Health and safety policy
Colours shown on this website are a representation only. Please refer to the actual paint or product sample. Resene colour charts, testpots and samples are available for ordering online. See measurements/conversions for more details on how electronic colour values are achieved.
What's new | Specifiers | Painters | DIYers | Artists | Kids | Sitemap | Home | TOP ⇧

