Craft - inspired by Resene, from Little Treasures magazine
Instil the DIY spirit in your kids with this cool tool bench made from a bedside table.
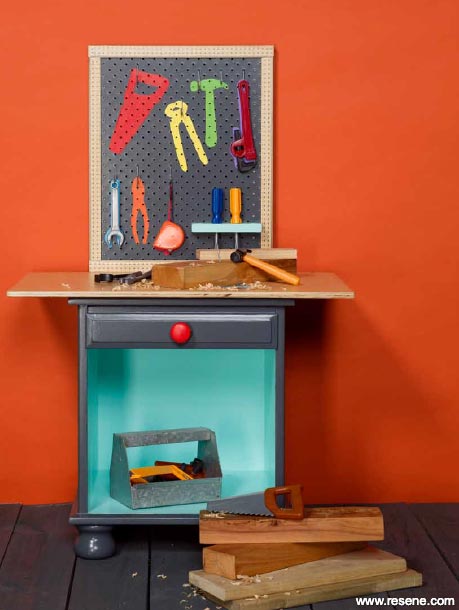
Remove drawers and runners. Sand and seal table inside and out with Resene Quick Dry.
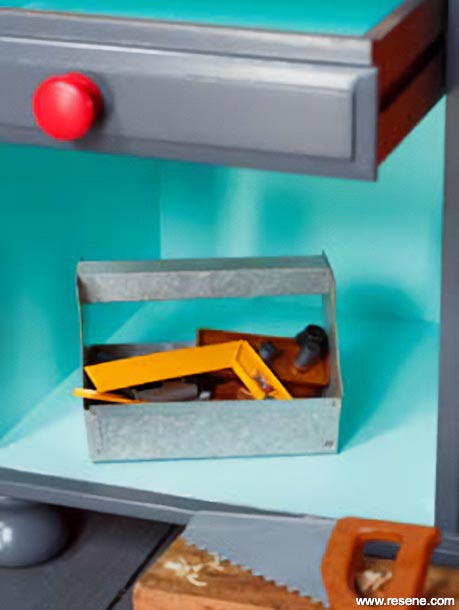
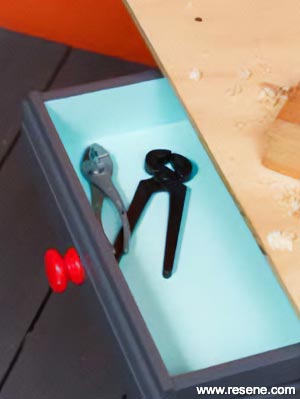
Paint inside of table and drawer with two coats of Resene Lustacryl in Resene Riptide.
Using a saw, cut peg board to width of table and 50cm higher. Cut batons to height of peg board.
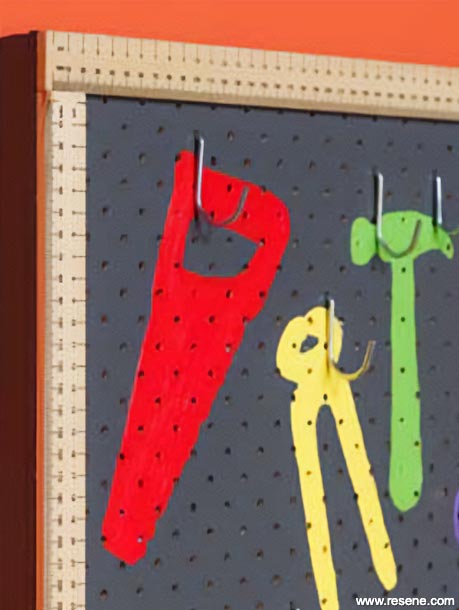
Attach batons to back of peg board (on each side) with screws. Drill holes and screw through the front of the upper half of the peg board.
Secure the lower half by screwing through the batons and pegboard into the back of the table.
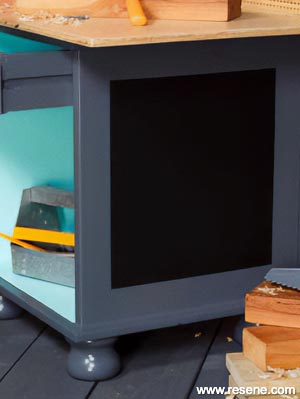
Paint batons and peg board with Resene Quick Dry. Paint table exterior and peg board with two coats of Resene Lustacryl in Resene Tuna.
Cut ply to size, large enough to overhang the table about 10-12cm on each side and 3cm at the front.
Sand top, edges and round corners with sandpaper, medium grit then fine grit. Attach ply with screws down into table top.
Apply four coats of polyurethane.
Cut (using hack saw) rulers and attach with liquid nails, clamp to hold in place until dry.
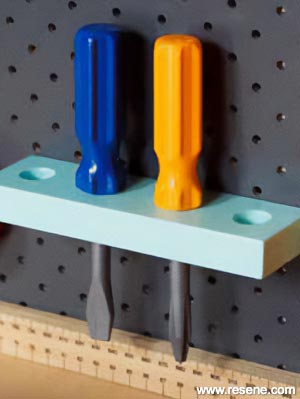
Use a 15cm off-cut of one of your batons to make the screwdriver holder. Drill four holes using a large ‘spade drill’ bit. Sand, seal and paint. Attach with screws through the back of the peg board.
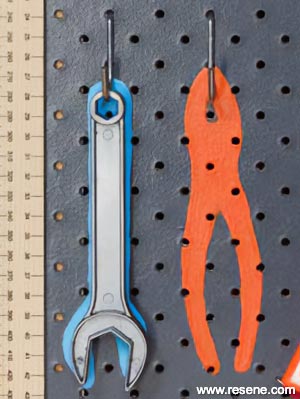
Hang tools on pegboard hooks and draw around them with a white pencil. Paint the tool shapes with two coats of various testpot colours.
Paint drawer knob in Resene Get Reddy (two coats) then with two coats of Resene Aquaclear. Attach knob.
Turn drawers into wall-hung shelves by painting and papering inside with wallpaper from Resene.
Created by Sarah Eberhardt. Photography by Mike Rooke Bauer Studio.
Kid's Bedroom Decorating Ideas
View more decorating ideas for kids from Little Treasures magazine in the Resene kid's bedroom inspiration gallery.