Craft - inspired by Resene, from Little Treasures magazine
Transform a blank canvas into a city street map and your little one can get busy driving all over town.
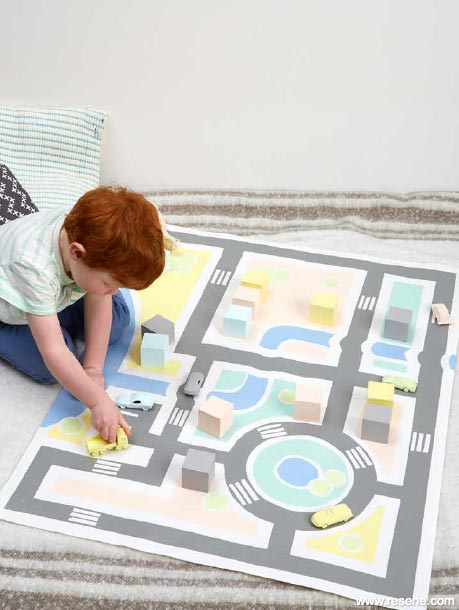
Fire your child’s imagination with a road map they can help you to design. Let them choose where to add zebra crossings, rivers and parks and create their own little town for hours of fun.
It’s a good idea to draw out a rough plan to scale before you draw it out on the canvas (or you could create your design on the computer).
Tape off the edges of the canvas with masking tape.
Draw out the road map design according to your plan.
Tape off any straight lines to make the roads and the blocks of land.
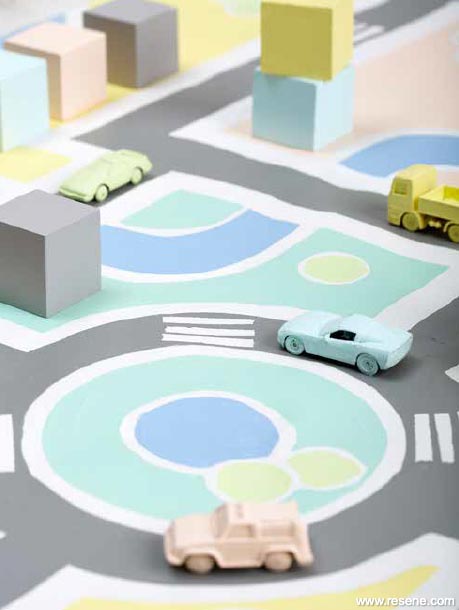
Draw the roundabout and trees by tracing around two different-sized circular objects (we used a jar lid and bottle lid for the trees and breakfast and dinner plates for the roundabout).
Add extras like ponds, playgrounds, zebra crossings, a river and train tracks.
Once your design is completed, start painting it, one colour at a time.
After you have finished painting, carefully peel off the masking tape before the paint is completely dry to avoid it lifting.
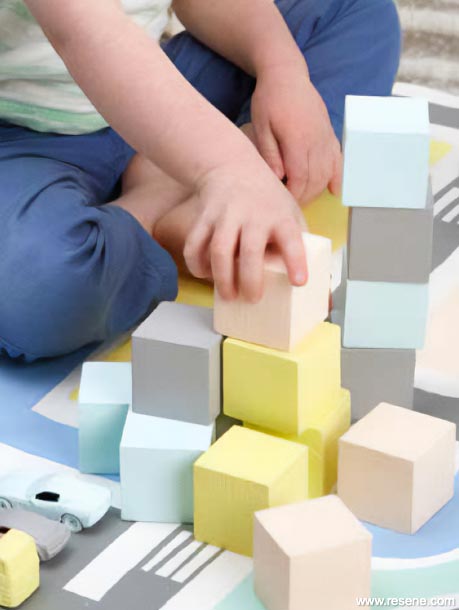
Paint the wooden blocks in matching colours to create the houses and buildings.
If your child is more into animals than cars, instead of painting roads, paint the great outdoors so their animals can wander over the mat and visit watering holes, grass, dunes and whatever else your imagination decides to add.
Try using Resene Blackboard Paint for some of the blocks in place of standard paint. Then you and your child can have fun writing or drawing on the blocks in chalk.
Ensure the smallest block size is too large to fit in a child’s mouth, so it can’t obstruct breathing. While we don’t encourage blocks or toys being sucked and chewed on, water based finishes such as Resene Lumbersider testpots are considered suitable for use on toys.
Make sure low tack masking tape is stuck down well so the paint doesn’t seep under the edge. Peel it off before the paint dries fully to avoid pulling the paint off with the tape.
Get your child involved and let them help choose the colours – simply show them the Resene KidzColour chart (in-store or online) and let them point out the colours they’d like you to use.
For extra fun, try painting a similar scene on your child’s wall or wardrobe door using Resene Magnetic Magic before you topcoat. Then add some magnets to suit the scene and your child can play on their wall, and when they are not playing they will have a piece of art to enjoy. This is ideal for children who love space and airplanes, as they will look like they are flying. Make sure you use good quality magnets so they stick well.
Styling by Meredith Baldwin. Photography by Bryce Carleton.
Kid's Bedroom Decorating Ideas
View more decorating ideas for kids from Little Treasures magazine in the Resene kid's bedroom inspiration gallery.
![]() Get inspired ! Subscribe
Get inspired ! Subscribe ![]() Get saving ! Apply for a DIY card
Get saving ! Apply for a DIY card
![]()
Can't find what you're looking for? Ask us!
Company profile | Terms | Privacy policy | Quality and environmental policy | Health and safety policy
Colours shown on this website are a representation only. Please refer to the actual paint or product sample. Resene colour charts, testpots and samples are available for ordering online. See measurements/conversions for more details on how electronic colour values are achieved.
What's new | Specifiers | Painters | DIYers | Artists | Kids | Sitemap | Home | TOP ⇧


