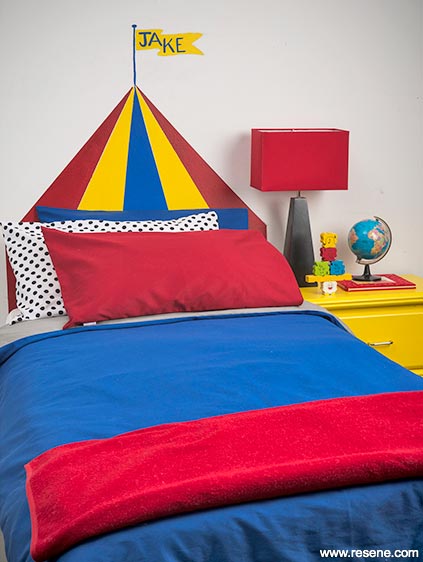
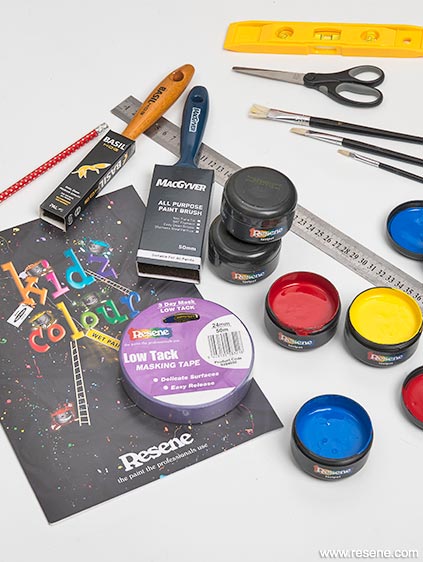
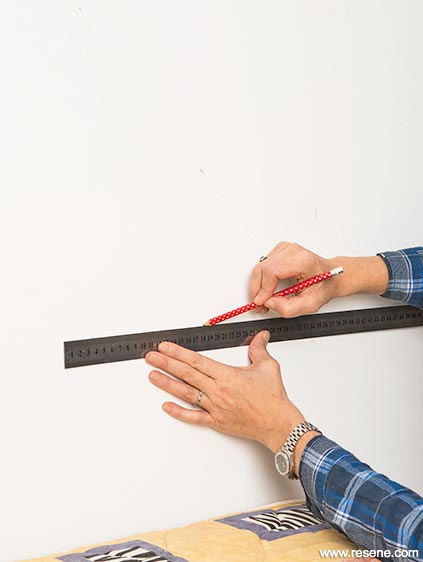
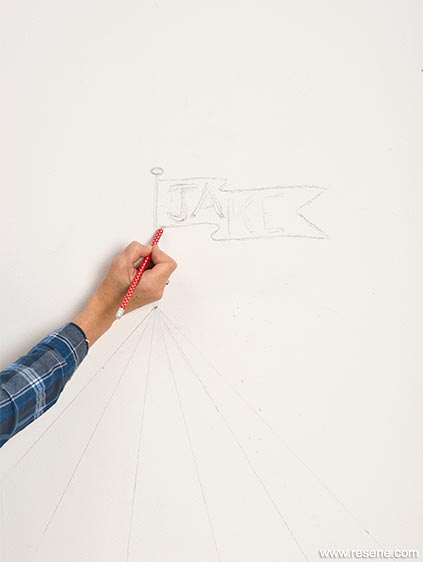
Step 1: Kids, you will need an adult to help. Outline your tent by drawing a triangle. Start by ruling a line along the width of your bed at its height (we allowed for one pillow). From the centre of that line, measure 50cm up and mark. Draw two lines to form a triangle. Pencil four evenly spaced points along the bottom line and connect each to the top point, making five panels. Keep lines straight by using the level when necessary.
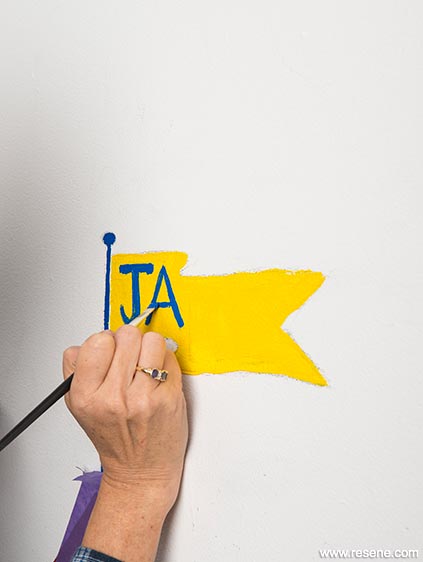
Step 2 : Use the ruler and level to draw a 20cm circus pole at the top, 3cm wide. Draw a small circle on top of the pole. Lightly pencil your name beside it. For longer names, drop down half a letter for each syllable for a 3D look. Draw a flowing flag around the letters.
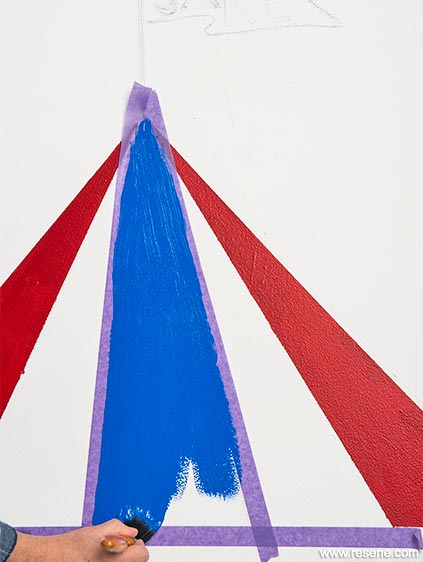
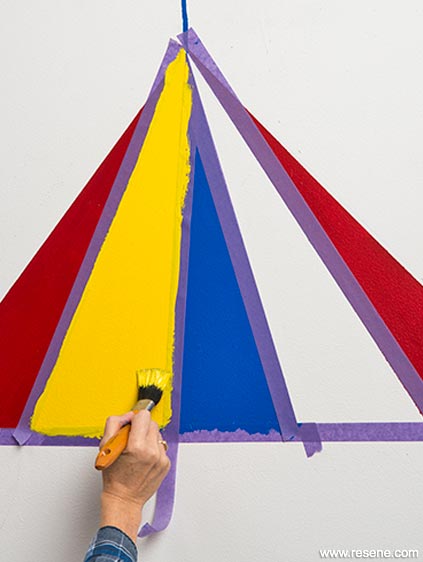
Step 3: Get painting. Use the masking tape to outline the first and fifth panel. Paint with Resene Razzamatazz (red) using the medium brush. Remove the tape and repeat with the middle panel, this time using Resene Sea World (blue).
Step 4 : Paint Resene Fizz (yellow) on to the remaining panels (second and fourth). Allow one colour to be touch dry before starting the next.
See more great step by step projects for children at www.resene.com/kidsprojects.
Step 5: Using the small brush, paint the tent pole with Resene Sea World and flag with Resene Fizz. Once the flag is dry, fill in the letters with Resene Sea World.
See more great step by step projects for children at www.resene.com/kidsprojects.
styling: Megan Harrison-Turner
pictures: Tony Brownjohn
props: bedlinen from Gorgi
Search habitat magazine stories
Printed copies of habitat highlights are available from late March 2024 at Resene ColorShops and resellers, while stocks last. You can view back issues of habitat magazine online.
Specifiers:
If you have an idea, project or story that you think would suit habitat, we’d love to hear from you. Please drop us an email with your details and include photos if submitting a project.
Sign up for a DIY card and Save! Australia | New Zealand
Order online now:
Testpots |
Paints |
Primers and Sealers |
Stains |
Clears |
Accessories
![]() Get inspired ! Subscribe
Get inspired ! Subscribe ![]() Get saving ! Apply for a DIY card
Get saving ! Apply for a DIY card
Can't find what you're looking for? Ask us!
Company profile | Terms | Privacy policy | Quality and environmental policy | Health and safety policy
Colours shown on this website are a representation only. Please refer to the actual paint or product sample. Resene colour charts, testpots and samples are available for ordering online. See measurements/conversions for more details on how electronic colour values are achieved.
What's new | Specifiers | Painters | DIYers | Artists | Kids | Sitemap | Home | TOP ⇧


