From habitat magazine - issue 35, step by step
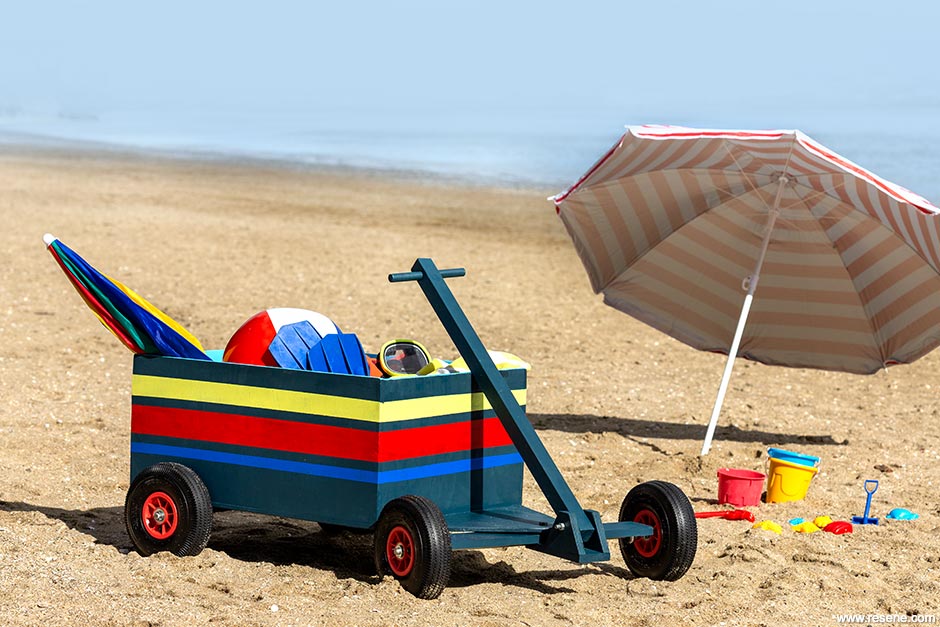
Load up this handy trolley with your bucket and spade, boogie boards and towels for a fun day at the beach.
We built this cart with new parts for less than $150, but it could be even more budget-friendly with upcycled timber and old pram or wheelbarrow wheels. Paint your trolley in bright, fun Resene colours to make a day at the beach even sunnier or paint it to match your vegetable patch and use it for carting around garden tools and paint.
Step 1
Step 2
Step 3
Step 4
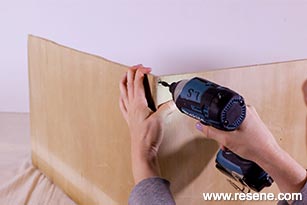
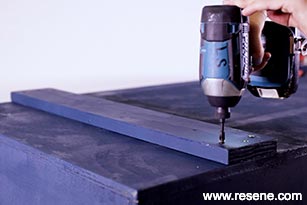
Step 1: Cut your wooden pieces using the cutting guide, www.habitatbyresene.com/beachcart. Then create a box with pieces 2-5 using a power drill and timber screws.
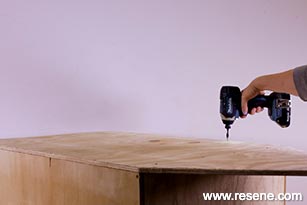
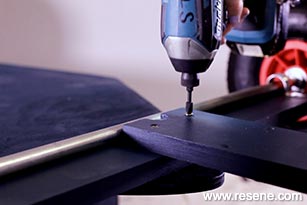
Step 2: Attach box to piece 1.
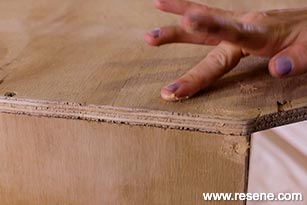
Step 3: Fill in any holes with wood filler, leave to dry then sand. Wipe away any dust with a cloth.
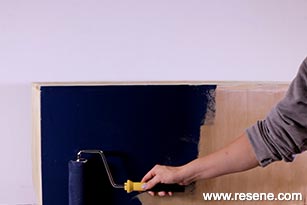
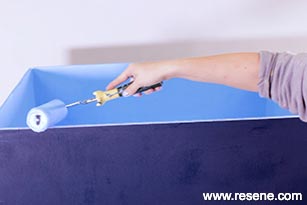
Step 4: Paint the box and cut pieces of wood using a roller. Leigh used two coats of Resene Elephant.
Step 5
Step 6
Step 7
Step 8
Step 5: Once dry flip the box over. Place the M12 bolt through the hole at the top of the base and thread piece 6 onto it, using M12 washers between each piece. Secure the bolt with a small bit of give for swivelling.
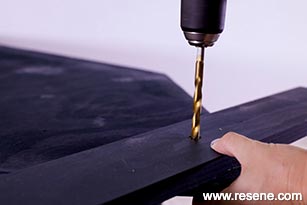
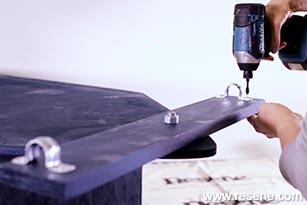
Step 6: Attach saddle clamps on either side of the length of piece 6 about 20mm in from either side to form the axle.
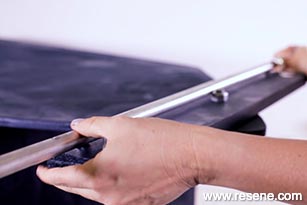
Step 7: Secure the axle with box nails placed tightly against and along the axle piece, with the axle piece sitting tightly against one side of the saddle clamps. Hammer the top of the nails so that they sit flush over the axle.
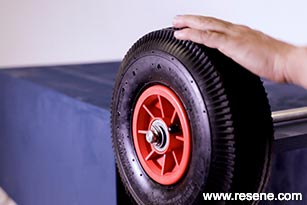
Step 8: Attach the wheels to each side in this order: butterfly pin, then washer, then wheel, then washer, then butterfly pin.
Step 9

Step 10
Step 11
Step 12
Step 9: From the bottom, measure up 140mm on both sides of the width and draw a line across. Sit the bottom of piece 7 flush against the line and screw the piece onto the base.
Step 10: Screw the axles onto piece 7, repeating steps 6-8.
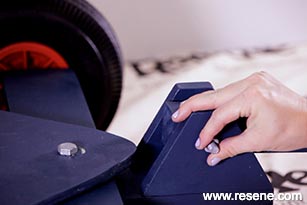
Step 11: Take piece 8 and screw it to the base of piece 6, lining the semi-circle hole with the bolt.
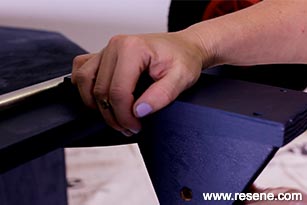
Step 12: Flip the cart over, and screw pieces 9 and 10 on either side of piece 8, at the top.
Step 13
Step 14
Step 15
Step 16
Step 13: Paint the inside of the box. Leigh used two coats of Resene Seagull.
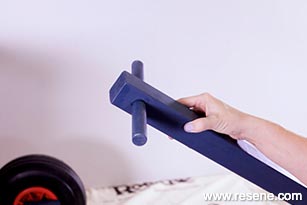
Step 14: Place the dowel inside piece 11 at the top hole to make the handle.
Step 15: Place the other side of the handle between pieces 9 and 10 and use a M10 bolt and washers to secure together.
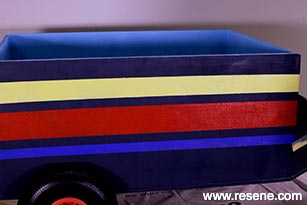
Step 16: Touch up with Resene Elephant. We also painted stripes of varying sizes in Resene Canary, Resene Red Berry and Resene Resolution Blue for a beachy feel. Finish your cart in Resene Concrete Clear for extra outdoor protection.
Project: Leigh Stockton
Images: Bryce Carleton, Ben Whorwood
Search habitat magazine stories
Printed copies of habitat highlights are available from late March 2024 at Resene ColorShops and resellers, while stocks last. You can view back issues of habitat magazine online.
Specifiers:
If you have an idea, project or story that you think would suit habitat, we’d love to hear from you. Please drop us an email with your details and include photos if submitting a project.
Sign up for a DIY card and Save! Australia | New Zealand
![]() Get inspired ! Subscribe
Get inspired ! Subscribe ![]() Get saving ! Apply for a DIY card
Get saving ! Apply for a DIY card
![]()
Can't find what you're looking for? Ask us!
Company profile | Terms | Privacy policy | Quality and environmental policy | Health and safety policy
Colours shown on this website are a representation only. Please refer to the actual paint or product sample. Resene colour charts, testpots and samples are available for ordering online. See measurements/conversions for more details on how electronic colour values are achieved.
What's new | Specifiers | Painters | DIYers | Artists | Kids | Sitemap | Home | TOP ⇧


