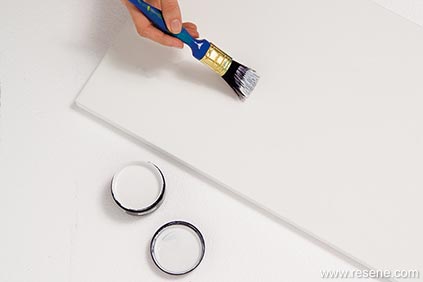
Step 1
Prepare the canvas with Resene Quick Dry Acrylic Primer Undercoat to smooth its texture, so the paint will go on evenly. Use smooth, light, even strokes and don’t forget the edges.
Tip: It’s better to put on too little undercoat and then add to it – putting on too much will leave lines in the paint.
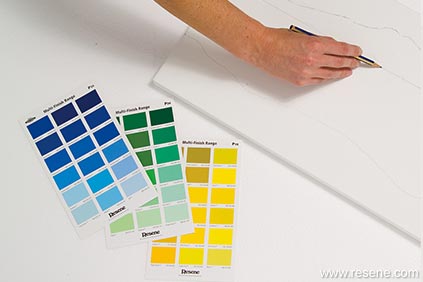
Step 2
Lightly sketch image onto the canvas from the photograph, using the ruler to scale up the dimensions. Or, if you prefer abstracts, just go wild with your favourite colours. Select those that already feature in the room and use your painting to bring them all together.
Tip: Plan your colours at this point, so that you will be working from darkest to lightest when you begin to paint.
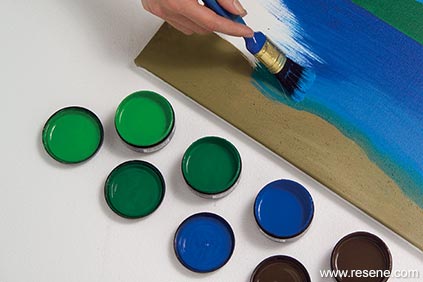
Step 3
Start blocking in the colour, beginning with the darkest colours in each area of the background – we used Resene testpots. Work downwards from the top of the canvas, so that you can paint over any splashes.
Tip: For smooth blending, work with the paint still wet; for strong contrast, wait until one area has dried before starting on the adjacent one.
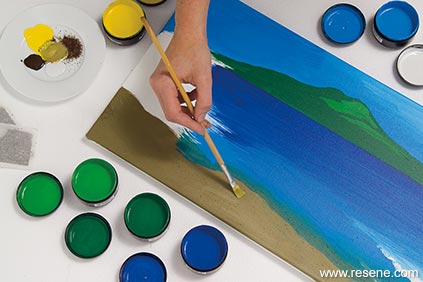
Step 4
Progress onto the highlights and details, using smaller brushes as appropriate. Where you want the colour underneath to show through for a translucent effect, thin the next coat with a little water.
Tip: When thinning the paint, don’t add too much water too fast, else it will drip everywhere.
Step 5
Experiment! If you’re painting sand, use sand or tea leaves to add texture. Pour a small amount into a saucer and mix with the paint. Brush on as usual.
Seal canvas with Resene Multishield+ to protect the paint from light and dust, and help it bond to the canvas.
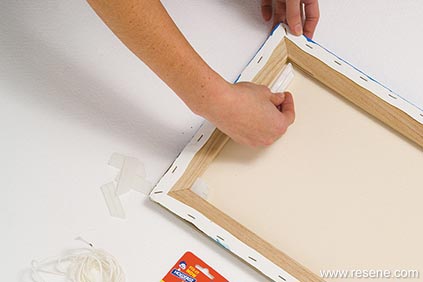
Step 6
Most pre-stretched canvases come with canvas tensioners that help to strengthen them for hanging. Fit these according to the directions. Then, screw your picture hooks into the inside edge of the frame, so that the picture will hang flat on the wall.
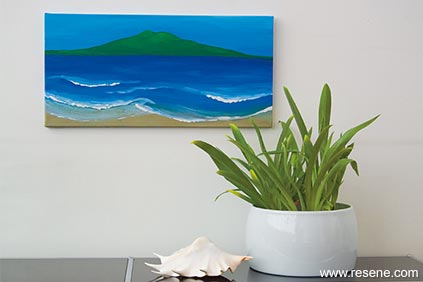
Step 7
Hang your art where it will look best!
For more art ideas, visit the Resene website – adult art or child art.
words: Rachel Macdonald, with thanks to Elizabeth Williams 021 146 7306
pictures: Lucent* Media
Search habitat magazine stories
Printed copies of habitat highlights are available from late March 2024 at Resene ColorShops and resellers, while stocks last. You can view back issues of habitat magazine online.
Specifiers:
If you have an idea, project or story that you think would suit habitat, we’d love to hear from you. Please drop us an email with your details and include photos if submitting a project.
Sign up for a DIY card and Save! Australia | New Zealand
![]() Get inspired ! Subscribe
Get inspired ! Subscribe ![]() Get saving ! Apply for a DIY card
Get saving ! Apply for a DIY card
![]()
Can't find what you're looking for? Ask us!
Company profile | Terms | Privacy policy | Quality and environmental policy | Health and safety policy
Colours shown on this website are a representation only. Please refer to the actual paint or product sample. Resene colour charts, testpots and samples are available for ordering online. See measurements/conversions for more details on how electronic colour values are achieved.
What's new | Specifiers | Painters | DIYers | Artists | Kids | Sitemap | Home | TOP ⇧

