Resene paint effects projects, project 05
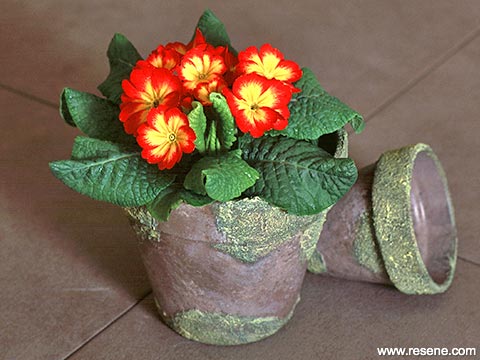
Create a mossy effect around the top and base of terracotta pots using Resene Sandtex textured finish.
Before you start your project, try different combinations and practice your application method on card until you are happy with the result.
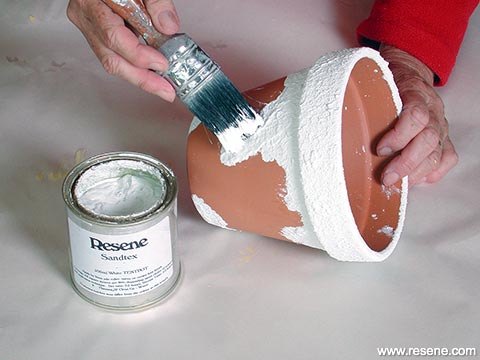
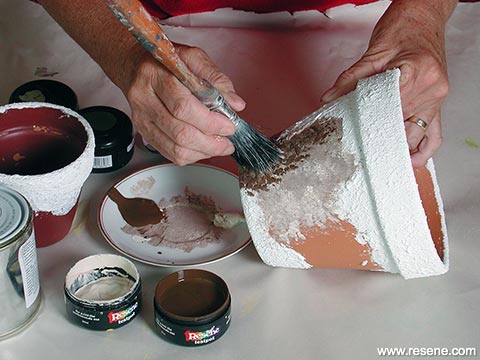
Step 1: Using the large brush apply Resene Sandtex around the rim and base of the pots to simulate moss. Apply thickly, creating a lot of texture. Leave to dry.
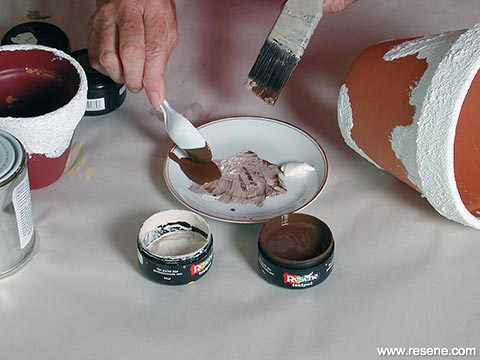
Step 2: Put a good teaspoon full of each of Resene Brown Derby and Resene Spanish White separately onto a plate.
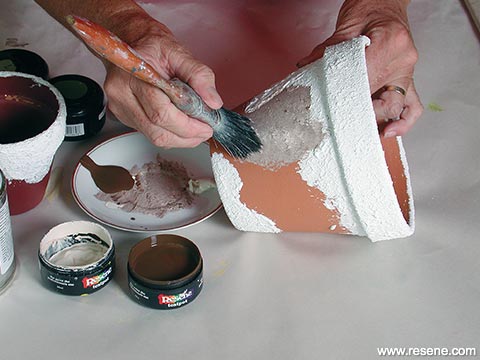
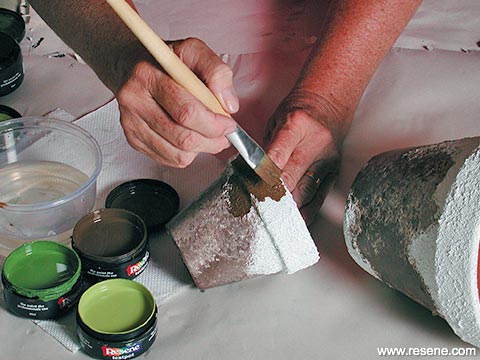
Step 3: Using the larger brush, pick up a little of one of the colours and in a pouncing action apply to the pot in a random pattern.
Step 4: Pick up some of the second colour and fill in the gaps.
Step 5: Blend both colours together on the pot but leave areas of each colour showing.
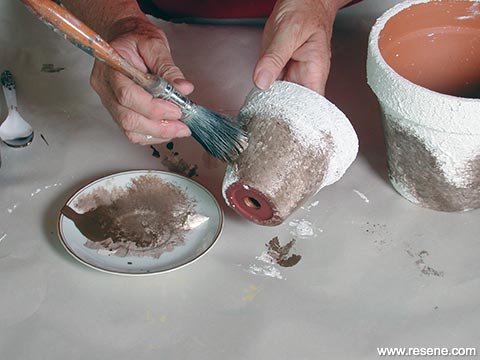
Step 6: With the small bristle brush, paint the simulated moss area with Resene Brown Derby.
Step 7: Wipe the excess paint off on a paper towel. This method of applying paint to the moss is called drybrushing. Cleaning the brush out on a paper towel keeps the brush dry. Any moisture in the brush would thin the paint down and you would not be able to keep the colours sharp.
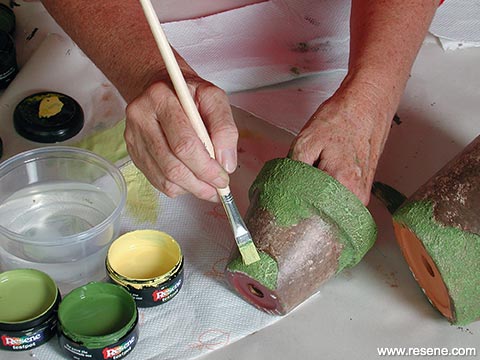
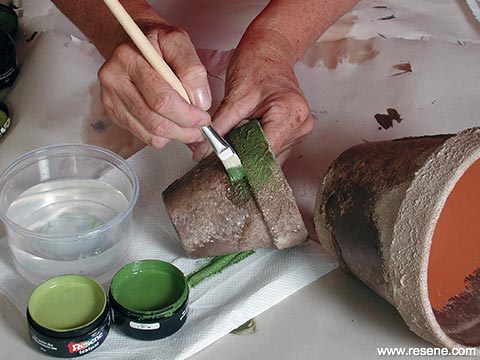
Step 8: Put a little of each of the Resene Olive and Resene Kournikova on a plate. Using the Resene Olive first, pick up a small amount of paint, and in a to–and fro action very lightly brush the colour onto the raised areas of the moss. Leave a little of the brown showing through in the background. Rub nearly all of the Resene Olive off on the paper towel.
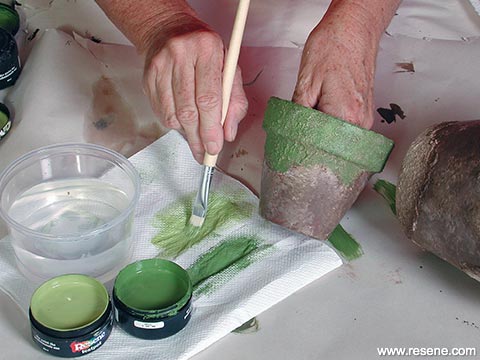
Step 9: Without washing the brush pick up some of the Dell and apply as before just catching the tips of the moss. Leave some of the brown and darker green showing through.
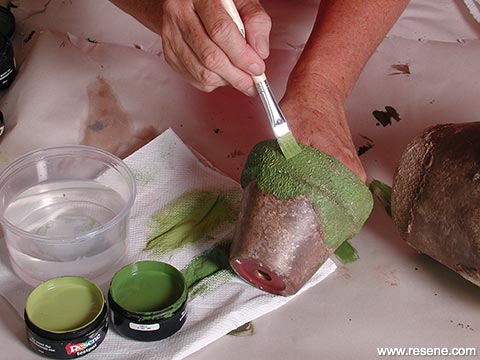
Step 10: Finally do the same with Resene Kournikova. This time just pick out the most raised areas to add highlights.
› Download this project as a PDF
Project by Janet Scard. Photography by Joseph Zou.
![]() Get inspired ! Subscribe
Get inspired ! Subscribe ![]() Get saving ! Apply for a DIY card
Get saving ! Apply for a DIY card
![]()
Can't find what you're looking for? Ask us!
Company profile | Terms | Privacy policy | Quality and environmental policy | Health and safety policy
Colours shown on this website are a representation only. Please refer to the actual paint or product sample. Resene colour charts, testpots and samples are available for ordering online. See measurements/conversions for more details on how electronic colour values are achieved.
What's new | Specifiers | Painters | DIYers | Artists | Kids | Sitemap | Home | TOP ⇧


