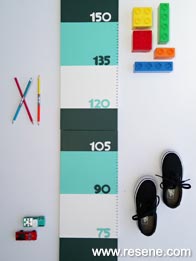
 Finished project
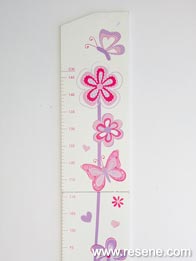 Before
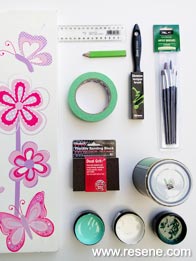 You will need
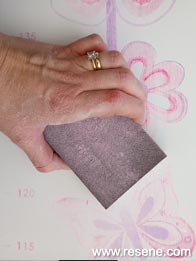 Step one
Prepare your item for painting by sanding it to remove any old paint or stain. This height chart had an existing design on it that Sarah wanted to paint over, so it was given a good sand to remove as much of the old colours as possible.
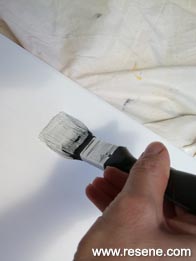 Step two
Using your testpot brush (or a roller) apply
Resene Quick Drying primer to cover both sides and all edges of the height chart. Wait until this has dried completely. You may need two coats of primer in order to completely cover what was left of the old design.
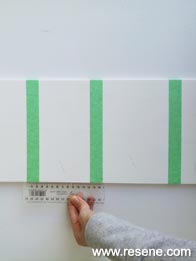 Step three
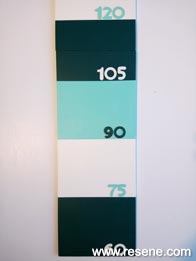
Carefully measure and mask out even segments for painting in your three different paint colours. Sarah chose to go with a striped design, repeating the three colours in a row. It’s important to remember that you are painting a height chart so your measurements need to be as accurate as possible. Where the colours change is where your key number markings will be. This design started at 60cm at the base and moved up in 15cm increments.
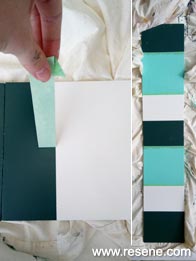 Step four
Apply the paint to each masked segment one colour at a time, allowing two coats per colour. You may need to do an extra coat for some colours. Make sure each segment is completely dry before you put any masking tape on it to begin the next segment.
 Step five
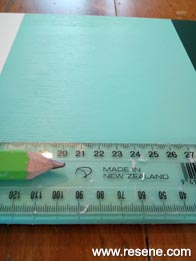
Once all your segments are painted, mark with pencil every centimetre up the side of the height chart. Where the colours change is where your large numbers will be painted.
 Step six
Paint your numbers on at each dividing line. You might like to hand paint these. Or you could purchase some affordable stick on craft numbers from a stationery store and painted these in my Resene testpot colours. Stick or paint on your large number markings in contrasting shades.
 Step seven
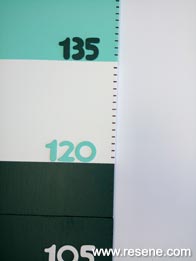
Finally, permanently mark each centimetre measurement up the side of the height chart with paint or a permanent marker. You can use a black marker and a ruler to make a small sharp line.
 Step eight
Hang on your child’s bedroom wall 60cm from the floor and watch them grow!
Upcycling for Good
You can find a huge range of treasures, from ornaments and picture frames, to furniture and toys at your local Salvation Army store that you can easily upcycle with a little Resene paint and some imagination.
"Our Family Stores are full of treasures generously donated by members of the public. We value these donations and try our hardest to re-purpose and sell as much as possible. We’re all about re-using and recycling, so teaming up with Resene on Upcycling for Good was a perfect match. Resene’s products and tips are a natural fit with our pre-loved furniture and accessories, which are usually great quality but could sometimes do with a lick of paint to ensure they fly off the shelves.
Each year, nationally, our stores save 16,000 tonnes from landfill. This initiative increases the value of the donated product, improves the range of goods for our customers, and furthers The Salvation Army’s mission and Resene’s community activity.” Gareth Marshall, The Salvation Army's National Family Store Manager.
View more projects
