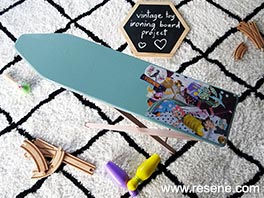
Take a lovingly handcrafted toy ironing board, and restore it with colour and a fun vintage themed decoupage treatment.
Resene upcycling for good with Sarah Herring - Project 37
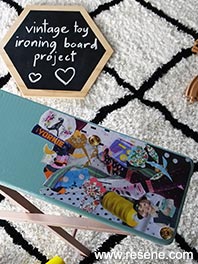
Finished project
You will need: Clear-drying PVA glue, old magazines for taking clippings from, Resene Aquaclear waterborne urethane varnish, Resene Quick Dry primer undercoat, Resene testpots – Sarah used Resene Rascal and Resene Sea Nymph, sandpaper and testpot brushes.
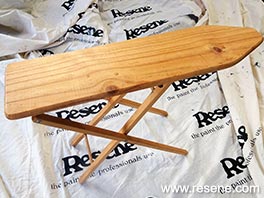
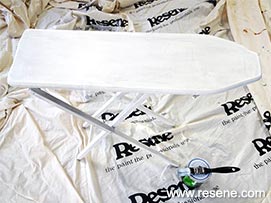 Step one
 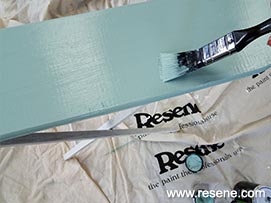 Step two
 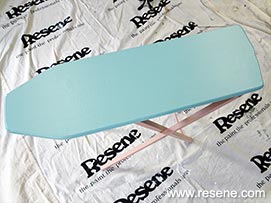 Step three
 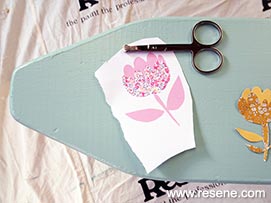 Step four
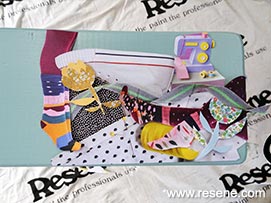 Step five
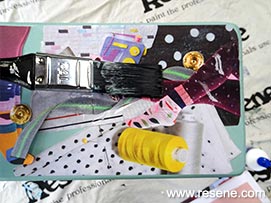 Step six
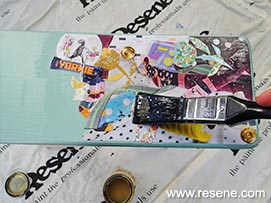 Step seven
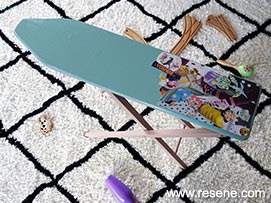 Completed project
Upcycling for Good
You can find a huge range of treasures, from ornaments and picture frames, to furniture and toys at your local Salvation Army store that you can easily upcycle with a little Resene paint and some imagination.
"Our Family Stores are full of treasures generously donated by members of the public. We value these donations and try our hardest to re-purpose and sell as much as possible. We’re all about re-using and recycling, so teaming up with Resene on Upcycling for Good was a perfect match. Resene’s products and tips are a natural fit with our pre-loved furniture and accessories, which are usually great quality but could sometimes do with a lick of paint to ensure they fly off the shelves.
Each year, nationally, our stores save 16,000 tonnes from landfill. This initiative increases the value of the donated product, improves the range of goods for our customers, and furthers The Salvation Army’s mission and Resene’s community activity.” Gareth Marshall, The Salvation Army's National Family Store Manager.