Projects from Family Times magazine
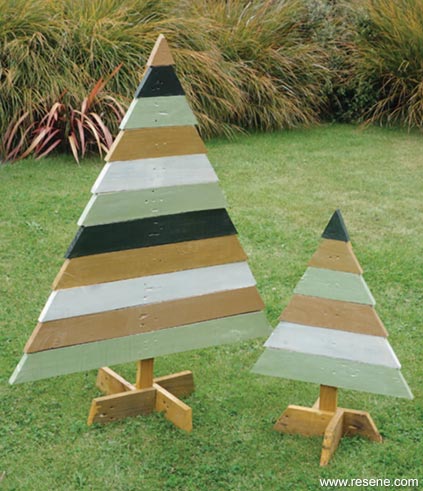
Transform a pallet with Resene FX Metallic paints, for a Christmas tree that is rustic and radiant.
Begin by drawing the outline onto a square pallet.
Decide on the width you want for the bottom branch. Here, the bottom branch of the large tree is 100cm; the small 55cm.
Draw a line on a 45 degree angle on either end of the branch.
Moving up the tree, make each branch slightly shorter - depending on how tall you want your tree and how much overhang you want - until you have a neat little triangle for the top.
Cut out using a skill saw.
Using the remaining wood from the pallet, cut a piece 20cm longer than the height of the tree, and nail to the back.
For the base, use the remaining edges of the pallet to cut two 30cm slabs of wood, nailing these to the sides of the tree’s ‘spine’.
Choose a selection of Resene FX Metallic paints, and corresponding base coats.
Plan out where you will use each colour and write lightly in pencil.
Using a basecoat of Resene Lumbersider to ensure maximum durability, paint each panel front and back except if and where you plan to create a whitewash effect.
Paint your base coats, and then finish with the Resene FX Metallic paints. It is exciting putting on the final layers, and seeing your pallet sparkle to life!
These are the colours I used:

With further Resene inspiration
Paint one panel of your tree in a topcoat of Resene Blackboard Paint or Resene SpaceCote Lowsheen (which will allow you to choose whatever colour you want); then use chalk to write the number of sleeps until Christmas – with the kids, you could rub off the number each morning, and write the new number of sleeps.
For the ultimate fun, let your kids choose their favourite colour. Using Resene testpots, leave them to it!
These colours are bound to appeal.
Your kids will love creating their own little band of ‘rock’ stars or trees or snowmen.
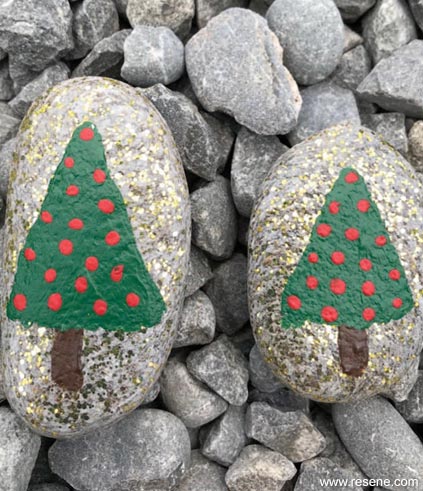
Find suitably smooth stones.
Wash your stones – an old toothbrush works a treat.
While you can paint direct, if you paint first with Resene Quick Dry Primer, the colours look brighter. Allow to dry.
Draw your design with a pencil, or skip this step if you wish to paint freehand.
Get painting with your favourite Resene testpots colours!
If you want a glossy finish, use Resene Clearcoat UVS. This will also help the colours stay brighter for longer.
Kate Kemp loves art and Christmas, and lately she’s been busy with her brush creating these beauties. Christmas 2017
▸ Download a PDF of this article
Projects from Family Times magazine
View more project ideas from Family Times magazine in the Resene weekend craft projects section.
![]() Get inspired ! Subscribe
Get inspired ! Subscribe ![]() Get saving ! Apply for a DIY card
Get saving ! Apply for a DIY card
![]()
Can't find what you're looking for? Ask us!
Company profile | Terms | Privacy policy | Quality and environmental policy | Health and safety policy
Colours shown on this website are a representation only. Please refer to the actual paint or product sample. Resene colour charts, testpots and samples are available for ordering online. See measurements/conversions for more details on how electronic colour values are achieved.
What's new | Specifiers | Painters | DIYers | Artists | Kids | Sitemap | Home | TOP ⇧