DIY project from NZ Gardener magazine
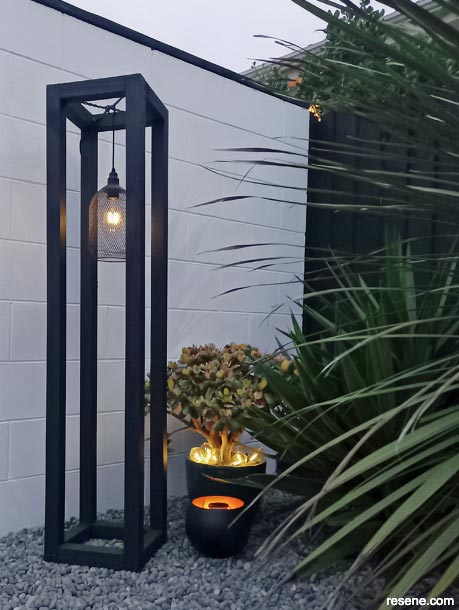
Enjoy your outdoor areas even after darkness falls this summer.
Materials:
Cut list:
The measurements are specific to this project: These sizes can be adjusted to suit your space requirements.
Tools:
Health & safety:
Cost:
Learn how to make a solar floor lamp:
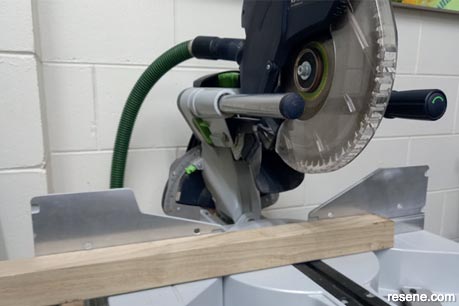 Step 1
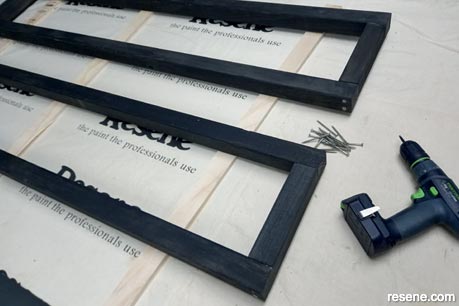
Measure up and cut your timbers to size, using a drop saw or handsaw.
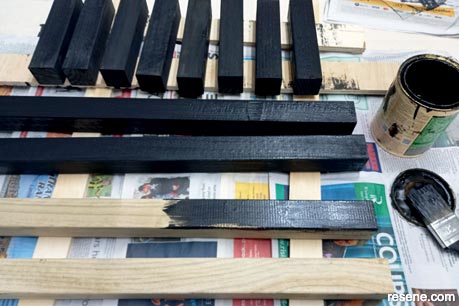 Step 2
Oil stain each timber on all sides with a first coat. I chose to use Resene Woodsman Penetrating Oil Stain in Pitch Black.
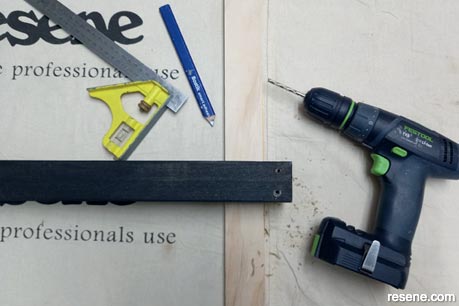 Step 3
Measure 15mm from the top and bottom of each 1400mm timber, and pre-drill.
 Step 4
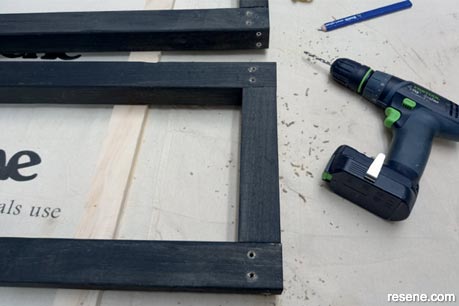
Screw the 200mm timber pieces in place with the 65mm stainless screws. Screw together to make 2 frames.
 Step 5
Measure 35mm from the top of the frame to secure the remaining 200mm timbers, and pre-drill.
 Step 6
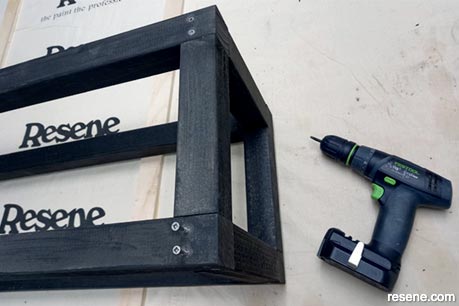
Screw the 200mm timbers in place.
 Step 7
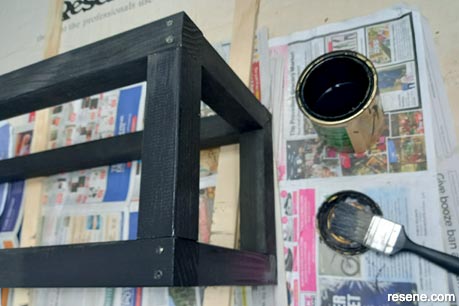
Apply a second coat of stain.
 Step 8
Using the 25mm stainless steel screws, attach your wire or strap in a diagonal cross at the top of the frame.
 Step 9
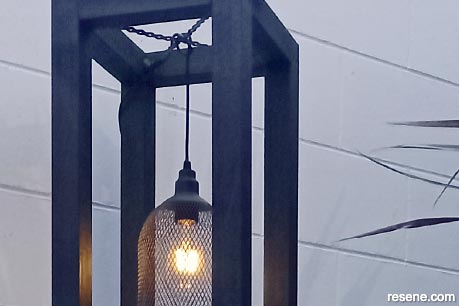
Loop the cable of the outdoor pendant over the cross. Your light is ready.
Project by: Jane Horne
Jane Horne and partner Simon Bartholomew design and develop projects from their studio in Christchurch, managing projects throughout the South Island.
![]() Get inspired ! Subscribe
Get inspired ! Subscribe ![]() Get saving ! Apply for a DIY card
Get saving ! Apply for a DIY card
![]()
Can't find what you're looking for? Ask us!
Company profile | Terms | Privacy policy | Quality and environmental policy | Health and safety policy
Colours shown on this website are a representation only. Please refer to the actual paint or product sample. Resene colour charts, testpots and samples are available for ordering online. See measurements/conversions for more details on how electronic colour values are achieved.
What's new | Specifiers | Painters | DIYers | Artists | Kids | Sitemap | Home | TOP ⇧

