DIY project from NZ Gardener magazine
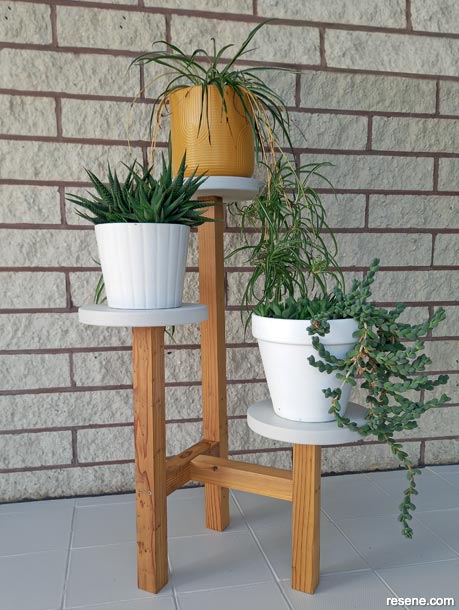
A great project for your deck, balcony or conservatory.
Materials:
Cut list:
The measurements used in this project can be changed to suit your requirements:
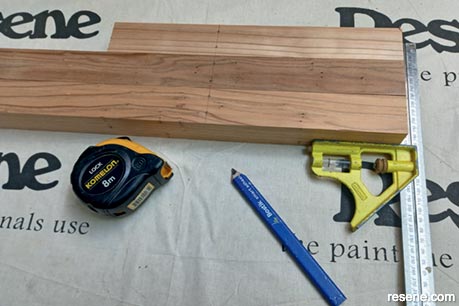
Tools:
Health & safety:
Cost: $45 for timber and fixings. This excludes Resene products.
Learn how to make a tiered plant stand:
 Step 1
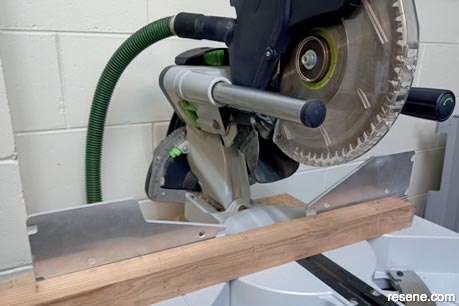
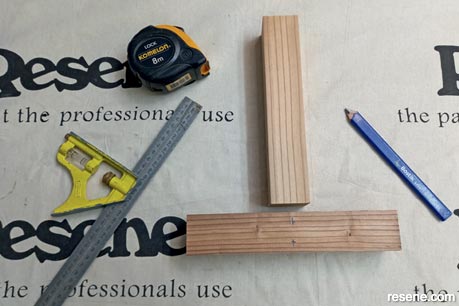
Measure up your frame timbers and cut to size.
 Step 2
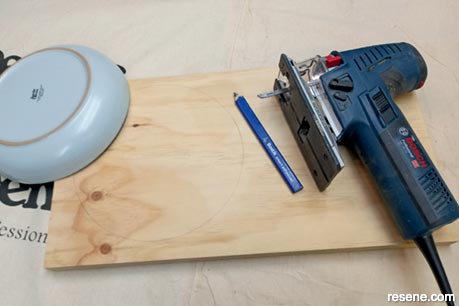
Draw out your circles on the exterior plywood using a template like a bowl or plate. Cut circles with the jigsaw and sand the edges.
 Step 3
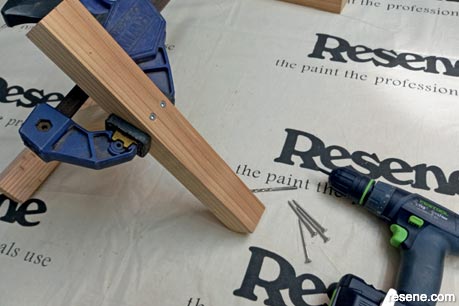
Assemble the T-Brace. Measure out for the screws in the centre, pre-drill and screw together.
 Step 4
Measure out for the screws for installing each tier, 200mm up from the bottom of each tier post.
 Step 5
Pre-drill and screw together. I used a clamp to hold the timbers in place.
 Step 6
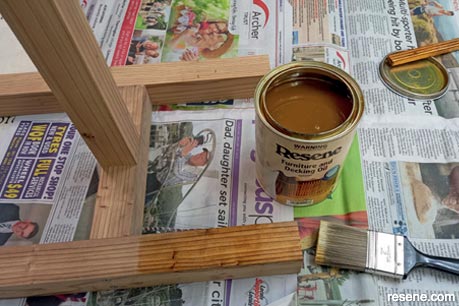
Apply Resene exterior finish. I used Resene Furniture & Decking Oil Exterior to show off the timber.
 Step 7
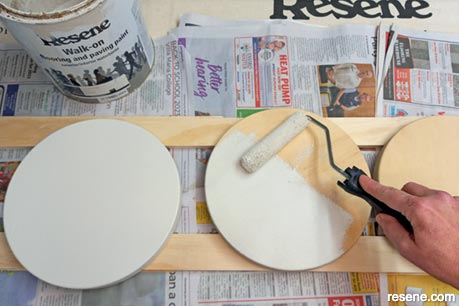
Using brush or roller apply paint each side of plant stand circles. I have used Resene Walk-On Flooring & Paving paint for durability.
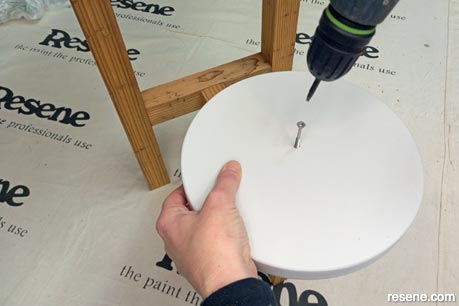 Step 8
Measure to the centre of each circle and pre-drill. Attach the circles to the centre of the top of each tier post.
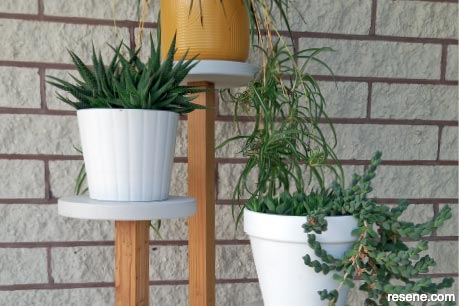 Project closeup
A great project for your deck, balcony or conservatory.
Project by: Jane Horne
Jane Horne and partner Simon Bartholomew design and develop projects from their studio in Christchurch, managing projects throughout the South Island.
![]() Get inspired ! Subscribe
Get inspired ! Subscribe ![]() Get saving ! Apply for a DIY card
Get saving ! Apply for a DIY card
![]()
Can't find what you're looking for? Ask us!
Company profile | Terms | Privacy policy | Quality and environmental policy | Health and safety policy
Colours shown on this website are a representation only. Please refer to the actual paint or product sample. Resene colour charts, testpots and samples are available for ordering online. See measurements/conversions for more details on how electronic colour values are achieved.
What's new | Specifiers | Painters | DIYers | Artists | Kids | Sitemap | Home | TOP ⇧

