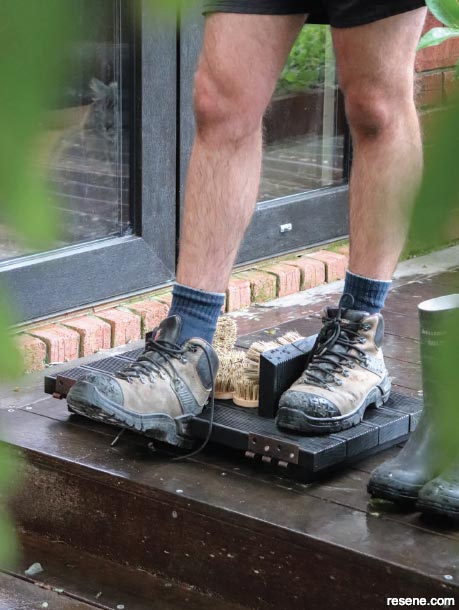
Autumn weather can leave your hardworking boots covered in mud, but this handy DIY project will leave you with the perfect spot to clean them – plus, it’s designed with a boot jack to help you remove your boots hands-free.
![]()
Materials:
Tools:
Before you begin: When cutting your decking timber to the lengths specified, you may like to cut the top edges of the 110mm side brush supports at 15 degrees (sloping down towards the ridged edge).
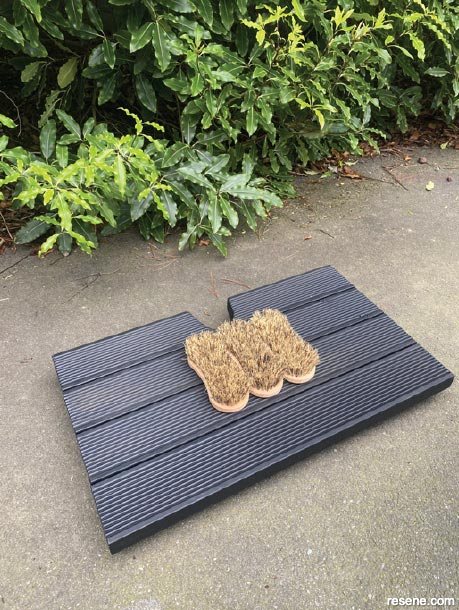
Make sure you pick the right brushes – ensure that they are not so stiff that they scuff the shoes, but also not so flimsy that they won’t remove any mud.
Our brushes measured 160mm x 65mm x 45mm. Adjust timber measurements to suit your brushes.
How to build a boot cleaning station:
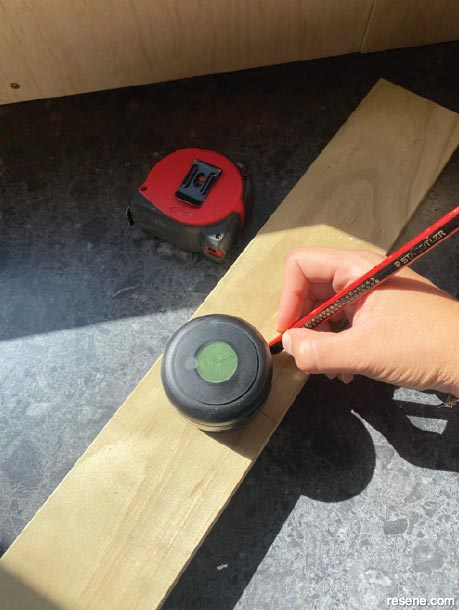 Step one
On one of the 600mm lengths of decking, use a round object approx. 65mm in diameter to trace a circle, centered and 15mm down from one long edge.
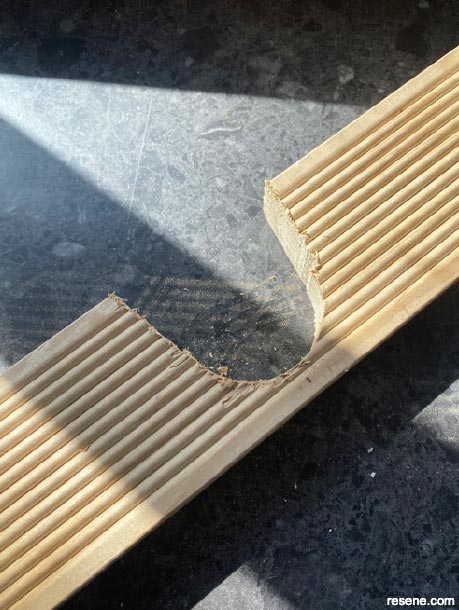 Step two
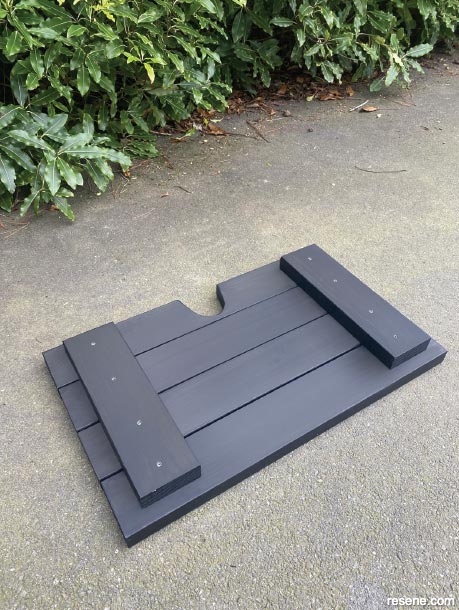
Draw a line from each side of the circle to the edge of the wood to create a rounded ‘V’ shape. Use a jigsaw to cut out along the marked line. Sand down any sharp edges or rough spots.
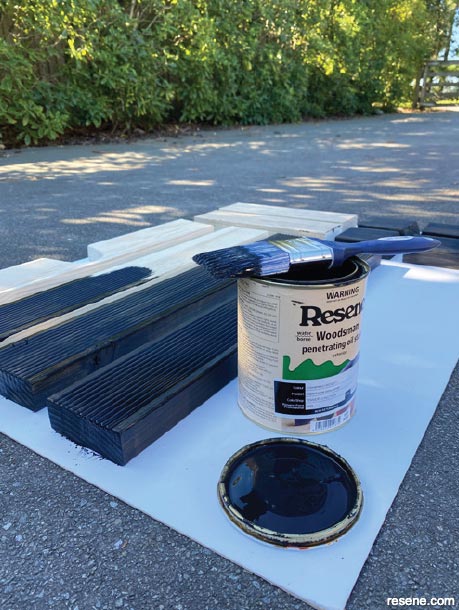 Step three
Wipe off any sanding dust and apply two coats of Resene Waterborne Woodsman penetrating oil stain to all lengths of wood, allowing to dry between coats.
 Step four
Place the 600mm decking upside down and put the two 310mm lengths on top, as shown. Space the slats a few millimetres apart to allow water to drain and ensure the feet are about 50mm in from the base’s edge. Screw together.
 Step five
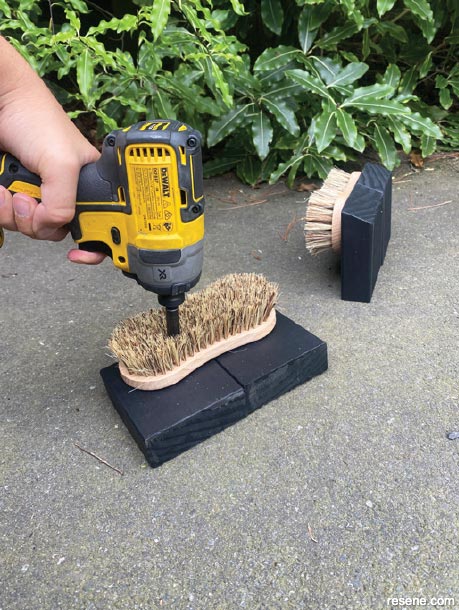
The boot cleaning area uses five brushes – three positioned on the base to scrub the underside of the boot as well as two side brushes. Screw the three base brushes to the base, centred on the base and with bristles facing up.
 Step six
Make the two side brush supports by attaching two 110mm supports to a brush, aligning the brush flush with the top. If you have cut the top of the supports off at 15 degrees make sure they are sloping out. Note: The height of the side brushes should leave just enough room below them to fit the base brushes; however, you may need to adjust the height of these to fit the brushes you are using.
 Step seven
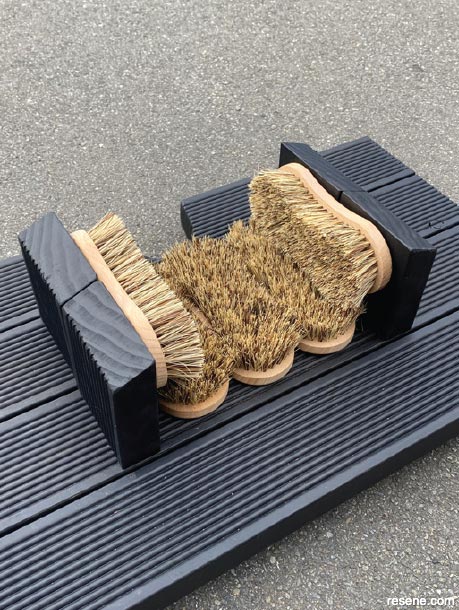
Screw the side brush supports in place, one on each side of the base brushes.
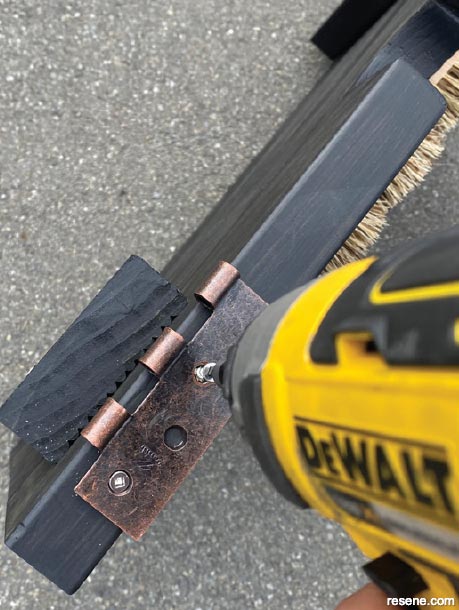 Step eight
Take the hinge apart and screw each half onto the front corners of the base, as shown. Ensure that about 5mm is sticking up past the top.
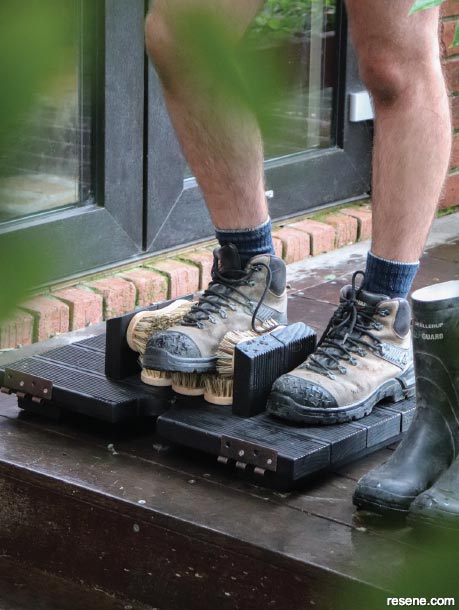 How to use
If your boots are super muddy, use the hinges to scrape off any clumps of mud before using the brushes to clean the sides and soles (stand on the sides of the base to stop it moving). Use the inbuilt boot jack to effortlessly pull your foot out, without having to bend down or ruin the back of your shoes.
![]() Get inspired ! Subscribe
Get inspired ! Subscribe ![]() Get saving ! Apply for a DIY card
Get saving ! Apply for a DIY card
![]()
Can't find what you're looking for? Ask us!
Company profile | Terms | Privacy policy | Quality and environmental policy | Health and safety policy
Colours shown on this website are a representation only. Please refer to the actual paint or product sample. Resene colour charts, testpots and samples are available for ordering online. See measurements/conversions for more details on how electronic colour values are achieved.
What's new | Specifiers | Painters | DIYers | Artists | Kids | Sitemap | Home | TOP ⇧

