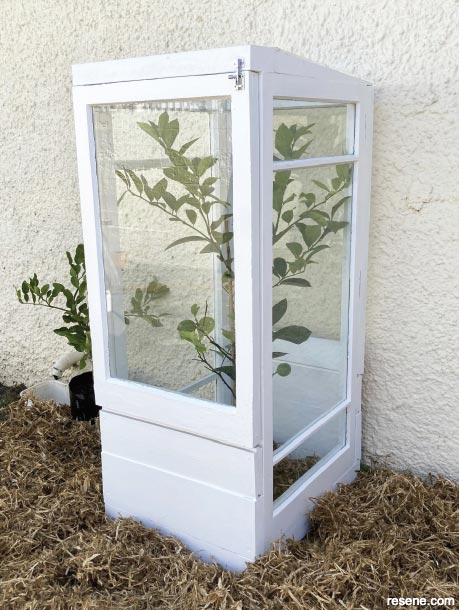
Keep growing over winter with this easy-to-make mini glasshouse made from recycled materials. Use it to house cuttings over the cooler months, get a head start with seed sowing or even as a cloche to protect a small citrus tree.
![]()
Recycled Materials:
Tools:
Other materials:
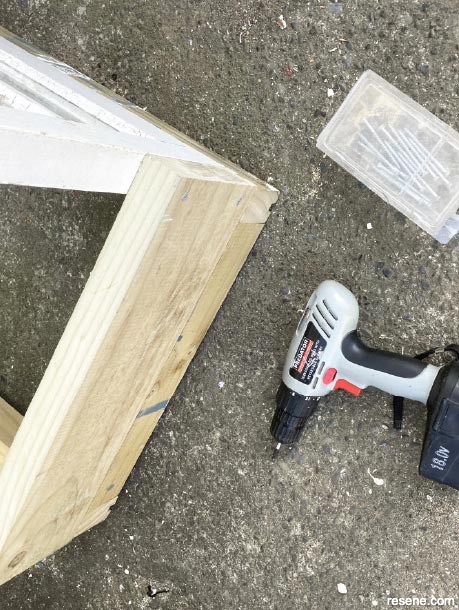
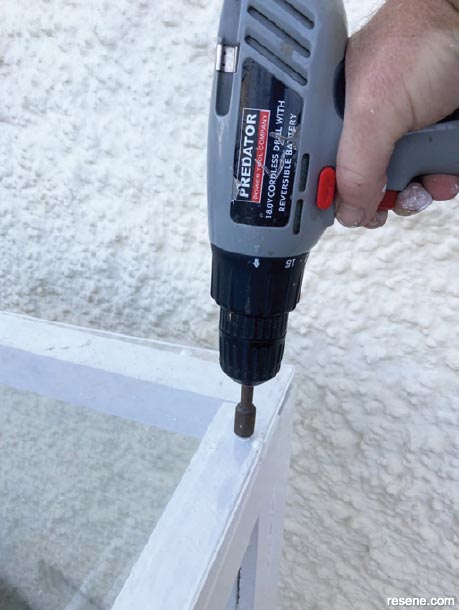
Top tip: When fixing together with screws, always drill pilot holes first to prevent the wood from splitting.
To get the look: Mark painted the background wall with Resene AquaShield tinted to Resene Pipi.
Handy hint: If you’re going to be using windows of a different size, stand the frames together (as they will be when the glasshouse is assembled) and measure around the outside. Use these measurements to determine the dimensions of your base.
How to build a recycled mini glasshouse:
 Step one
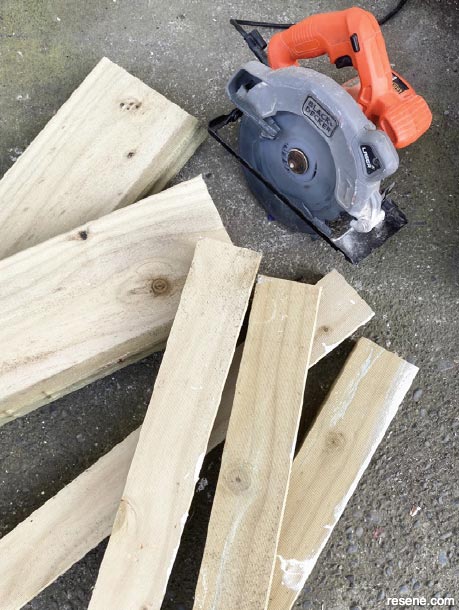
Measure, mark and cut the recycled timber to the dimensions listed.
 Step two
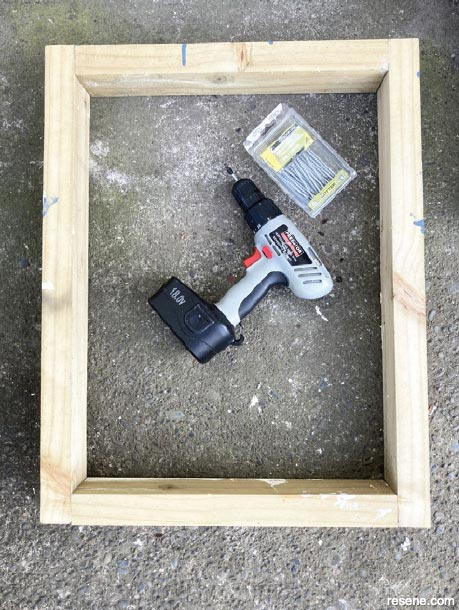
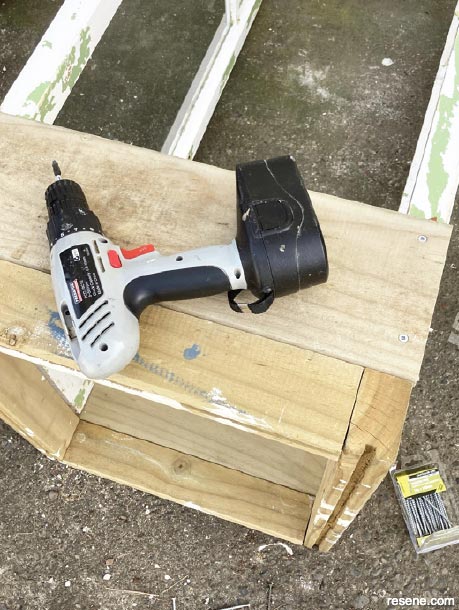
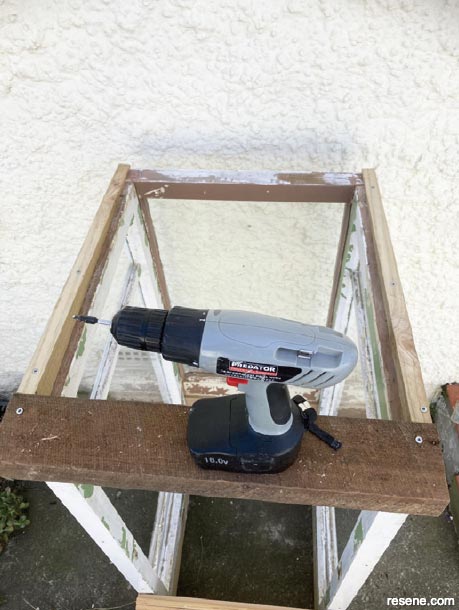
Assemble the four pieces of 45mm x 80mm timber to form a rectangular frame, as shown, fixing at each corner with two 100mm screws. Use a set square to ensure the corners are at 90 degrees.
 Step three
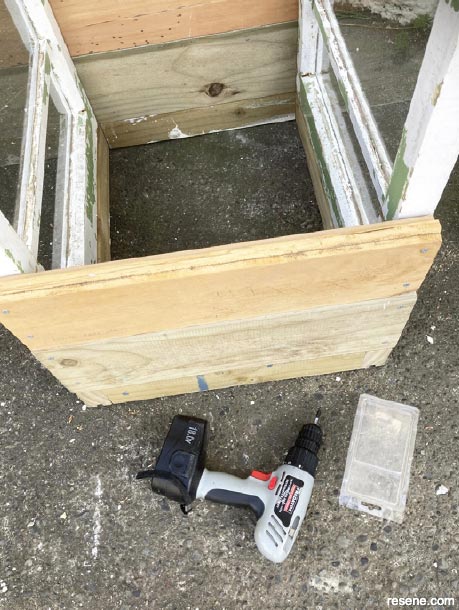
Attach one of the larger windows to this base frame, fixing from underneath with 100mm screws, then attach one of the 550mm x 170mm pieces of timber into position, as shown. Fix from underneath with 100mm screws and fix to the window frame with 75mm screws.
 Step four
Repeat Step 3 on the opposite side of the rectangle using the second larger window and the remaining piece of 550mm x 170mm timber.
 Step five
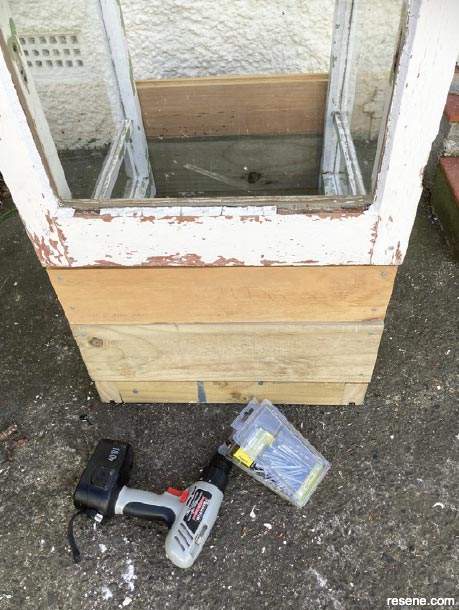
Attach the two pieces of 550mm x 145mm timber into position, as shown, fixing to each window frame with 75mm screws.
 Step six
Attach one of the smaller window frames, as shown, fixing along each corner with 75mm screws.
 Step seven
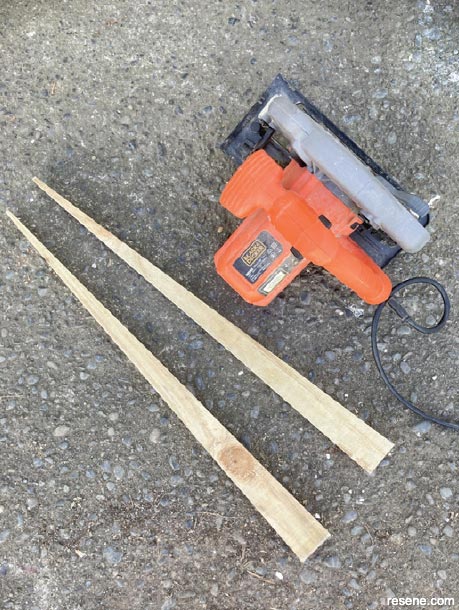
Measure, mark and cut two identical wedge-shaped pieces from the 600mm length of fence paling. These should taper from 45mm down to 5mm.
 Step eight
Attach the remaining piece of wood across the top front of the structure, allowing it to overhang approximately 50mm, fixing at each end with 100mm screws. Attach the two wedgeshaped pieces of timber along the tops of the larger window frames, as shown. Fix these with 40mm and 75mm screws.
 Step nine
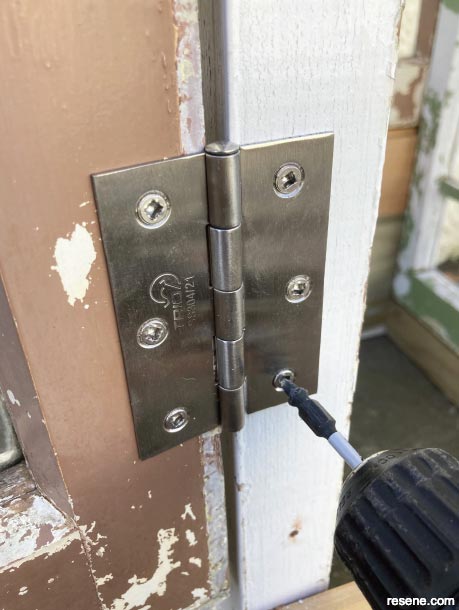
Hang the front window frame into position using the two stainless steel hinges (approximately 100mm in from the top and bottom of the frame).
 Step ten
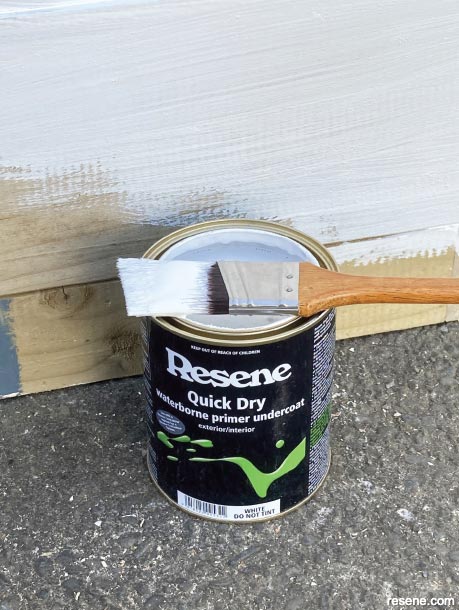
Fill any holes in the window frames with exterior filler and, when dry, sand smooth. Sand any previously painted surfaces to ‘key’ the surface and then wipe off any sanding dust with a clean cloth. Apply one coat of Resene Quick Dry to any areas of bare timber.
 Step eleven
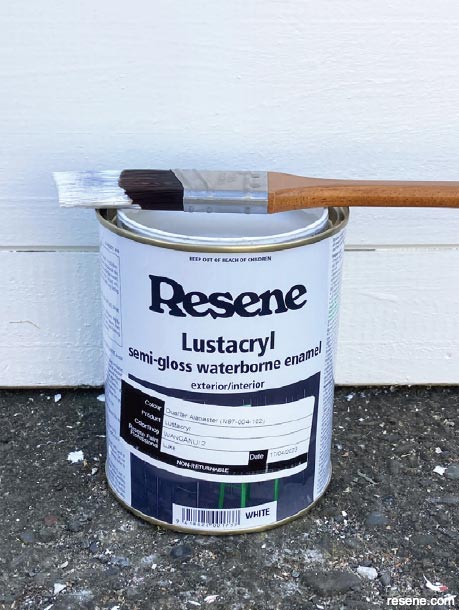
Apply two coats of Resene Lustacryl tinted to Resene Quarter Alabaster to the timber surfaces of the mini glasshouse, allowing two hours for each coat to dry.
 Step twelve
Drill three 40mm holes along each of two sides of the piece of clear acrylic and fix into position using the 16mm roofing screws. Fix the latch bolt to the top of the front window.
![]() Get inspired ! Subscribe
Get inspired ! Subscribe ![]() Get saving ! Apply for a DIY card
Get saving ! Apply for a DIY card
![]()
Can't find what you're looking for? Ask us!
Company profile | Terms | Privacy policy | Quality and environmental policy | Health and safety policy
Colours shown on this website are a representation only. Please refer to the actual paint or product sample. Resene colour charts, testpots and samples are available for ordering online. See measurements/conversions for more details on how electronic colour values are achieved.
What's new | Specifiers | Painters | DIYers | Artists | Kids | Sitemap | Home | TOP ⇧

