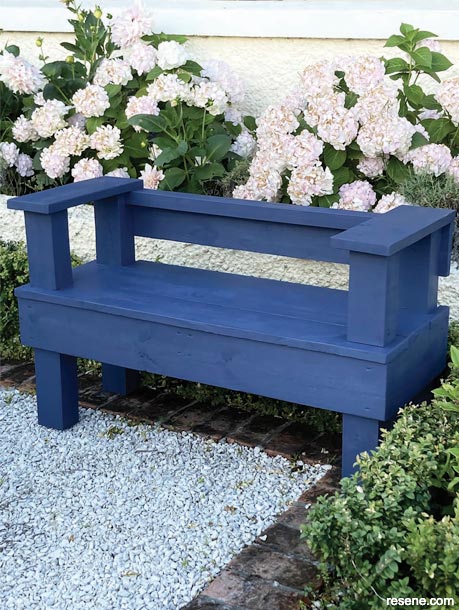
Here’s an easy way to make a stylish garden bench using inexpensive fencing timber.
![]()
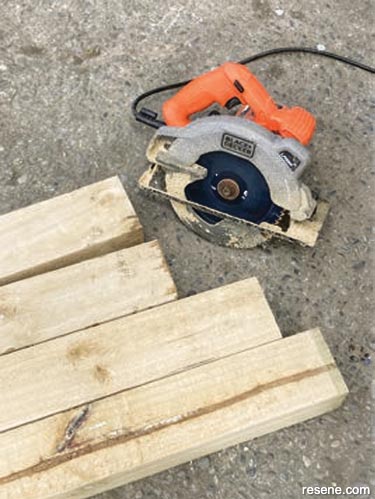
Tools:
Materials:
How to build a garden bench:
 Step one
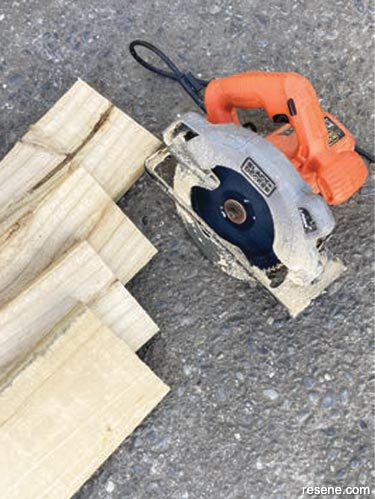
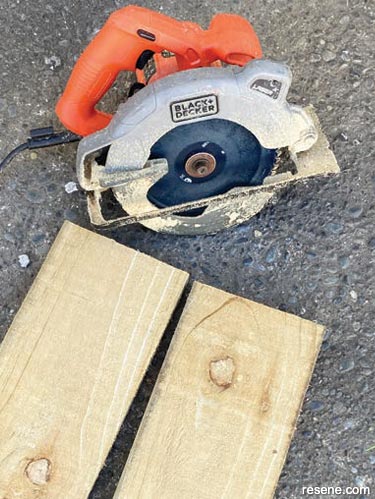
Measure, mark and cut two 430mm lengths and two 700mm lengths from the 100mm x 75mm fence posts.
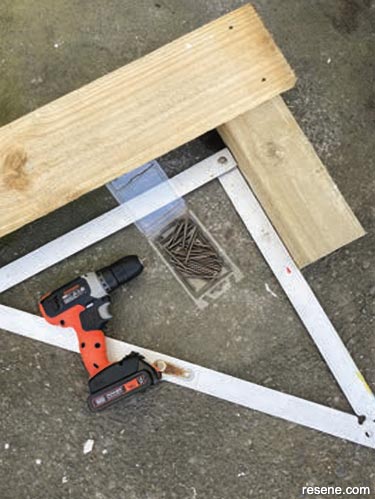 Step two
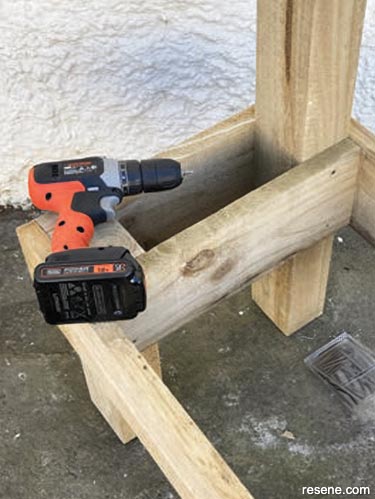
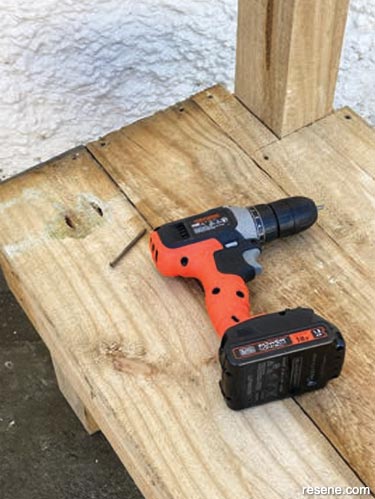
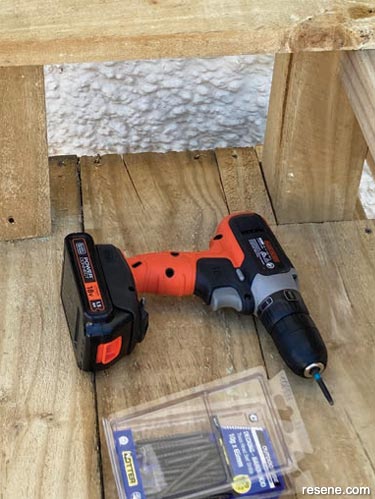
To form the first of the front legs of the bench, attach one of the 430mm lengths of fence post to one of the fence palings as shown, fixing with 65mm screws. Use a set square to ensure that it’s perpendicular – note that the leg is inset approximately 25mm (or the thickness of a fence paling) from the end. Repeat to form the second front leg.
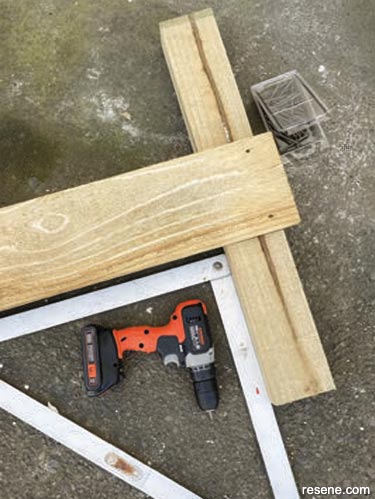 Step three
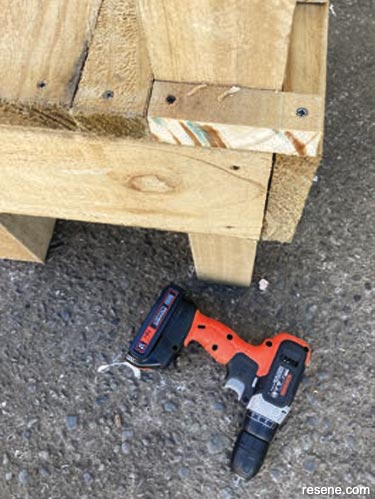
Repeat Step 2 to form the two back legs of the bench using the two 700mm lengths of the fence post, as shown. The top edge of the fence paling should be 430mm from the bottom of each leg.
 Step four
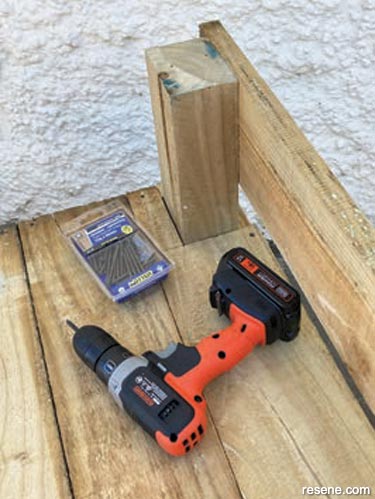
Measure, mark and cut four 400mm lengths of fence paling and one 400mm length of fence post.
 Step five
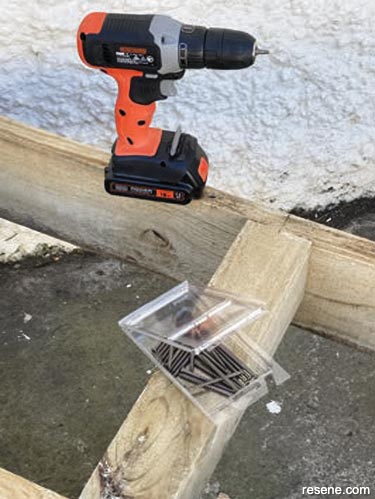
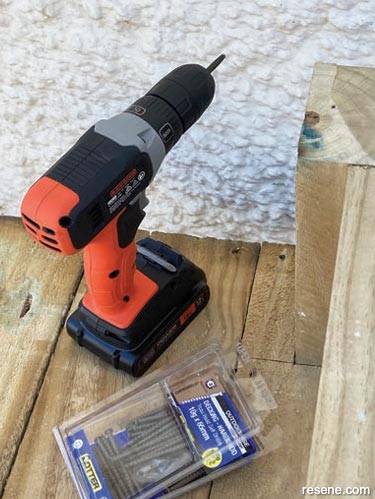
Attach two of the 400mm lengths of fence paling to the two leg sections, as shown, fixing with 65mm screws. Repeat with the other two 400mm lengths of fence paling to form the rectangular base frame of the bench seat.
 Step six
Attach the 400mm length of fence post into position, as shown, to form the central base support, fixing with 65mm screws.
 Step seven
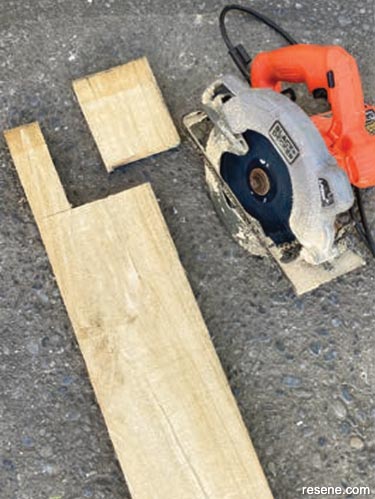
Measure, mark and cut a 100mm x 75mm section from each end of one of the remaining fence palings. Note: if you’re using a circular saw you may need to finish the corner of the cut with a handsaw.
 Step eight
Attach this cut fence paling into position along the back of the bench seat and then fix two more of the remaining fence palings into place to complete the seat, as shown.
 Step nine
Measure, mark and cut two small sections of fence paling (approximately 25mm x 100mm). Fix the first into position at one end of the bench seat, as shown – it may be necessary to drill pilot holes to prevent the wood from splitting. Fix the second section into the same place at the other end of the bench seat.
 Step ten
Attach a fence paling horizontally along the back of the bench, as shown, fixing with 65mm screws.
 Step eleven
Measure, mark and cut the 50mm x 50mm timber into a 940mm length and attach this along the back of the bench, as shown, fixing with 65mm screws.
 Step twelve
Measure, mark and cut two 465mm lengths of fence paling and two 245mm lengths of fence post.
 Step thirteen
Attach two of these pieces into position, as shown, to form the first of the two arm rests, fixing with 65mm screws. Repeat to form the second arm rest.
 Step fourteen
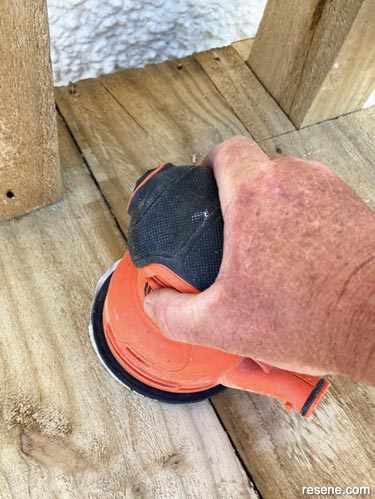
Sand the entire bench to smooth any rough surfaces and edges, and then remove any sanding dust with a stiff bristled brush.
 Step fifteen
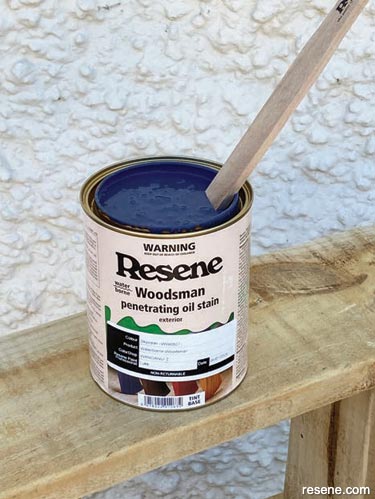
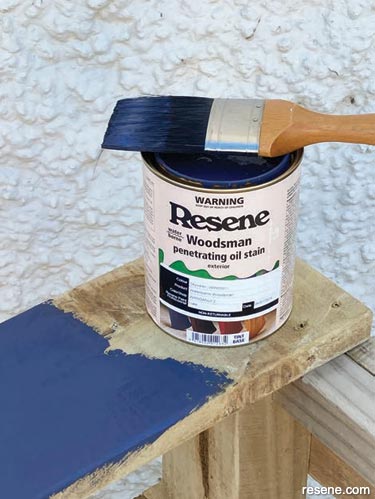
Carefully stir the Resene Waterborne Woodsman penetrating oil stain tinted to Resene Skywater.
 Step sixteen
Apply two coats of Resene Waterborne Woodsman tinted to Resene Skywater to the bench, allowing two hours for each coat to dry.
![]() Get inspired ! Subscribe
Get inspired ! Subscribe ![]() Get saving ! Apply for a DIY card
Get saving ! Apply for a DIY card
![]()
Can't find what you're looking for? Ask us!
Company profile | Terms | Privacy policy | Quality and environmental policy | Health and safety policy
Colours shown on this website are a representation only. Please refer to the actual paint or product sample. Resene colour charts, testpots and samples are available for ordering online. See measurements/conversions for more details on how electronic colour values are achieved.
What's new | Specifiers | Painters | DIYers | Artists | Kids | Sitemap | Home | TOP ⇧

