From habitat magazine - issue 39, step by step
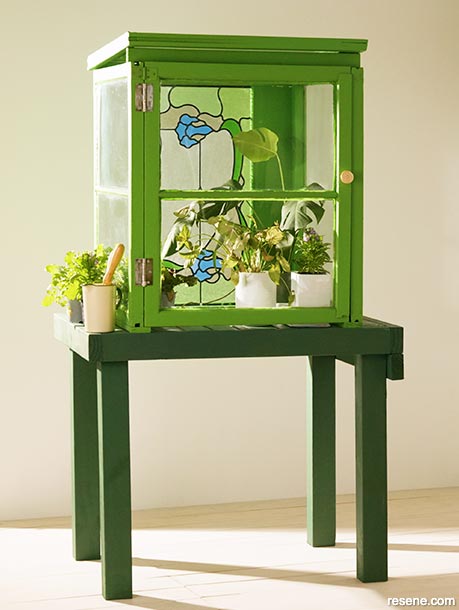
Repurposing a stained glass window makes all the difference to this DIY mini glasshouse.
top tip For a natural stained finish, clean your timber frames with Resene Timber and Deck Wash and allow to dry. Then apply a Resene wood stain colour – Resene Colorwood for interior or Resene Woodsman for exterior.
Building your own glasshouse need not be a daunting task. Using recycled windows of equal size makes this project a whole lot easier. We’ve used a stained glass window in this project. If you have a stained glass window you’d like to use that isn’t the same size as your other windows, simply make a frame that matches those dimensions. Old windows may not match exactly – adjust your measurements to suit.
 Step one
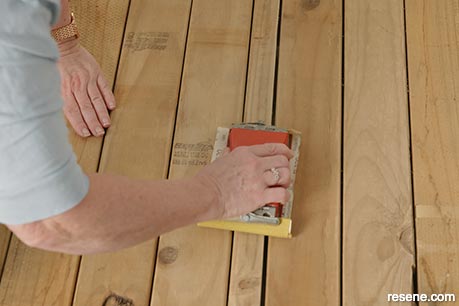
Sand the window frames and table with 220 grit sandpaper to smooth out any rough edges and to allow the paint to grip. Wipe off sanding dust.
 Step two
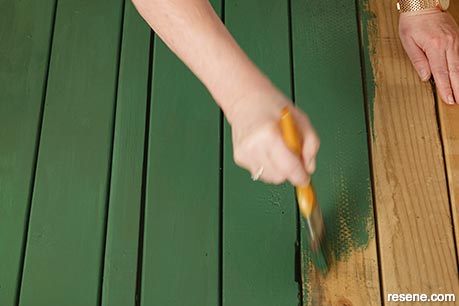
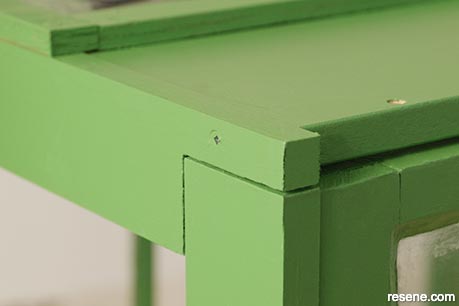
For the table, apply two coats of Resene paint. You can use Resene Lumbersider Low Sheen or Resene Lustacryl semi-gloss for a higher sheen finish (prime first with Resene Quick Dry). Allow dry time between each coat. Allow the second coat to dry.
 Step three
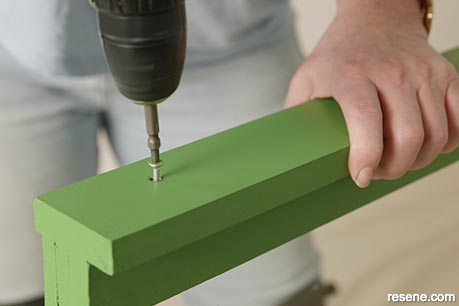
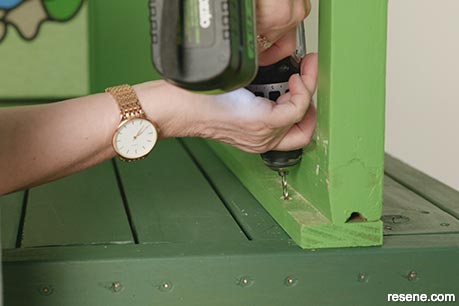
Cut the 65mm x 18mm radiata board into three equal sizes (the length of your windows). Using 65mm screws, screw one piece to the bottom of one of the side windows, first drilling pilot holes, and positioning the board so the overhang is on the inside of the glasshouse. (You will screw this board into the table to hold the glasshouse in place.) Repeat for your second window – also a side window – positioning a radiata board at the base, with the overhang on the inside.
 Step four
For the back window, cut an indent at each end of the board to allow the side panels to slot together. The indent will match the width of the panel, 65mm. As our back window is slightly shorter than our side windows, there is a small overhang at each end. Fix the board with screws to the base of the window, with the overhang on the inside.
 Step five
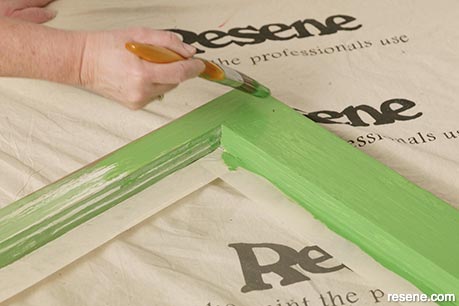
Apply masking tape to the inside of each window to protect the glass, then paint the window frames of all five windows in Resene Bilbao, allowing dry time between coats. Allow the second coat to dry.
 Step six
Place the two side windows on their sides and position the back window on top to form a box shape. Drill pilot holes then, using three 65mm screws for each side (depending on the thickness of the window frames, you may need longer screws), screw the back window to the side windows.
 Step seven
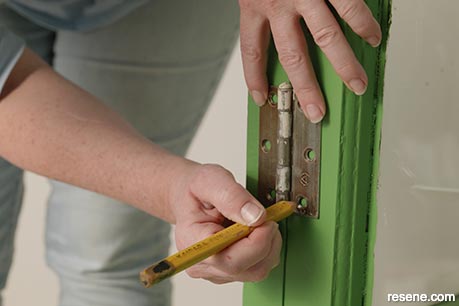
Turn the glasshouse right side up. Position the ‘door’ in place and, using a pencil, mark where the hinges will go. Drill pilot holes then screw the hinges in place, using 35mm screws.
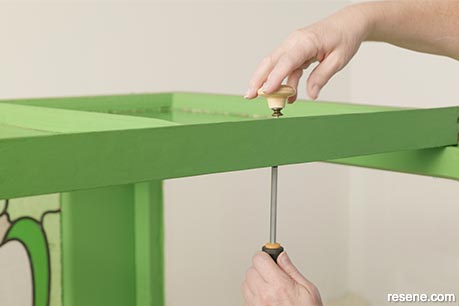 Step eight
Attach the knob to the front of the door.
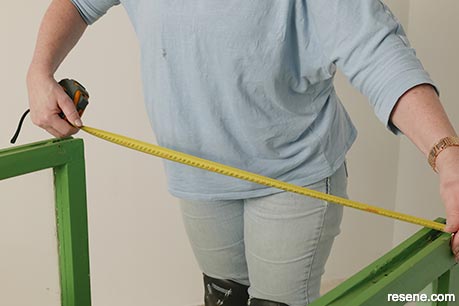 Step nine
Measure the width of the glasshouse and cut your offcut timber to the same width. Place it on top of the glasshouse at the front, just behind the door, and mark where the sides of the windows end.
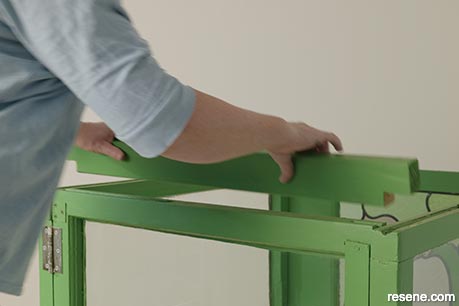 Step ten
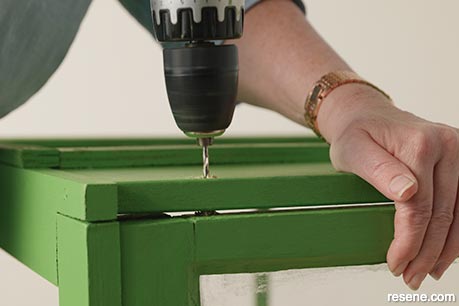
Cut an indent about 20mm deep and the width of the side windows, so that the timber drops about 20mm into the glasshouse. Drill pilot holes, then screw in place, at either end, with 75mm screws. Drill one screw in from the top and one from the side, on either side. This board acts as both a brace for the box frame and elevated support for the ceiling window. Apply two coats of Resene Bilbao, allowing dry time between coats.
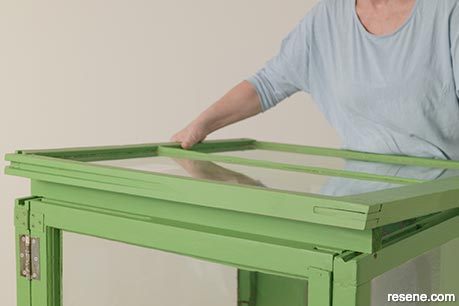 Step eleven
Place the last window on top of the glasshouse. Drill pilot holes at each corner and screw into place with 75mm screws. Remove the masking tape from the windows and touch up the paint if necessary.
 Step twelve
Place the glasshouse onto the table and screw in place at the base using 50mm screws, two for each side and back.
Project: Jane Wrigglesworth
Images: Patrick Roberts
Search habitat magazine stories
Printed copies of habitat highlights are available from late March 2024 at Resene ColorShops and resellers, while stocks last. You can view back issues of habitat magazine online.
Specifiers:
If you have an idea, project or story that you think would suit habitat, we’d love to hear from you. Please drop us an email with your details and include photos if submitting a project.
Sign up for a DIY card and Save! Australia | New Zealand
![]() Get inspired ! Subscribe
Get inspired ! Subscribe ![]() Get saving ! Apply for a DIY card
Get saving ! Apply for a DIY card
![]()
Can't find what you're looking for? Ask us!
Company profile | Terms | Privacy policy | Quality and environmental policy | Health and safety policy
Colours shown on this website are a representation only. Please refer to the actual paint or product sample. Resene colour charts, testpots and samples are available for ordering online. See measurements/conversions for more details on how electronic colour values are achieved.
What's new | Specifiers | Painters | DIYers | Artists | Kids | Sitemap | Home | TOP ⇧


