DIY project from NZ Gardener magazine
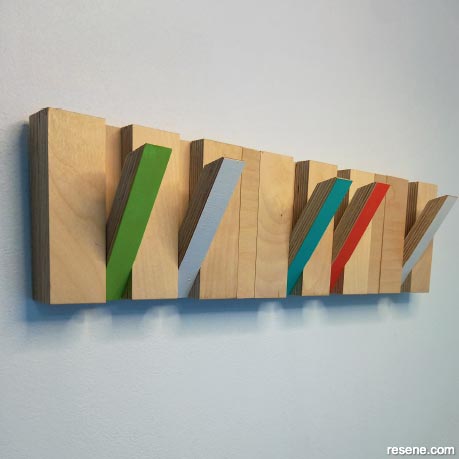
These simple, stylish and colourful hooks are easy to make.
Materials:
Cut list:
Cost:
$25 for timber, dowel and keyhole hooks. This excludes Resene products. I used Resene Big Bang, Wellywood, Niagara and vivid white. I coated each hook, spacer and the back board with Altex Timbercote Exterior Varnish available from Resene Paint.
Health and safety: When using power tools always wear goggles and ear defenders. Tuck away all jewellery. Tie back hair and don’t wear loose clothing that may get tangled.
Learn how to make timber hooks:
 Step 1
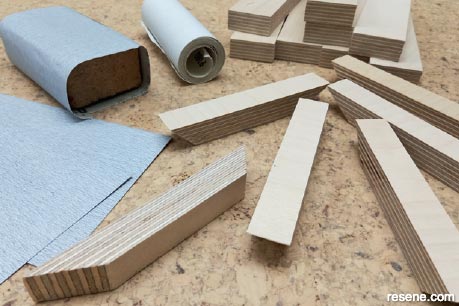
Measure and mark the plywood, and cut the 2 pieces: one for the back board and the one for the hooks.
 Step 2
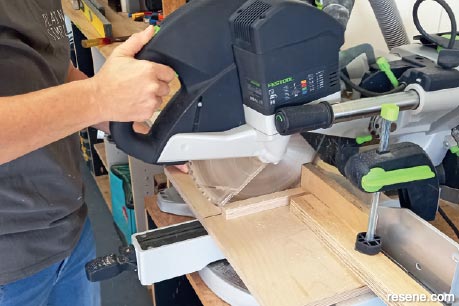
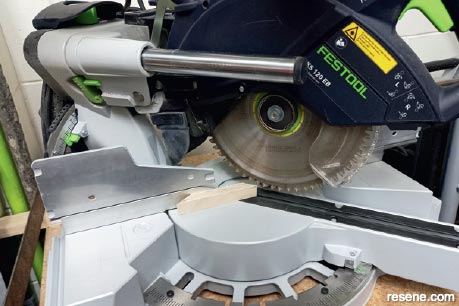
Take one board and, using a mitre saw, cut the 8 spacer pieces and the 7 pieces for the hooks.
 Step 3
On the hook pieces, cut one end at 45 degrees and the other at 60 degrees.
 Step 4
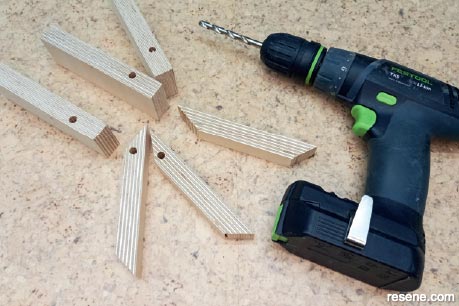
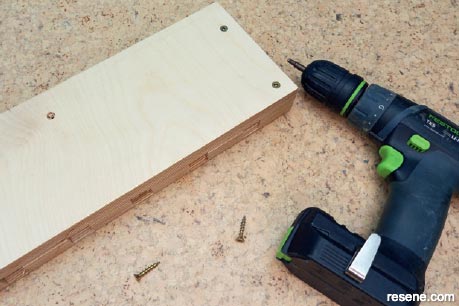
Drill a hole at the axis point on the 60-degree end of the hooks, ready for the dowel to go through. Measure up on the space pieces and drill 6 pieces all the way through, with 2 pieces only drilled half way for each end.
 Step 5
Sand each piece and dust down. Polish the pot with a clean soft cloth.
 Step 6
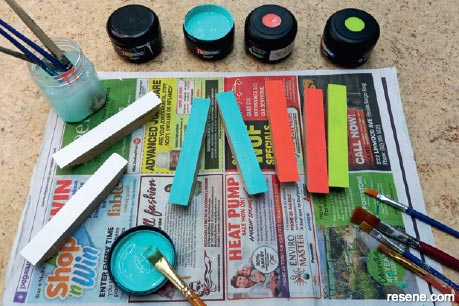
Paint the hooks with Resene colours of your choice, and wait for them to dry. Coat each piece with Altex Timbercote Exterior Varnish as per the instructions. This will make the hooks suitable for outdoor use.
 Step 7
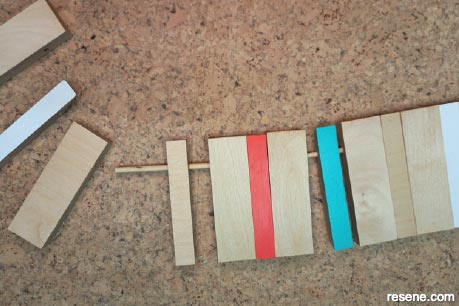
Cut the dowel to size and thread each piece on to the dowel, gluing the end pieces in place.
 Step 8
Add the back board and keyhole slot hooks.
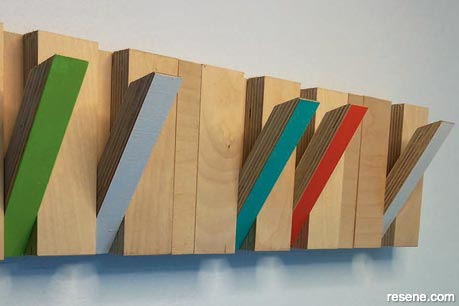 Close up
A close-up look at the timber hooks.
Project by: Jane Horne
Jane Horne and partner Simon Bartholomew design and develop projects from their studio in Christchurch, managing projects throughout the South Island.
![]() Get inspired ! Subscribe
Get inspired ! Subscribe ![]() Get saving ! Apply for a DIY card
Get saving ! Apply for a DIY card
![]()
Can't find what you're looking for? Ask us!
Company profile | Terms | Privacy policy | Quality and environmental policy | Health and safety policy
Colours shown on this website are a representation only. Please refer to the actual paint or product sample. Resene colour charts, testpots and samples are available for ordering online. See measurements/conversions for more details on how electronic colour values are achieved.
What's new | Specifiers | Painters | DIYers | Artists | Kids | Sitemap | Home | TOP ⇧

