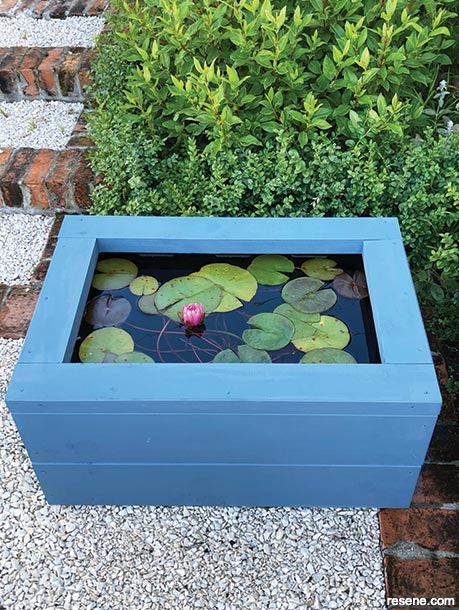
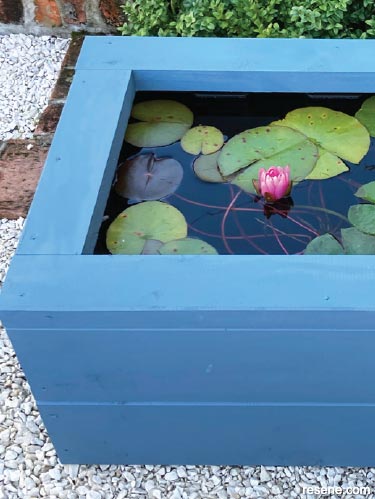
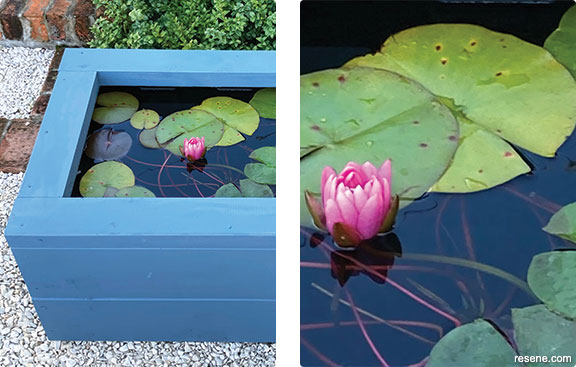
Enjoy water-loving plants in any part of the garden with this easy-to-build water planter.
![]()
Materials:
Tools:
Top tip: Always double-check measurements when building your own planter as the dimensions of your storage box or any dressed timber may vary slightly.
Handy hint: Ensure that the planter is positioned with appropriate levels of sun or shade for your preferred plants.
Here's another idea: You can also use your planter to grow bog-loving plants. Simply drill two or three small drainage holes in the base and fill with potting mix and water, before adding plants. As the water slowly drains, you may need to top it up from time to time.
How to create your own water garden:
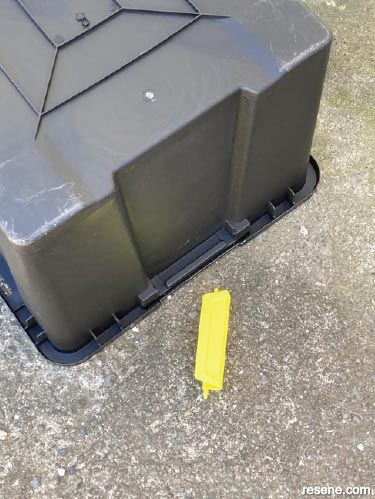 Step one
Remove the plastic handles from the 100-litre storage bin and seal the small holes where the handles were fixed using a small amount of waterproof silicon sealer. Allow the silicon to cure.
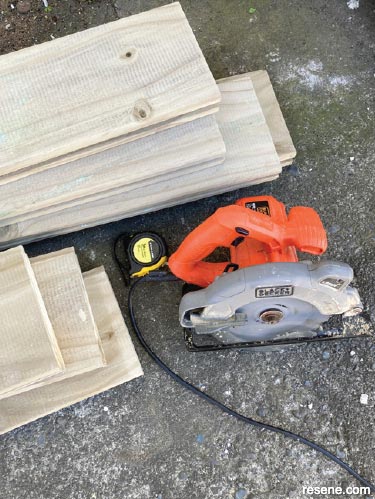 Step two
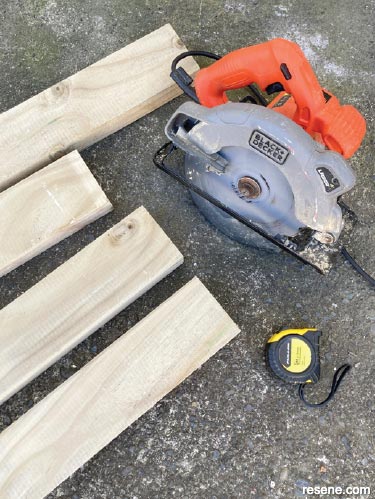
Measure, mark and cut the 200mm x 50mm tongue and groove landscaping timber to the required lengths.
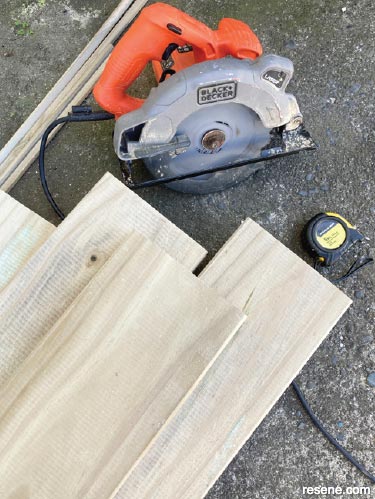 Step three
Using a saw, carefully remove the ‘tongue’ from two of the 850mm lengths and two of the 510mm lengths of tongue and groove landscaping timber and then smooth any rough edges with sandpaper.
Step four
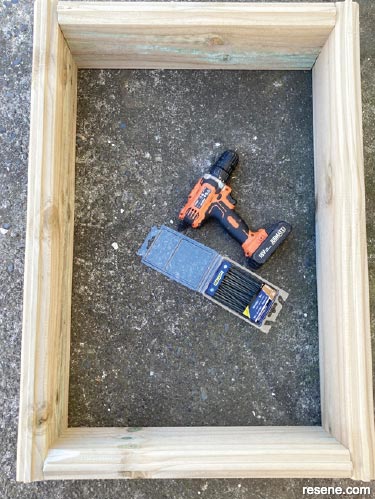
On a flat surface, assemble the other four pieces of tongue and groove landscaping timber to form a rectangular frame, as shown, fixing at each corner with 100mm exterior screws. Ensure the ‘tongue’ edge of each piece is uppermost.
 Step five
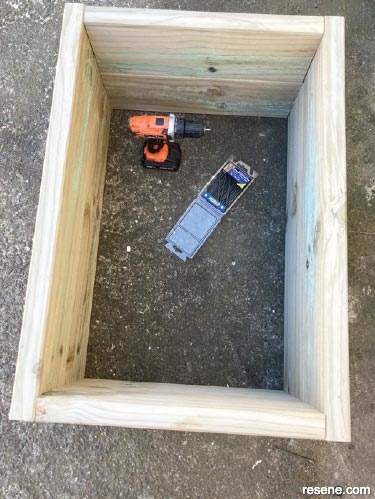
Place the four remaining pieces of trimmed tongue and groove landscaping timber into position on top of the rectangular frame, as shown, once again fixing with 100mm screws – you may need a hammer and a small block of wood to tap the tongue and groove edge tightly together. Securely fix the two timber layers together at each corner with a 100mm exterior screw driven in at a downward angle.
 Step six
Measure, mark and cut the 100mm x 50mm timber to the required lengths and smooth any rough edges with sandpaper.
 Step seven
Attach the four pieces of 100mm x 50mm timber to the top edge of the base, as shown, fixing with 100mm screws.
 Step eight
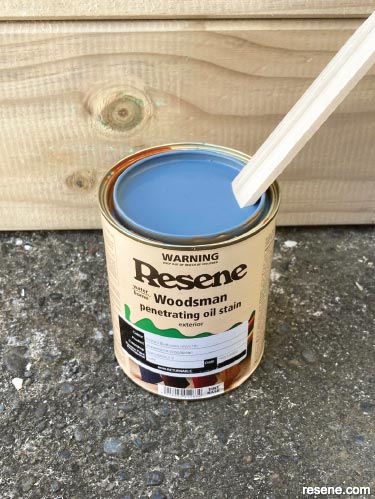
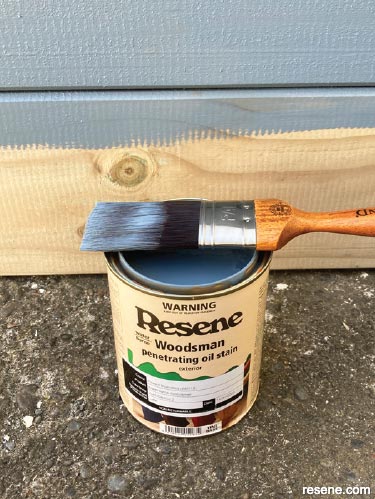
Carefully stir the Resene Waterborne Woodsman penetrating oil stain tinted to Resene Pickled Bluewood.
 Step nine
Apply two coats of Resene Waterborne Woodsman penetrating oil stain tinted to Resene Pickled Bluewood to the visible parts of the planter box, allowing each coat to dry.
How to set up your water planter
Place the plastic storage bin in position, making sure that it’s level in both directions, and then lift the wooden cover into place to conceal the sides and top edge of the plastic bin. Fill the bin with water and then place an appropriate potted water-loving plant into the water planter. (Many thanks to Andrew at Wanganui Garden Centre for supplying the water lily used in this project.)
![]() Get inspired ! Subscribe
Get inspired ! Subscribe ![]() Get saving ! Apply for a DIY card
Get saving ! Apply for a DIY card
![]()
Can't find what you're looking for? Ask us!
Company profile | Terms | Privacy policy | Quality and environmental policy | Health and safety policy
Colours shown on this website are a representation only. Please refer to the actual paint or product sample. Resene colour charts, testpots and samples are available for ordering online. See measurements/conversions for more details on how electronic colour values are achieved.
What's new | Specifiers | Painters | DIYers | Artists | Kids | Sitemap | Home | TOP ⇧

