From the Resene decorating blog
Converting a bedroom through different stages is easy when you start from the beginning.
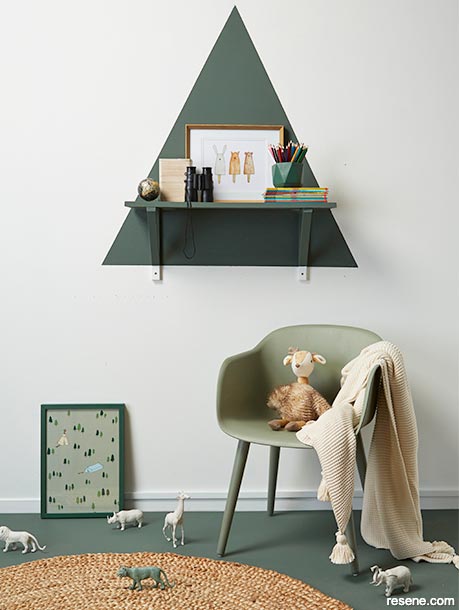
Neutral – and gender neutral – tones made it simple to start adding in some personality in this nursery when transitioning from baby to toddler. Resene Black White walls were the perfect blank state to add in the triangle ‘tree shelf’ in Resene Middle Earth. The chair has been painted Resene Yucca. Project by Vanessa Nouwen, image by Bryce Carleton.
While renovating a bedroom can be fun, not everyone wants to start from scratch every time their child matures to the next stage. But, transitioning from guest room to nursery to kids’ room to teenage hangout – and back to guest room again – can be done with ease if you follow a few handy hints.
When making the leap from a guest room or office to a nursery, it’s important to keep things simple. It’s key to consider how the room will need to evolve in 10 or even 20 years’ time.
Starting with a neutral colour scheme for the walls, window treatments and flooring is a great place to start. Other colours can be incorporated later through furniture, bedding and decorative pieces like artwork or wall hangings.
If you do have your heart set on a particular wall colour, however, you should go for it – it only takes a day or two to repaint – but keeping the often-expensive carpet and window treatments neutral will save you in the long run. Just remember, children tend to outgrow gender-specific colours like pink and blue early, so you might find yourself repainting over these choices sooner rather than later.
If you’re struggling to come up with a colour scheme for your nursery, you can look to science to decide. For the first three months, babies can only see black, white and grey, so they tend to focus on contrasting colours, such as black and white, because they’re much easier to see than lighter, non-contrasting colours. Conveniently, this makes nursery renovations easy when it comes to choosing colours! Try Resene Rice Cake for a warm, neutral white and pair it with Resene Noir for a high-contrast look.
If a monochrome look isn’t your thing, try contrasting grey with a splash of colour, such as a subtle yellow like Resene Yuma, or go bold with one red feature wall. Red is one of the first colours a baby can see, at around three months of age. Try Resene Pohutukawa, Resene Poppy or Resene Code Red.
When it comes to furniture, the nursery stage is a great time to take it easy, but once you hit the ‘incredible years’ – three to six years old – and beyond, you can start to get creative. Upcycling old furniture such as painting old drawers in brighter colours, or even just their handles, can instantly transform a room. Start with small projects and look for ways the kids can help you out to help.
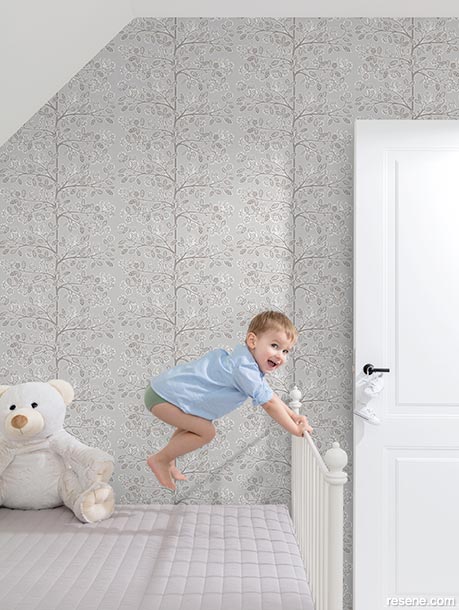
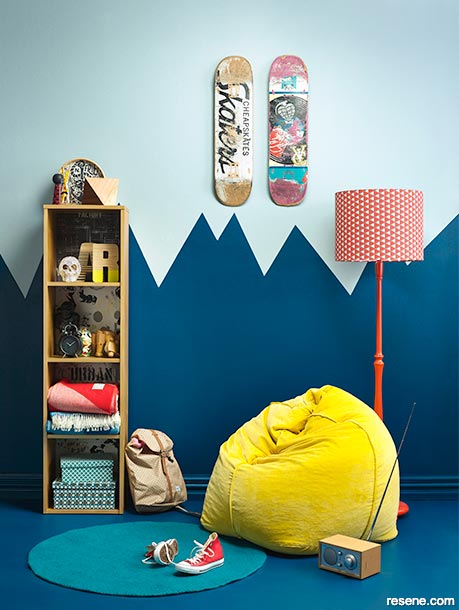
Framing your child’s artwork is another way to brighten things up with minimal change to the room’s main décor, and decals are an easy and affordable way to reflect special interests or favourite animated characters – they simply peel off when your child moves on and wants a change.
Wooden bunk beds are perfect for freeing up floor space and can be painted to suit your child’s personality. As your child gets older, simply lose the bottom bunk and add a study nook underneath the top bunk.
Children love their privacy, too, and often enjoy having their own hideout. Bunks can easily convert into forts with a few blankets and boxes. And in the transition to a teenage bedroom, they will probably appreciate that privacy all the more.
In the teenage years, it becomes extremely important that bedrooms reflect identity and interests. It’s a way of breaking free of their child-like selves and embracing a more adult way of living. Don’t be afraid to let go and allow them to take the charge with decorating. Chances are your once-energetic children will stick to easier ways of expressing themselves rather than more dramatic changes, especially if you suggest they help with the process!
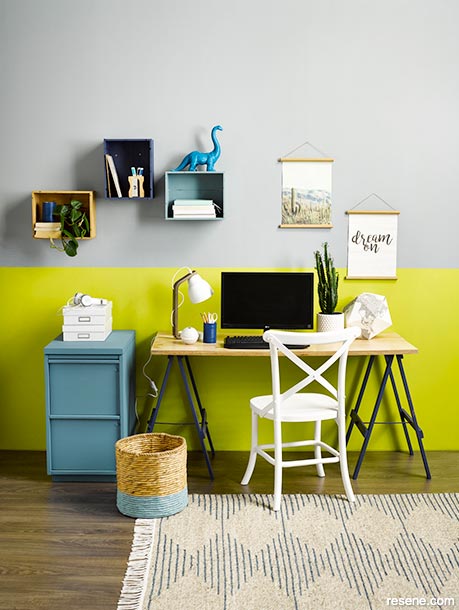
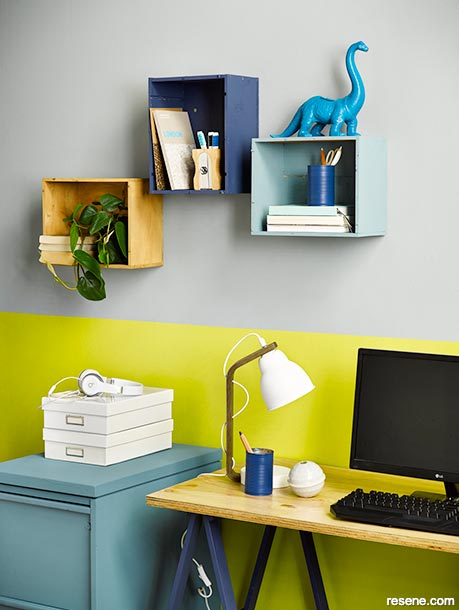
Photo and pin boards are popular with teens and save your walls from too many holes and tack marks. To steer clear of holes all together, paint a coat of Resene FX Magnetic Magic under two coats of Resene SpaceCote tinted to the same colour as the rest of your walls and your teen can hang notes, posters, or artwork – and even write on it with chalk.
To get your teen organised, incorporate shelving. Wooden crates are easy to stack and don’t take up too much room, while box or honeycomb shelves make a fun DIY painting project and can be arranged in different patterns on the wall throughout the bedroom. You can even hang on to them once your teen moves out.
By this stage, it should be easy for you to revert the room back to its original state simply by removing the furniture and perhaps giving it a fresh coat of paint. If your teen has taken off with their bed, consider replacing it with a fold-out couch. That way, you can keep the shelves from your teen’s time and have the room double as an office or library. Yes, your very own library! At the very least, it might help to ease the feeling of an empty nest.
February 02, 2019
Visit your local Resene ColorShop for more colour ideas and all the expert advice and products you need for a superb finish on all your decorating projects.
Book a colour consult | Ask a Colour Expert | Ask a Paint Expert
Resene's decorating blog
Paint your home beautiful! Discover the latest decorating trends, tips and colour news.
![]()
Previous «
Build a contemporary coastal look that’s extra chic
![]()
Blog home
View the latest trends, tips and news
![]()
» Next
Picking paint for a family home