DIY with Resene, from OHbaby! magazine
The thought of creating a nursery for your baby from scratch can be a little overwhelming, but it doesn’t need to be with a few helpful tips and tricks.
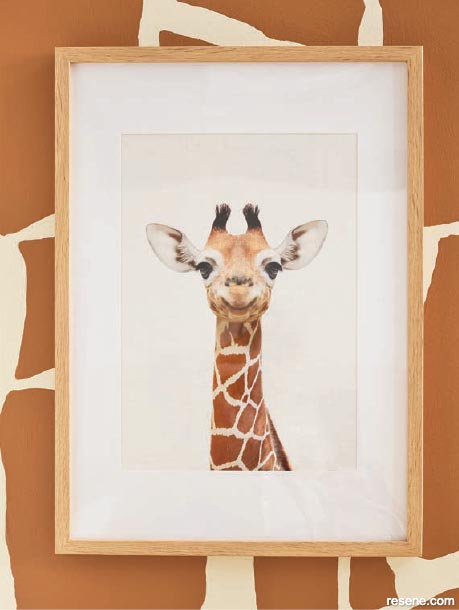
A room design is normally formulated by taking one idea or item you love and building on it. It could be a piece of art or a print you love, wallpaper, or even bed linen. This is known as a ‘seed’ item – it’s the item from which the rest of the design grows. In this case the starting point or ‘seed’ item was the very cute giraffe print I found. The colours in the print determined the colour palette for the whole room and inspired the giraffe pattern feature wall.
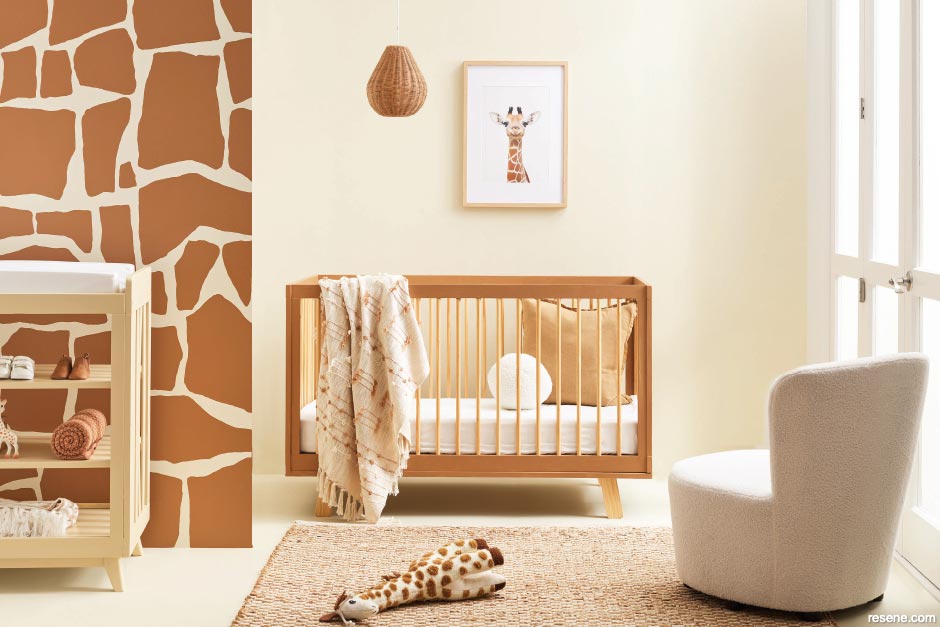
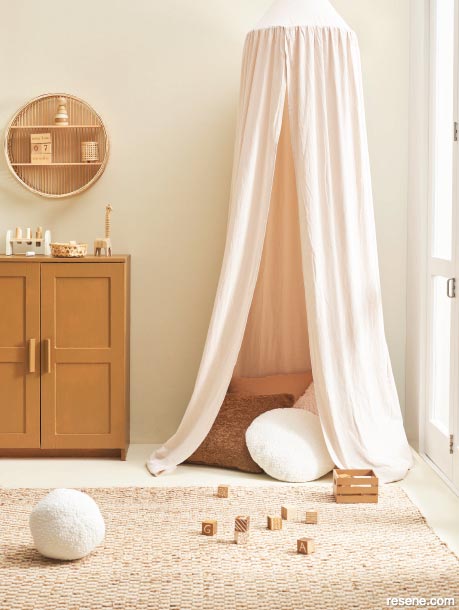
The key with any nursery room design is balancing out the colours at play so the space feels soft and calming for both mum and baby. In this room we opted for a neutral colour palette (great for those families having a surprise gender reveal at birth!). Both the floor and back wall are painted in Resene Double Spanish White which is a lovely warm, creamy white. The giraffe wall is a fun pop of colour and pattern and adds some personality.
Coordinating Resene colours were used to paint the cot, change table and cabinet so the space felt cohesive. Layers of texture were introduced to create interest and add softness to the space. Linen, boucle, rattan, jute, tassel throw blankets and baskets are all in the mix in this playful nursery.
"A room design is normally formulated by taking one idea or item you love and building on it."
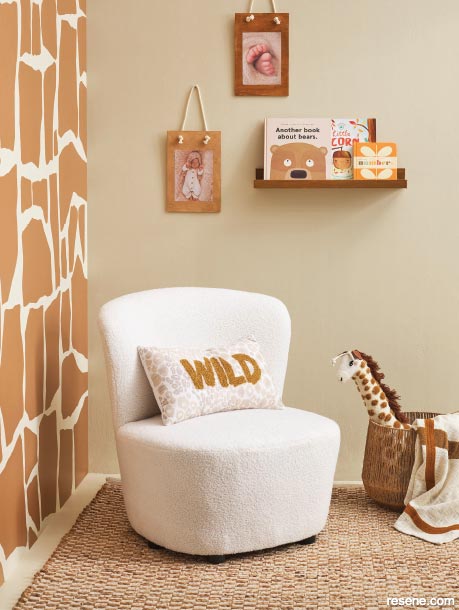
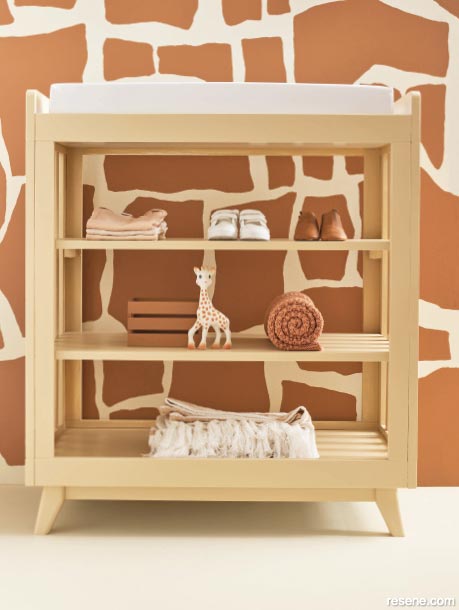
This patterned wall is quite bold in its design, but it works because we chose to paint the design onto a small wall. To create this giraffe skin pattern we painted the base colour in Resene Spanish White then drew the design on in pencil first. Once happy with the design, we filled in the design with Resene Brown Sugar. It doesn’t need to be perfect so don’t stress about the shapes being uniform.
"The key with any nursery room design is balancing out the colours at play so the space feels soft and calming for both mum and baby."
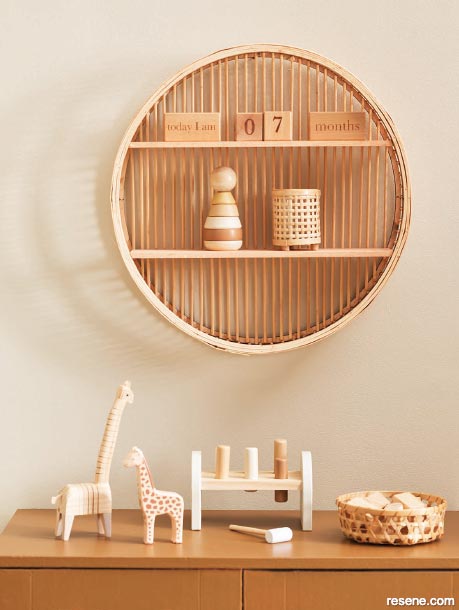
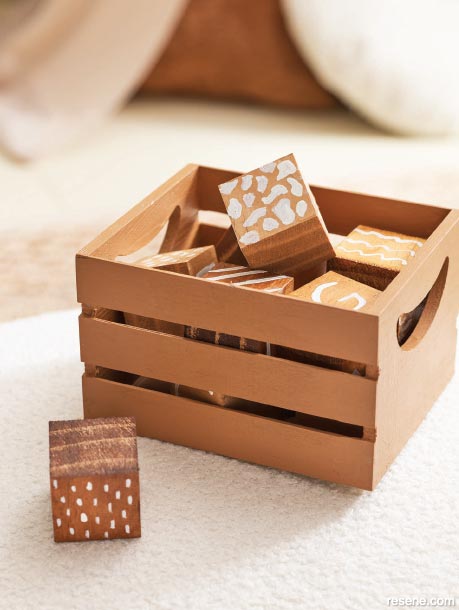
To make these wooden blocks we took a length of square dowel and chopped it into 4cm x 4cm sized cubes. We gave the ends a light sand and then stained the blocks in Resene Colorwood Natural Interior Wood Stain in Ironbark and Walnut. Once dry, you can paint your design on them (we used Resene Spanish White). To seal the blocks we used Resene Aquaclear Varnish in a semi gloss. Pop these in a cute little crate box or use on display in the room.
"If you love to do some simple DIY paint projects these two easy projects can be whipped up in a matter of a few hours."

Wooden blocks
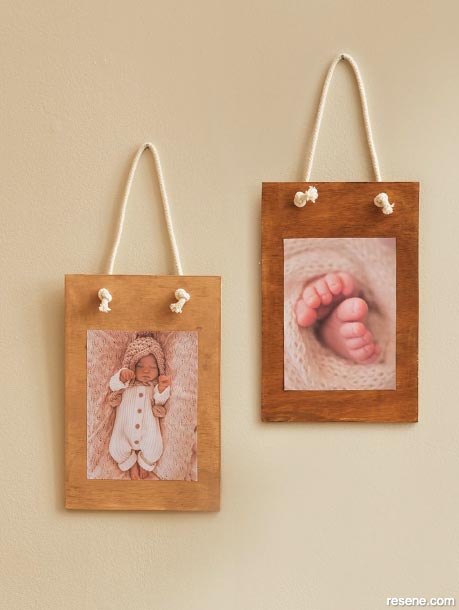
Ply photo hangers
Get some 7mm ply and cut into pieces which are 20cm wide and 30cm in length. We stained ours in Resene Colorwood Natural Interior Stain in Ironbark and Walnut. Drill two holes in the top of the ply and thread some cotton rope through, tying knots at the front of the boards as seen in the picture. Either glue or use double sided tape to stick your photos or prints onto the boards and hang up in room.
Art direction + styling by Vanessa Nouwens. Photography by Wendy Fenwick.
September 2022
Kid's Bedroom Decorating Ideas
View more decorating ideas for kids from OHbaby! magazine in the Resene kid's bedroom inspiration gallery.