From Habitat magazine - issue 04
Learn how to strip and paint a wall with the help of Resene.
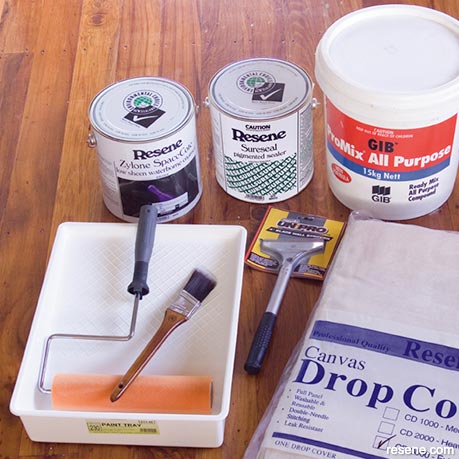
Supplies used
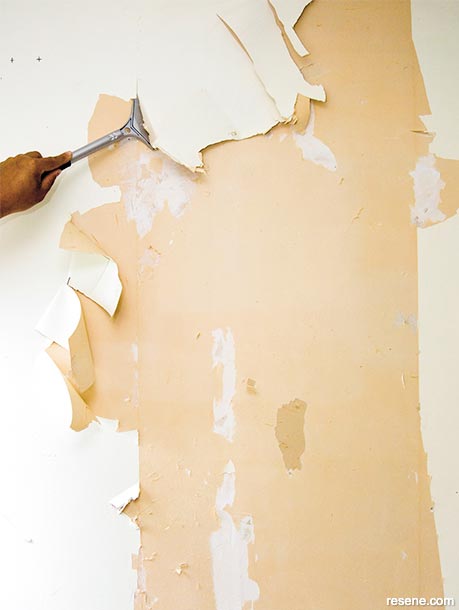
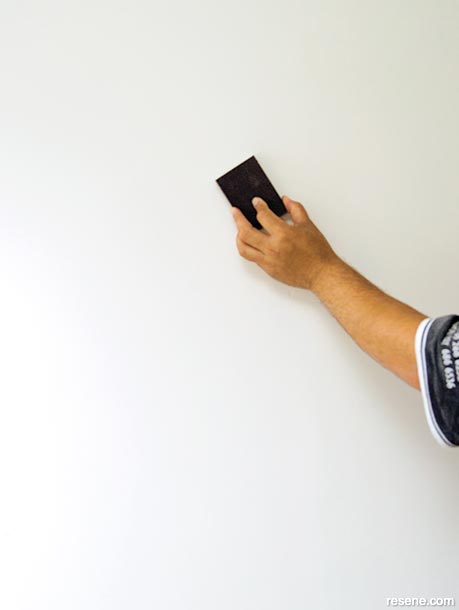
Step 2:
Sand the surface with 80-grit sandpaper to remove any residual wallpaper.
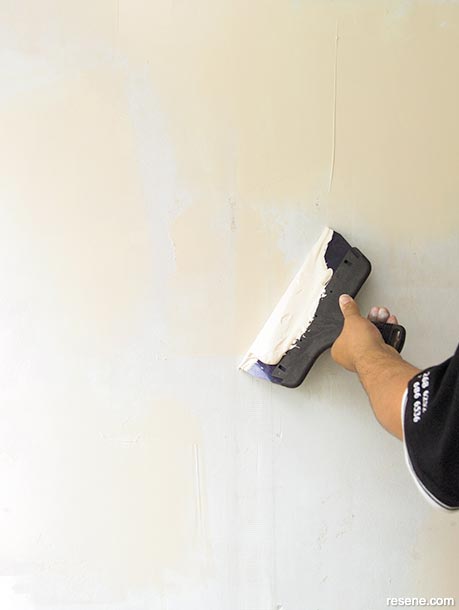
Step 3:
Fill any gouges and voids using Selleys Rapid filla. Sand any overfilled areas with 220-grit sandpaper.

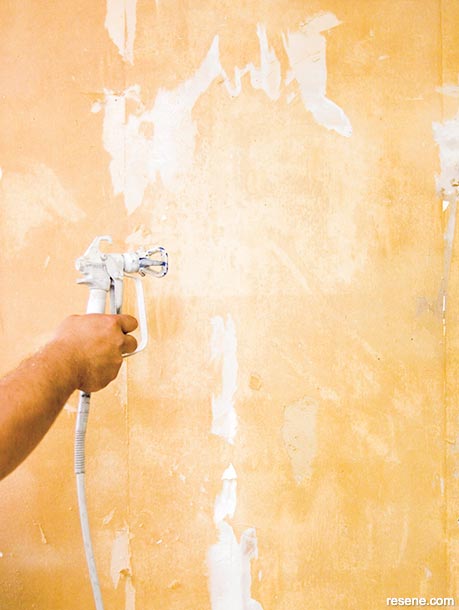
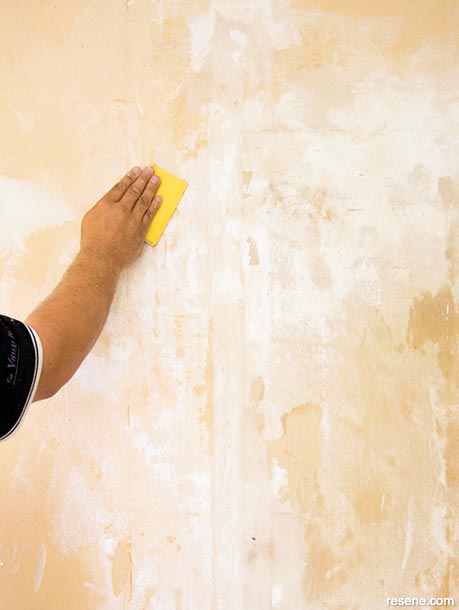
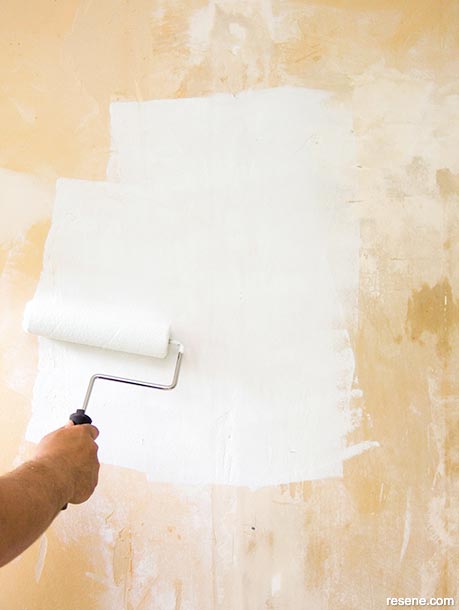
Step 4:
Apply one or two coats of Resene Broadwall Surface Prep to the wall, using a PAL high solids roller sleeve, lay off with a dry roller several times until the coating is lightly textured and evenly distributed. This will give a light orange peel effect, which will help to hide surface imperfections. It can easily be sanded to achieve a smoother finish, if desired. If sanding, use a suitable dust mask to avoid irritation. There is no need to cut in to skirtings, corners and architraves with a brush. Sand, using 220-grit sandpaper.
Step 5:
In existing walls where movement over the years has resulted in failure of the wallboard joins, fix the damage with mesh tape before proceeding. Fill any gaps between the skirting board and the wall lining with Selleys No More Gaps.
Step 6:
Apply Resene Sureseal pigmented sealer, to prevent stains from glue residue and aged wallboard discolouring the paint topcoats. Lightly sand to remove any imperfections.
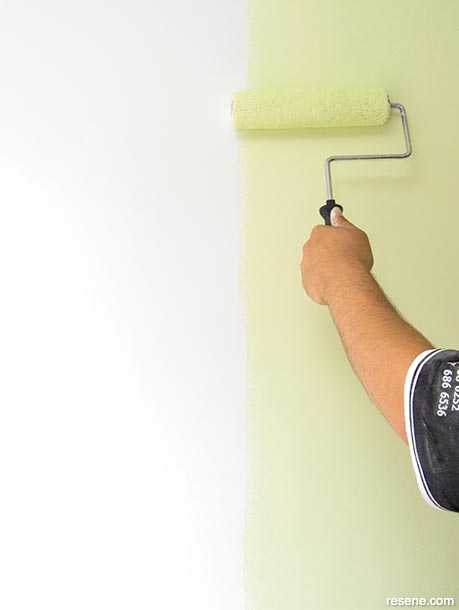
Step 7:
Apply the topcoats of your choice using the number 4 roller sleeve, selecting low-sheen options where possible, as they will help to hide any surface imperfections. Resene SpaceCote Low Sheen is an ideal choice for interiors.
Words: with thanks to John Farrar from Visual Image
Pictures: Lucent* Media
Search habitat magazine stories
Printed copies of habitat highlights are available from late March 2024 at Resene ColorShops and resellers, while stocks last. You can view back issues of habitat magazine online.
Specifiers:
If you have an idea, project or story that you think would suit habitat, we’d love to hear from you. Please drop us an email with your details and include photos if submitting a project.
Sign up for a DIY card and Save! Australia | New Zealand
![]() Get inspired ! Subscribe
Get inspired ! Subscribe ![]() Get saving ! Apply for a DIY card
Get saving ! Apply for a DIY card
![]()
Can't find what you're looking for? Ask us!
Company profile | Terms | Privacy policy | Quality and environmental policy | Health and safety policy
Colours shown on this website are a representation only. Please refer to the actual paint or product sample. Resene colour charts, testpots and samples are available for ordering online. See measurements/conversions for more details on how electronic colour values are achieved.
What's new | Specifiers | Painters | DIYers | Artists | Kids | Sitemap | Home | TOP ⇧

