Habitat bright ideas with Fleur Thorpe – DIY projects
Turn an old set of drawers into a Lego lover’s dream storage space.
Top tip: Try out other Lego combinations using matching Resene colours to represent the colours of the Lego sets your child likes playing with the most. This may be shades of grey and black for Star Wars Lego fans or greens, pinks and purples for those that enjoy the Lego Friends series.
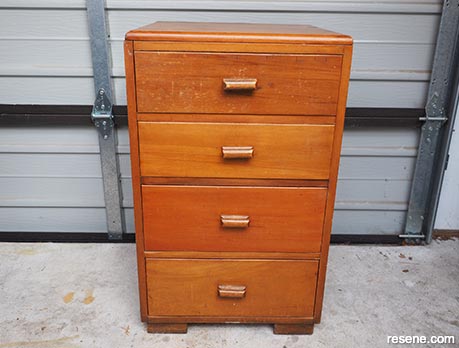 Step 1
Start by removing the old drawers handles and filling the holes with filler.
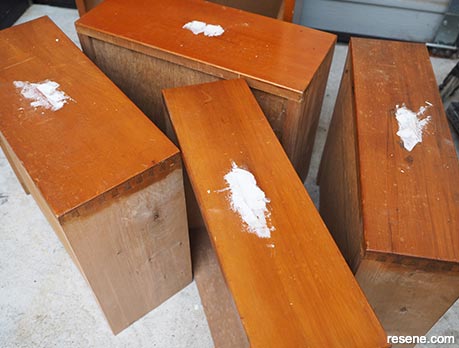 Step 2
Sand the filler smooth, and sand the fronts of the drawers and the drawer body. You don’t need to remove the old varnish/stain/paint, you just need to scuff up the surface so that that primer paint can adhere to it. Wipe off sanding dust. Measure out and drill the holes for the new handles.
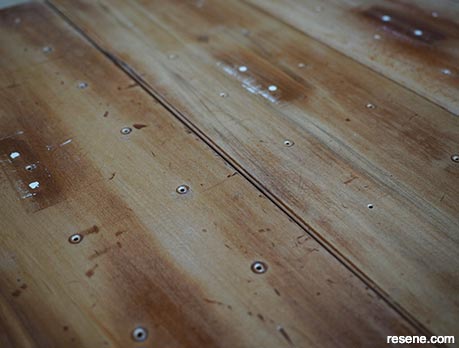 Step 3
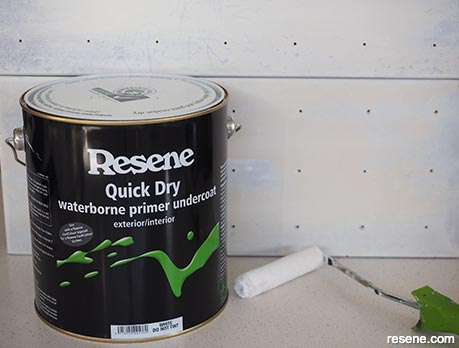
Use a small smooth surface microfibre roller to paint on one coat of Resene Quick Dry. Do the same to the body of the drawers. Once this is dry, give it a light sand with a fine sandpaper. Wipe off sanding dust.
 Step 4
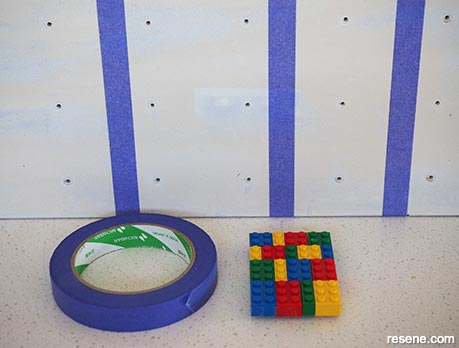
To paint the drawer fronts, use purple painters tape to mask off every second block of colour. Fleur found making a mock-up of the pattern with real Lego helpful for working out the colour combinations.
 Step 5
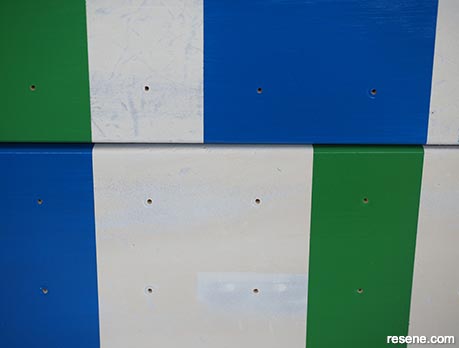
Apply two coats of Resene Lustacryl semi-gloss waterborne enamel paint, allowing the first coat to dry before applying the second coat. Remove the tape while the last coat is still wet.
 Step 6
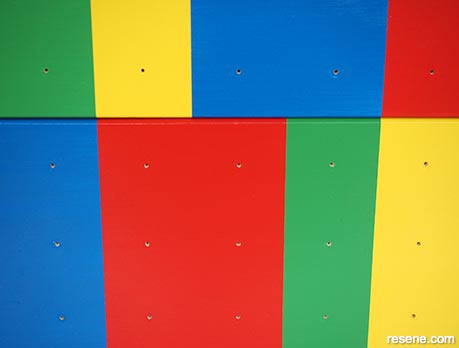
Give the paint a couple of hours to cure, and then proceed to tape up the remaining blocks and again paint these with two coats of Resene Lustacryl.
 Step 7
Paint the body of the drawers in Resene Black.
 Step 8
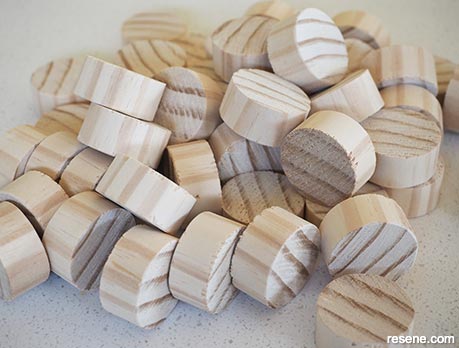
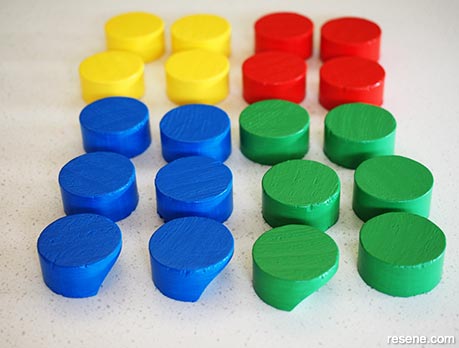
Take your 1.8m length of 45mm dowel and cut it into 2cm lengths – these will be the new handles. Fleur needed 70 handles.
 Step 9
Prime the handles with Resene Quick Dry and once dry, give them a light sand with a fine sandpaper. Paint over the handles with the corresponding colours in Resene Lustacryl. Fleur sanded a notch into 8 of the handles to give a better grip (2 handles on each drawer). Wipe off sanding dust.
Step 10
Use an electric drill and screws to attach the new handles to the drawer fronts.
Styling and images by Fleur Thorpe. Aug 2021.
Habitat bright ideas
Need to add colour, pattern or a little creativity to your place? Check out these easy step by step DIY project ideas created in collaboration with Fleur Thorpe. We hope you enjoy making and painting these bright ideas and bringing colour to your home inside or out.