Turn an ordinary wooden gift box into a treasure chest!
A place to keep Lego, figurines, and all the treasures kids love to collect. Add a unique decorative feature to the lid to make it a special keepsake.
Resene upcycling for good with Sarah Herring - Project 64
You will need:

Top tip: If your box is old or a colour you don’t like, repaint the whole box using your chosen Resene colour, before applying your stripes and robot using a Resene testpot. If your child is keen on trains, cars, space or something else, consider incorporating one of their favourite themes onto the lid in place of the robot.
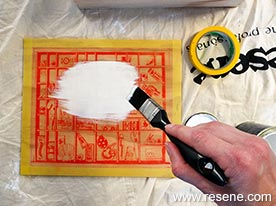
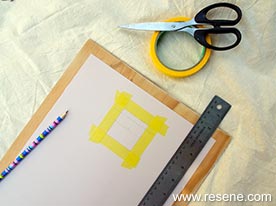
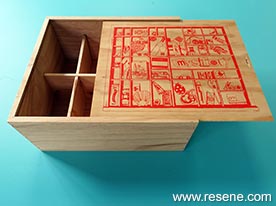
Step one: Check for any repairs that are needed, then sand with some sandpaper to remove any old stain if present. Apply Resene Quick Dry over the old colour, if required.
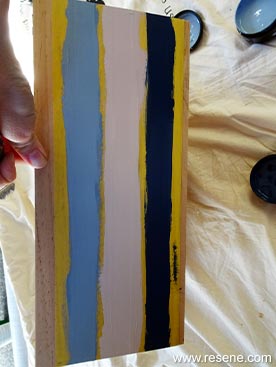
This wooden box was in great condition, as it was not previously painted nor had it been damaged at all. Sarah gave it a light sand to clean up some of the rough edges (always important to consider when you are working on a kid’s project!) and applied one coat of Resene Quick Dry waterborne Primer undercoat to the lid, to cover up the red design that was currently on there. Because it was a sliding lid, Sarah did not apply paint to the areas where there would be frequent movement.
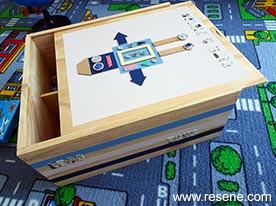
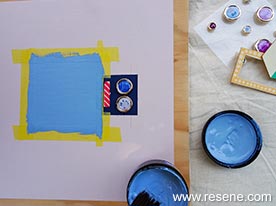
Step two: Apply two coats of your chosen lid colour with a testpot brush. Sarah chose a Resene Wafer. Once dry, measure and mask out square shapes to make a robot design on the lid.
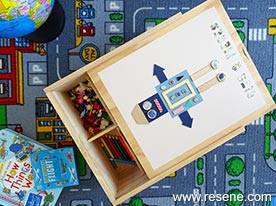
Step three: Once you have the general shapes of the robot ready to go, paint them using your chosen Resene testpot colours. Sarah used Resene Bunting and Resene Escapade and painted a square for the head, and then a larger square for the body. She also painted small balsa wood shapes using a Resene metallic testpot in Resene Goldmine. Sarah glued these shapes as well as decorative buttons to complete the robot character. The idea was to fashion the robot out of the kind of bits and bobs that you might find stored inside a treasure box like this!
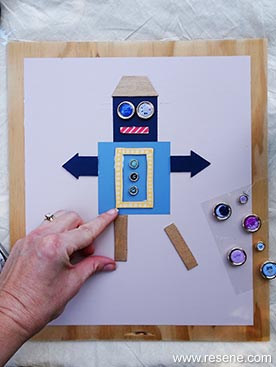
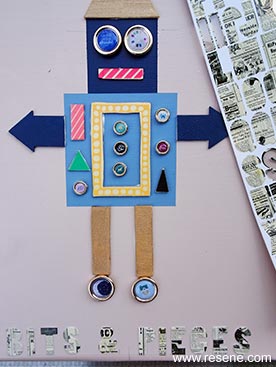
Step four: Use adhesive lettering to label the lid with the words ‘Bits & Pieces’, or paint your own letters using a Resene testpot.
Step five: Set aside the lid and mask out three stripes around the outside of the box using painter’s masking tape. Paint three stripes using your testpots.
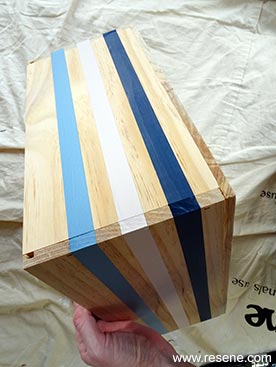
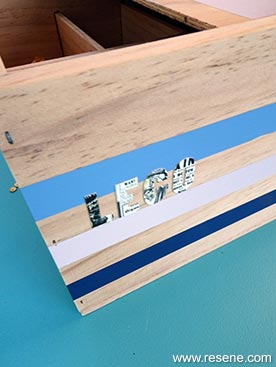
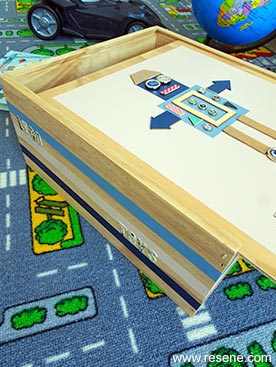
Step six: Sarah used Resene Bunting, Resene Wafer and Resene Escapade to complement the artwork on the lid. A few more adhesive words spelling out things like ‘Lego‘, ‘Toys‘, ‘Treasure‘ and ‘Fun‘ placed along the stripes completed the project.
Fill the finished box with trinkets and treasures and all the things kids like to collect! Hopefully no snails and worms!
Upcycling for Good
You can find a huge range of treasures, from ornaments and picture frames, to furniture and toys at your local Salvation Army store that you can easily upcycle with a little Resene paint and some imagination.
"Our Family Stores are full of treasures generously donated by members of the public. We value these donations and try our hardest to re-purpose and sell as much as possible. We’re all about re-using and recycling, so teaming up with Resene on Upcycling for Good was a perfect match. Resene’s products and tips are a natural fit with our pre-loved furniture and accessories, which are usually great quality but could sometimes do with a lick of paint to ensure they fly off the shelves.
Each year, nationally, our stores save 16,000 tonnes from landfill. This initiative increases the value of the donated product, improves the range of goods for our customers, and furthers The Salvation Army’s mission and Resene’s community activity.” Gareth Marshall, The Salvation Army's National Family Store Manager.