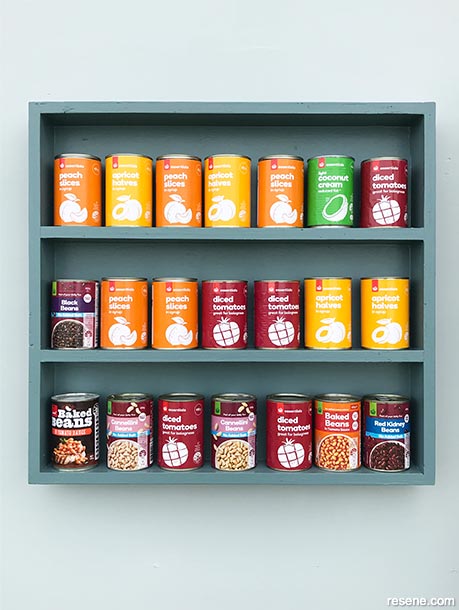
It’s easy to create this handy shelving unit using some plywood and a little bit of Resene know how.

Weekend DIY with Mark Rayner – Project 87
Difficulty level: Moderate
To get the look: Mark painted the background wall with Resene SpaceCote Flat tinted to Resene Duck Egg Blue.
Other ideas: For a soft grey effect paint the shelving unit with Resene Lustacryl tinted to Resene Silver Chalice.
 Step one
Measure, mark and cut the plywood to the dimensions listed above.
 Step two
Assemble the 585mm x 80mm pieces of plywood to form the sides and shelves, as shown. Fix together with PVA glue and 45mm screws, drilling pilot holes first.
 Step three
Attach the 585mm x 623mm piece of plywood into position to form the back of the shelving unit, as shown. Again, fix with PVA glue and 45mm screws, drilling pilot holes first.
 Step four
Fill any holes and imperfections with wood filler and allow to dry.
 Step five
Sand the filled areas and smooth any rough edges with sandpaper and then wipe off any sanding residue with a clean cloth.
 Step six
Apply one coat of Resene Quick Dry to the shelving unit and allow to dry.
 Step seven
Apply one coat of Lustacryl tinted to Resene Artemis to the shelving unit and allow to dry.
 Step eight
Apply a second coat of Lustacryl tinted to Resene Artemis to the shelving unit and allow to dry.
Order online now:
Testpots |
Paints |
Primers and Sealers |
Stains |
Clears |
Accessories
![]() Get inspired ! Subscribe
Get inspired ! Subscribe ![]() Get saving ! Apply for a DIY card
Get saving ! Apply for a DIY card
Can't find what you're looking for? Ask us!
Company profile | Terms | Privacy policy | Quality and environmental policy | Health and safety policy
Colours shown on this website are a representation only. Please refer to the actual paint or product sample. Resene colour charts, testpots and samples are available for ordering online. See measurements/conversions for more details on how electronic colour values are achieved.
What's new | Specifiers | Painters | DIYers | Artists | Kids | Sitemap | Home | TOP ⇧
