From the Resene decorating blog
Nothing is more annoying than putting a huge amount of effort and money into redecorating or renovating your house, only to find something has gone wrong.

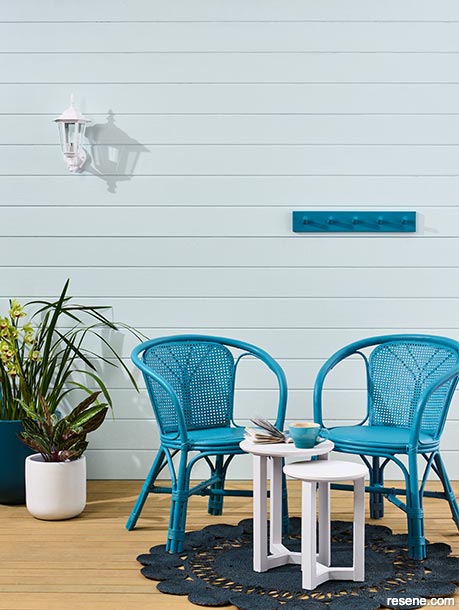
If you have water stains, start by identifying and fixing the leak then prime and seal the affected areas with Resene Sureseal before applying a topcoat. Exterior wall painted in the Resene Careful with decking in Resene Woodsman Uluru, lamp and tables in Resene Alabaster, chairs and coat rack in Resene Calypso, rug in Resene Coast and planters in Resene Alabaster and Resene Tarawera. Mugs from Le Creuset, bowl from Stevens. Project by Megan Harrison Turner, image by Bryce Carleton.
Ashleigh Strange from the Resene advice team has put together a checklist of some of the most common problems that crop up for home DIYers, what causes them and how to avoid or fix them.
Likely cause: There can be many reasons, but it’s usually moisture or excessive heat. If your substrate gets overheated from the sun, or other heat sources, it will soften. Any gases within the paint or substrate expand causing the film to bubble or blister. On timber surfaces, for example heat can cause sap and resin to liquify and rise to the surface along with solvents within the timber or excessive moisture.
The prevention: Before painting, repair any cracks that moisture can get into. If your surfaces will be exposed to high temperatures paint with a Resene CoolColour or, particularly on timber substrates, consider using a lighter colour that won’t absorb as much heat.
The fix: Establish the cause, such as finding the moisture source and fix it. Remove blisters and feather edges with a brush, then repaint. If heat is likely to be your problem you may need to consider repainting in a Resene CoolColour and/or a different lighter shade.
Likely cause: It can be old paint that has become brittle, or a coating with low flexibility over a substrate that is contracting and expanding.
The prevention: Check with Resene ColorShop staff that you’re using the right product for your substrate and don’t over-thin your paint.
The fix: Remove the flaking paint and repaint with the right Resene product.
Likely cause: It could be the age of the wallpaper or, when rolling the seams to hang the wallpaper, too much paste was squeezed out.
The prevention: When hanging wallpaper gently use the seam roller over joints between wallpaper drops to avoid squeezing out too much paste. Be sure to remove all bubbles.
The fix: Carefully peel back the edges and apply a good wallpaper adhesive. In some cases you will need to moisten the area being glued to help the paper flex.

Likely cause: Also known as surfactant leaching, watermarks on your paint are generally caused by high humidity or condensation on freshly applied waterborne paints. It is most common in bathrooms but can occur outside too.
The prevention: Avoid paint application in cool or damp conditions and ensure there is adequate air flow as the paint dries.
The fix: If left the marks can leave permanent stains. Clean the surface as soon as possible with a mild detergent, such as Resene Interior Paintwork Clear for interior walls and warm water. The problem may recur until all the leachable material is removed. Any recurrence should diminish over a few months.
Likely cause: These stains tend to be from leaks under the substrate.
The prevention: Check your building or surface is watertight before painting. Check all possible sources of water, such as pipes, tanks, cylinders and guttering, not just rain.
The fix: Once the leak has been repaired damaged wood, plaster, or plasterboard may need to be replaced. Any peeling paint should also be removed. Once the under layers are repaired you may still have surface staining. Start by properly sealing the stained area with a primer such as Resene Sureseal, designed to cover imperfections like water stains. Allow to dry and paint with your desired topcoat.
Likely cause: This is usually salt staining caused by paint exposed to the sea. It is most noticeable on darker colours. On surfaces in coastal areas not naturally washed by rain salt staining can accumulate over time.
The prevention: When painting coastal exteriors be sure to wash the surface with fresh water daily between coats. Keep washing surfaces regularly once painted to prevent salt build-up.
The fix: Clean the exterior with warm water and detergent, scrub and rinse. Allow to dry, then seal with a solventborne sealer such as Resene Sureseal. For timber use an alkyd primer/undercoat such as Resene Wood Primer, then repaint.
Likely cause: Not allowing paint to fully dry on surfaces that will be pressed together such as window frames and sashes.
The prevention: Use good quality paints that have a good block resistance such as Resene enamels, waterborne enamels and alkyds. Allow the paint to full dry before shutting the door or window.
The fix: Remove the blocking paint from the touching surfaces. Sand, prime and replace with a waterborne or oil-based enamel such as Resene Enamacryl.

Ensure paint on both window frames and sashes is completely dry before closing windows to prevent sticking.
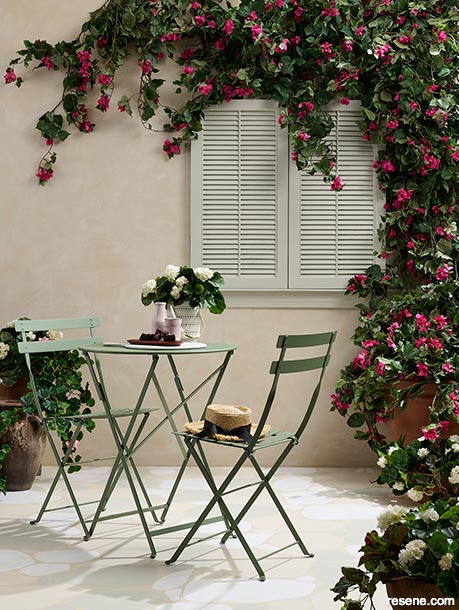
Shuttered window painted in Resene Kangaroo, faux cobbled patio in Resene Half Canterbury Clay, Resene Eighth Canterbury Clay, Resene Double Spanish White, Resene Blanc and Resene Half Spanish White, house wall in Resene FX Paint Effects Medium mixed with Resene Half Canterbury Clay, Resene Eighth Canterbury Clay and Resene Double Spanish White. The large pot is Resene FX Faux Rust Effect. Table and chair from Jardin. Project by Annick Larkin, image by Bryce Carleton.

Dark colours do absorb more heat. Try a Resene CoolColour finish to help protect your finish.
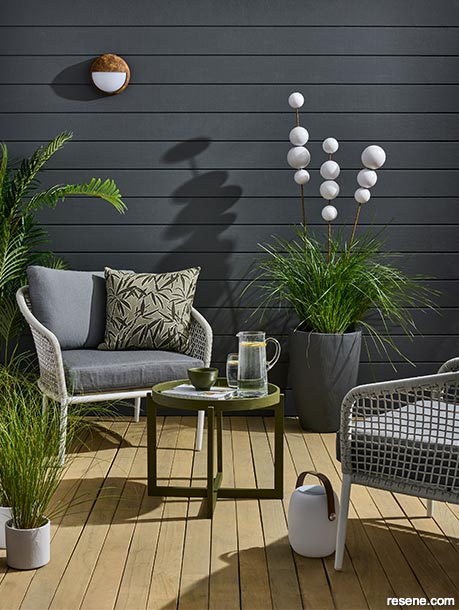
This exterior wall shade is painted in Resene Nocturnal, while the decking is Resene Woodsman Uluru. The large planter is also Resene Nocturnal. The wall light and the ornamental rods are Resene FX Faux Rust Effect, the bubble feature on the rods is Resene Alabaster and the table is Resene Waiouru. Outdoor chairs and table from Danske Mobler, cushion and outdoor radio from Good Thing, plant from Adairs. Project by Melle Van Sambeek, image by Bryce Carleton.
Likely cause: Using the wrong type of brush or roller, poor painting conditions or using too much paint on the brush.
The prevention: Check with your Resene ColorShop team to get the correct brush and bristle type, or roller with the right height and thickness of pile, for your project. Avoid painting in high temperatures or windy conditions which may cause paint to dry too quickly making smooth application difficult. Don’t let your brush or roller dry off during application, keep it wet at all times, but don’t overload the brush or roller with paint. Check the spreading rate advice on the Resene paint can for a guide to how much paint to use on each stroke. If you’re not sure about your painting technique, have a practice with a Resene testpot on some spare wood. You might want to particularly practise your ‘laying off’ technique which involves using gentle strokes to redistribute paint more evenly for a smooth finish.
The fix: Sand your brush-marked area until smooth and reapply a new coat. If you’re using a waterborne enamel such as Resene Lustacryl, adding Resene Brushing Additive can help ensure a smoother finish.
Likely cause: Underspreading or overspreading on your paint finish is usually caused by applying too much or too little paint.
The prevention: Follow the spreading rate advice in the Quick Notes section on each Resene paint can. This tells you how many square metres per litre per coat you can expect the paint to cover.
The fix: Estimate the amount of paint you’ll need for your project based on the recommended spreading rate. Your local Resene ColorShop staff can also help with this. As painting progresses keep an eye on what is being used. When the midpoint of the job is reached, around half the paint should generally have been used. Using quality brushes, rollers and the correct size extension pole will all help ensure you are applying the right amount of paint.
Here’s a handy checklist to determine if you have the optimum weather conditions for painting:
Remember… read the label on your paint container and follow the recommendations to get the most from the protective capabilities and finish of your paint.
December 04, 2022
If you need helping with the right prep or product for your project or advice on application, visit your local Resene ColorShop or use the free Ask a Resene Paint Expert.
Book a colour consult | Ask a Colour Expert | Ask a Paint Expert
Resene's decorating blog
Paint your home beautiful! Discover the latest decorating trends, tips and colour news.
![]()
Previous «
The new minimalism
![]()
Blog home
View the latest trends, tips and news
![]()
» Next
Down to earth: design with earthy shades