It’s easy to create this simple feeding table for garden birds with a little bit of help from Resene.
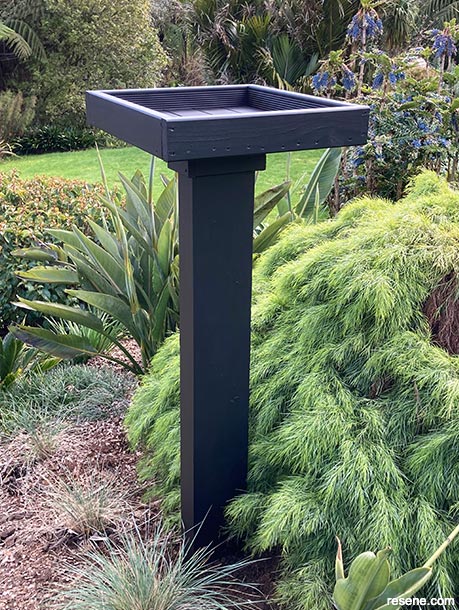
Weekend DIY with Mark Rayner – Project 89
Difficulty level: Moderate
To get the look: Position the feeding table in an open space, surrounded by garden plants where birds will feel safe to feed.
Other ideas: For a dark green effect stain the feeding table with Resene Woodsman tinted to Resene Rangitoto.
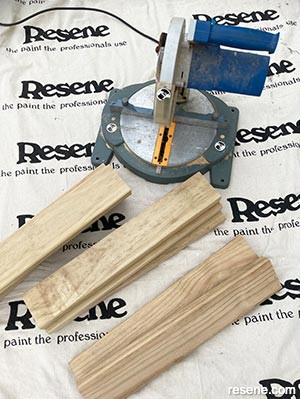 Step one
Measure, mark and cut the 90mm x 32mm timber to the lengths listed above and smooth any rough edges with sandpaper.
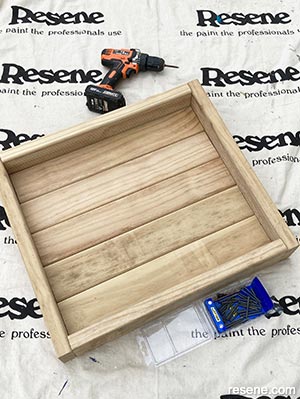 Step two
Assemble the top of the feeding table using these 9 pieces of timber, as shown. Fix with PVA glue and screws, drilling pilot holes first. Allow glue to dry.
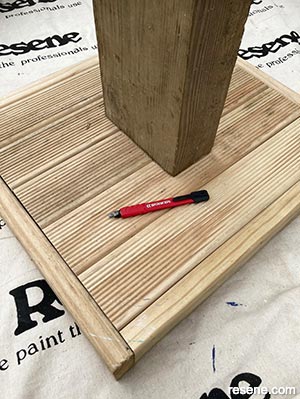 Step three
Turn the tabletop upside down and place the 200mm x 100mm piece of timber centrally on top, as shown. Draw around this with a pencil.
 Step four
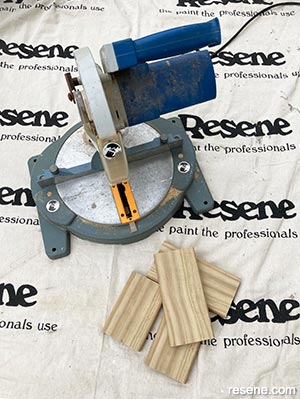
Measure, mark and cut the 90mm x 21mm timber to the lengths listed above and smooth any rough edges with sandpaper.
 Step five
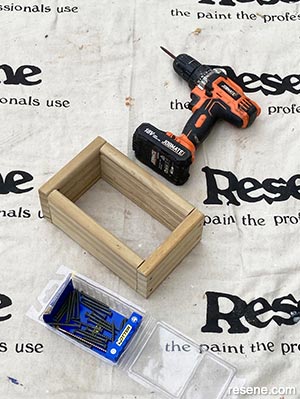
Assemble these to form a rectangular frame, as shown, fixing with PVA glue and screws, drilling pilot holes first. Allow glue to dry.
 Step six
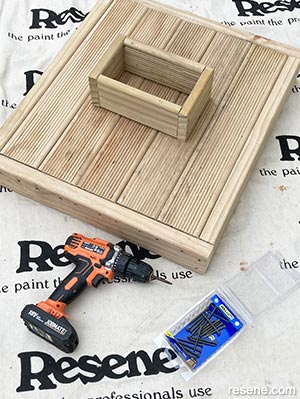
Place the rectangular frame on the base of tabletop using the pencil lines as a guide. Fix to the base using PVA glue and screws, drilling pilot holes first. Allow glue to dry.
 Step seven
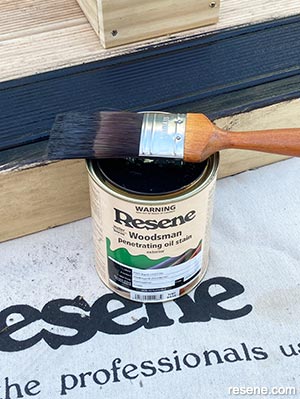
Apply two coats of Resene Woodsman tinted to Resene Pitch Black to both sections of the bird feeding table, allowing two hours for each coat to dry.
 Step eight
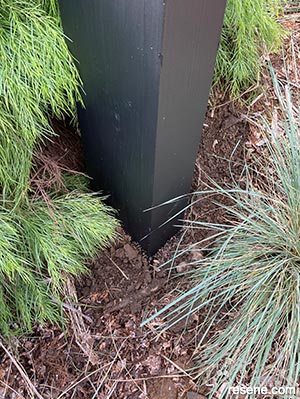
Dig a 600mm deep hole and place the base of the 1800mm length of timber into this, ensuring that it’s upright using the spirit level. Compact the earth around the base, and then place the feeding tabletop into position, fixing with screws, drilling pilot holes first.