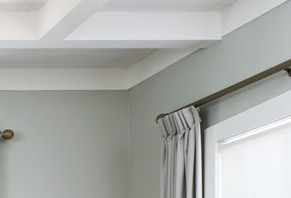
It's one thing to take on the job of a professional and climb up a step ladder to paint the walls of your home, but it's something else entirely to paint the ceiling.
Once again gravity does everything it can to make life more difficult, so try out these tips when you undertake that ceiling paint job – just the way a professional would!
One of the most important parts of making this job easier on yourself happens before you even open the paint tin. You absolutely have to start with the right tools.
This means investing in a paint roller with an extension handle. Standing on the floor to paint rather than balancing on a ladder will make your life immeasurably easier, not to mention that this is a considerably safer method of painting.
You will need to be careful to either remove items from the area that you don't want to end up covered in splatters or shield them completely. This includes the entire flooring area and any benches, heaters and switches that you can't physically take out of harm's way.
A new ceiling will need a sealer first. If it's already painted then you can skip the priming step and apply the ceiling paint direct.
When you start to paint, it's best to get the hardest part out of the way first, so apply your cut in lines (the two to three centimetres where the ceiling meets the wall), then start rolling the paint on while these lines are still wet. If the room gets lots of natural light, paint in the same direction as most of the light falls. This will help minimise noticeable imperfections.
While most people use a product such as Resene Ceiling Paint, if you can we recommend stepping up to Resene SpaceCote Flat. Resene SpaceCote Flat is a washable finish so you can more easily remove marks and flyspots. While it may cost you a little more upfront, it can you save you having to repaint faster later.


